
Following on from this earlier post about the groundwork, here comes a post about the foundation and main wood frame construction on our reciprocal roofed roundhouse. We put down a layer of builders sand all over the floor area and raked it out until it was even. On top of this we placed a waterproof membrane. At the eight posts we added extra pieces of membrane between the concrete foundations and the posts.


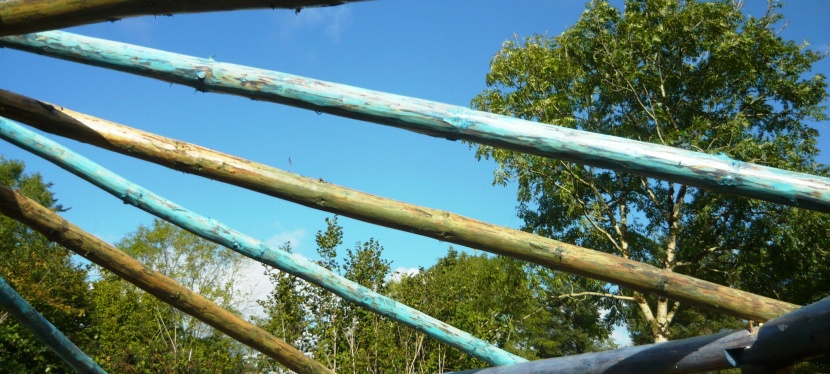
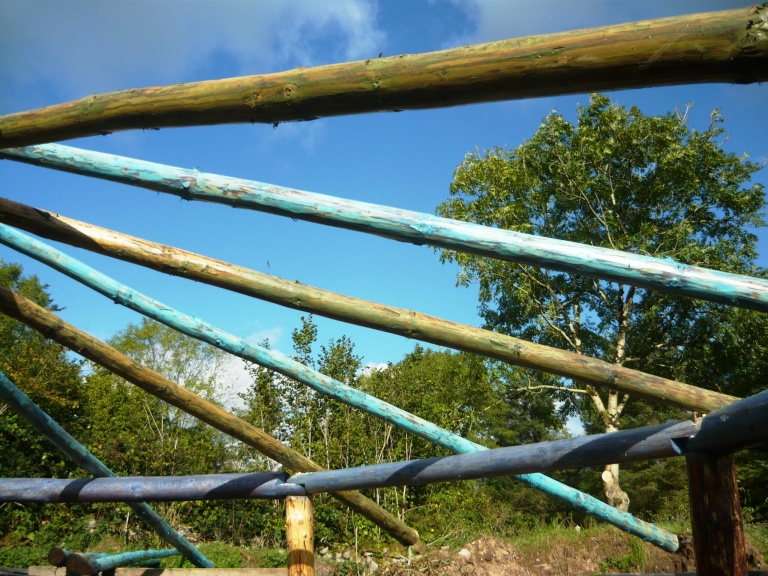
For our wooden uprights and henges we chose spruce in the round. We started by removing the bark from the trees. This is advisable as leaving it on increases the risk of insects infesting your finished building. They love to dig tunnels and eat the soft nutritious cambium layer between the bark and the wood. When all the bark was removed we treated our logs with wood preserver and after that dried, linseed oil. Then it was finally time to start building.
You need to make sure all the sections of the wall are built to the same height. We measured before we put the foundations down, using a laser spirit level. You can read about building the foundations for each upright log here. When drilling the hole in each upright for attaching it to the re-bar in the foundation, you can turn your logs any way up you like as they will not be in contact with the soil. We wanted ours to be upright, the same way they were growing in the forest. You may prefer burying the ends of your posts a few feet into the ground without foundations but they should then be upside down so the moisture will be forced out rather than pulled into the wood.

You can read about our retaining tyre-wall here. It is not a part of the house but rather a way to keep the earth bank behind the house in place. We have a walkway between our building and the outer tyre-wall.The henges are then added, making for a very strong building connected all along the top into an octagon. You could make this structure with fewer or more upright posts, depending on size and taste. You can see the type of joint we used to connect the pieces here. It is good to drill a hole through both the henges and into the upright post and secure the joint with a piece of metal re-bar. There are some roof beams here as well, we will write about them at a later date. We will also write about what we used to build the actual walls and insulated them with.


To make our floor stronger we put out a pattern of reinforcement bars on top of the waterproof membrane. You need to stabilise the metal bars with some small supports so the whole re-bar structure will end up in the middle layer of your floor foundation. To make an edge to our floor we nailed 4’’ by 2’’planks to our uprights. We used eco cement and to further reduce the carbon footprint of the build, we put down what is called a biscuit base. This is a mix of mainly sand and gravel, with a small amount of cement. We used a small cement mixer and wheeled each mix into the space with a wheelbarrow. We spread the mixtures out and used a long plank of wood and a spirit level to check that the floor went down relatively flat. We waited for a few days for this layer to go off. To finish up we added a screed layer made from a stronger concrete mix. Unfortunately we forgot to take pictures so you will have to imagine the process. The floor was later finished with a mosaic made from reclaimed and recycled tiles. You can read about that process here and here.

Next time we will write about the construction of our reciprocal roof.


Beautiful and uplifting. Congratulations!
LikeLike