

For the last couple of days we have had almost constant rain and we decided it would be a good time to finish up the interior of our tree house so that friends and family can enjoy it. It has been a few years since we started building it and the large beautiful rowan that was growing next to it has since blown over in a storm. At the moment it has hops and a lovely climbing rose twining their shoots up the structure and the hazels are slowly growing up to replace the lost rowan.

The outside walls and roof are constructed in the same way as many small fishing huts in Scandinavia. The wider planks of wood have thinner pieces covering each joint thus creating a watertight seal.
We used windows that were destined for a skip and old damaged hard insulation boards. You can read more about the construction in this post.

To finish off the inside and create somewhat smooth walls we opted for thin plywood off cuts. We simply nailed it up and did not worry too much if sheets overlapped in places.
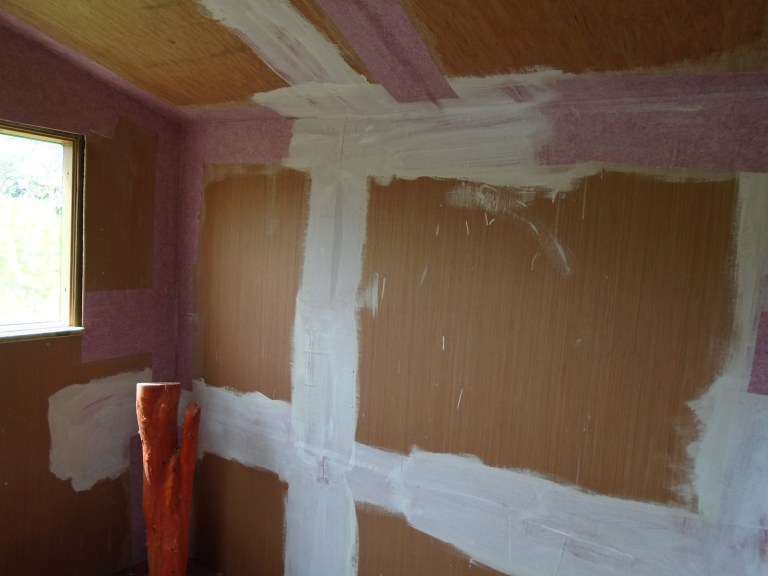
For a smooth wall finished we used PVA and old rolls of wall paper from the charity shop. We put on strips covering all the joints first and when they had dried we put up a layer of wall paper all across the walls and ceiling.

We will paint the ceiling and floor white, to let as much light as possible into the space. As we love recycling we are planning to use pages from some old children’s encyclopaedias from 1961 as the final cover on the wall. They are full of great illustrations and some fun, albeit in many cases outdated or slightly politically incorrect facts. We found them in the charity shop where we bought them for fifty cents each! Building up layers of paper and glue makes for a strong and sturdy finish to the wall.


We have a passion for vintage fabrics as well and are planning to make curtains from a lovely Swedish peony design. You simply cannot beat old fabrics when it comes to quality, design and charm. To avoid the sun bleaching the bright yellows and greens, we are planning to line the curtains with another vintage fabric in blue.

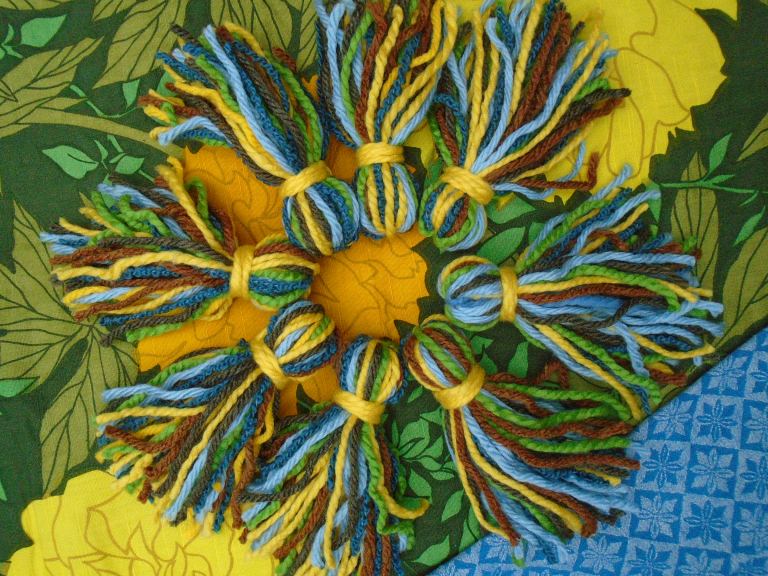
To blend all the different colours and create a more cohesive look we are using some yarn that was given to us for making tassels for the curtain tiebacks. They are very easy to make.You simply wind your chosen colours around a book, cut of all the threads along one side and tie a piece of yarn around the middle.

Fold your bundle in half and tie another length of yarn close to the top as in the picture.

We made enough for our curtains and for a drape that we will use to cover the door in colder weather.
Usually we only write about a project when it is all finished but sometimes it is nice to share all the stages involved in creating something. We are very much looking forward to the completion of this space. A bed should just about fit in along one wall so guests or ourselves will be able to enjoy a night of stargazing out the window, listening to the dawn chorus or daydreaming and reading.
We hope to post an update shortly!


