Chakra blanket

If you are a regular reader of these ramblings you will know that we like to recycle and reuse as many things as possible and prevent waste. Last year, when younger members of the family moved away to study, we wrote about making off to college blankets in this post.

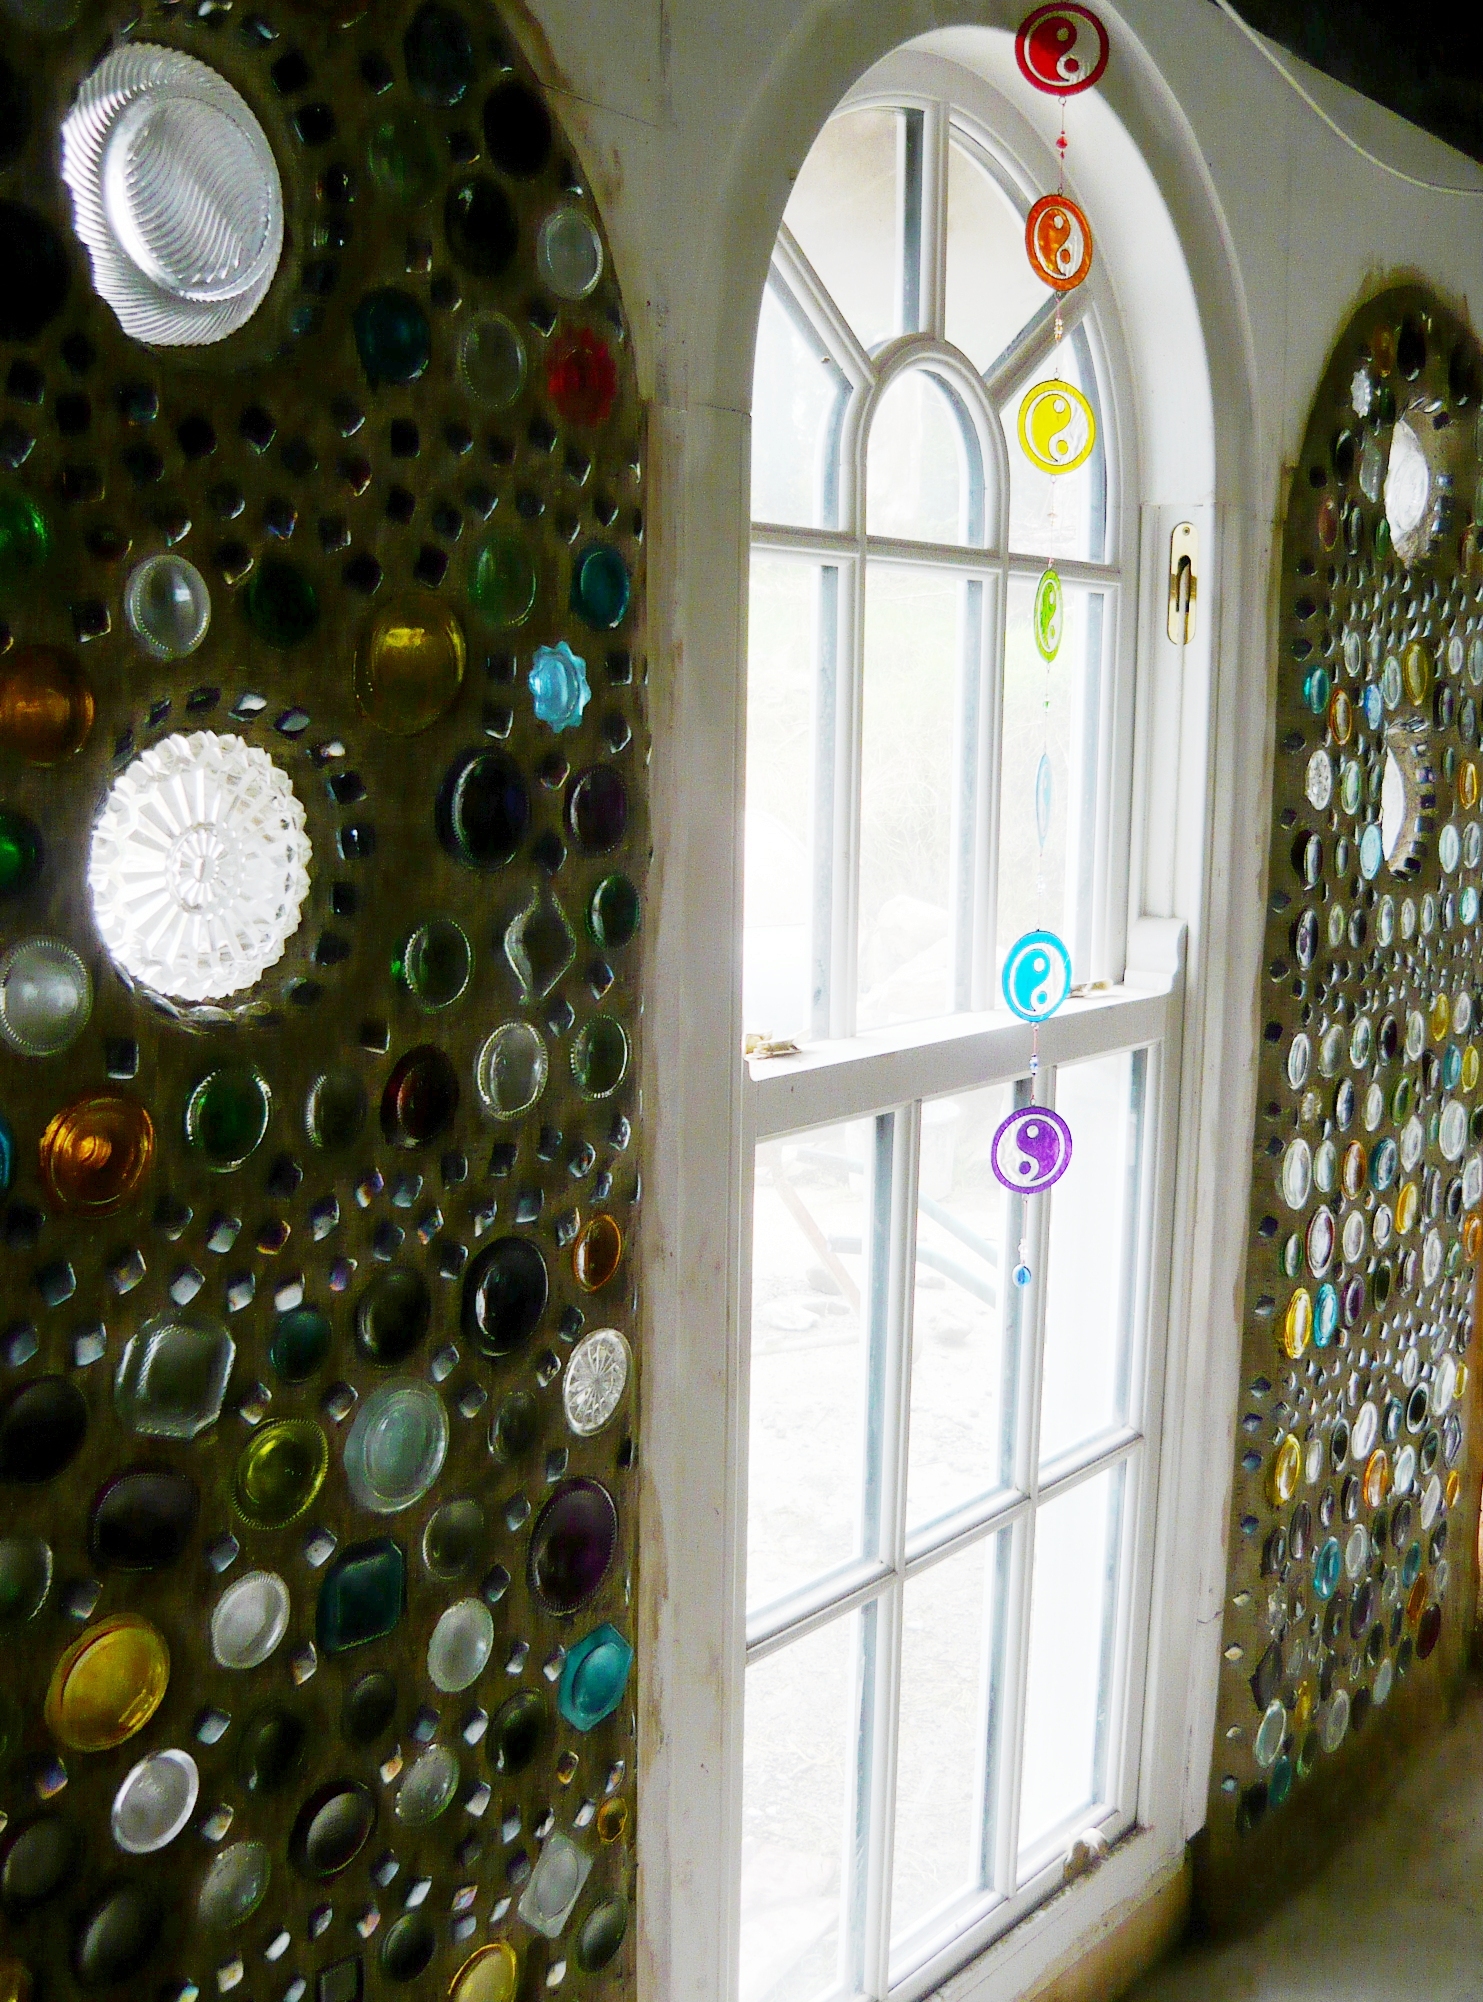
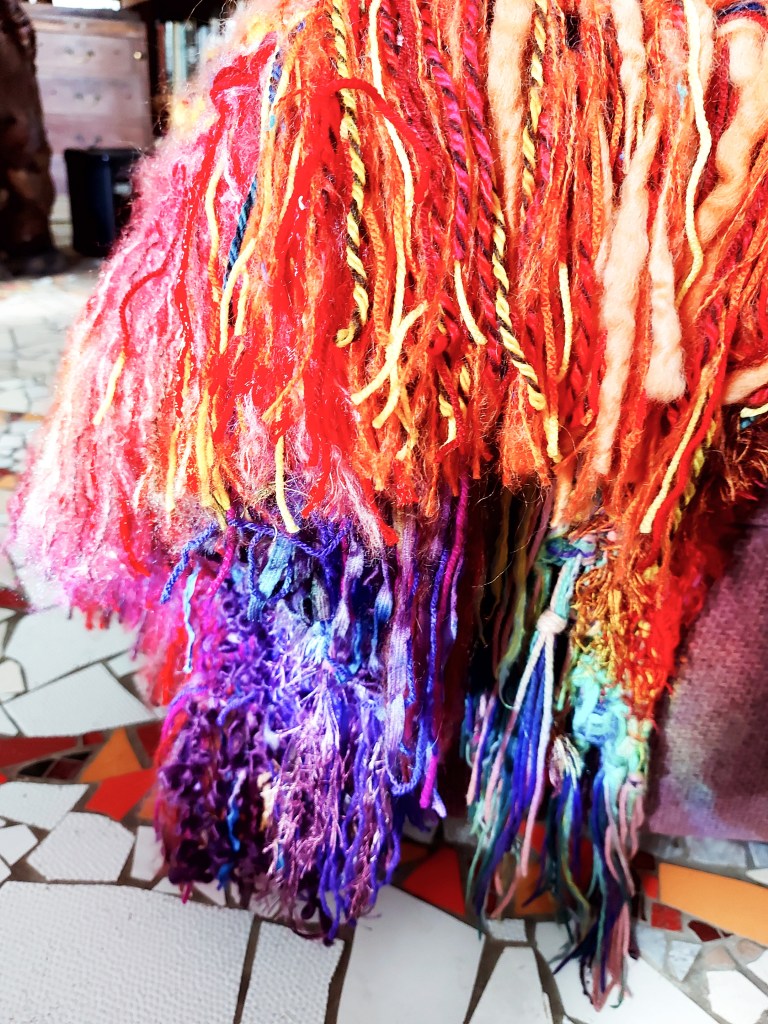
Since then I have decided to set off on my own college adventure for a four year BA Hons. in Fine Art at IT Sligo. I have dreamt of studying art and drawing for many years and it is lovely to finally get the chance. I will stay for a few days every week in a small student apartment and wanted to bring something along to remind me of home. So I came up with the chakra blanket. A creation completely made out of wool remnants from others projects and odd balls found in the charity shop.

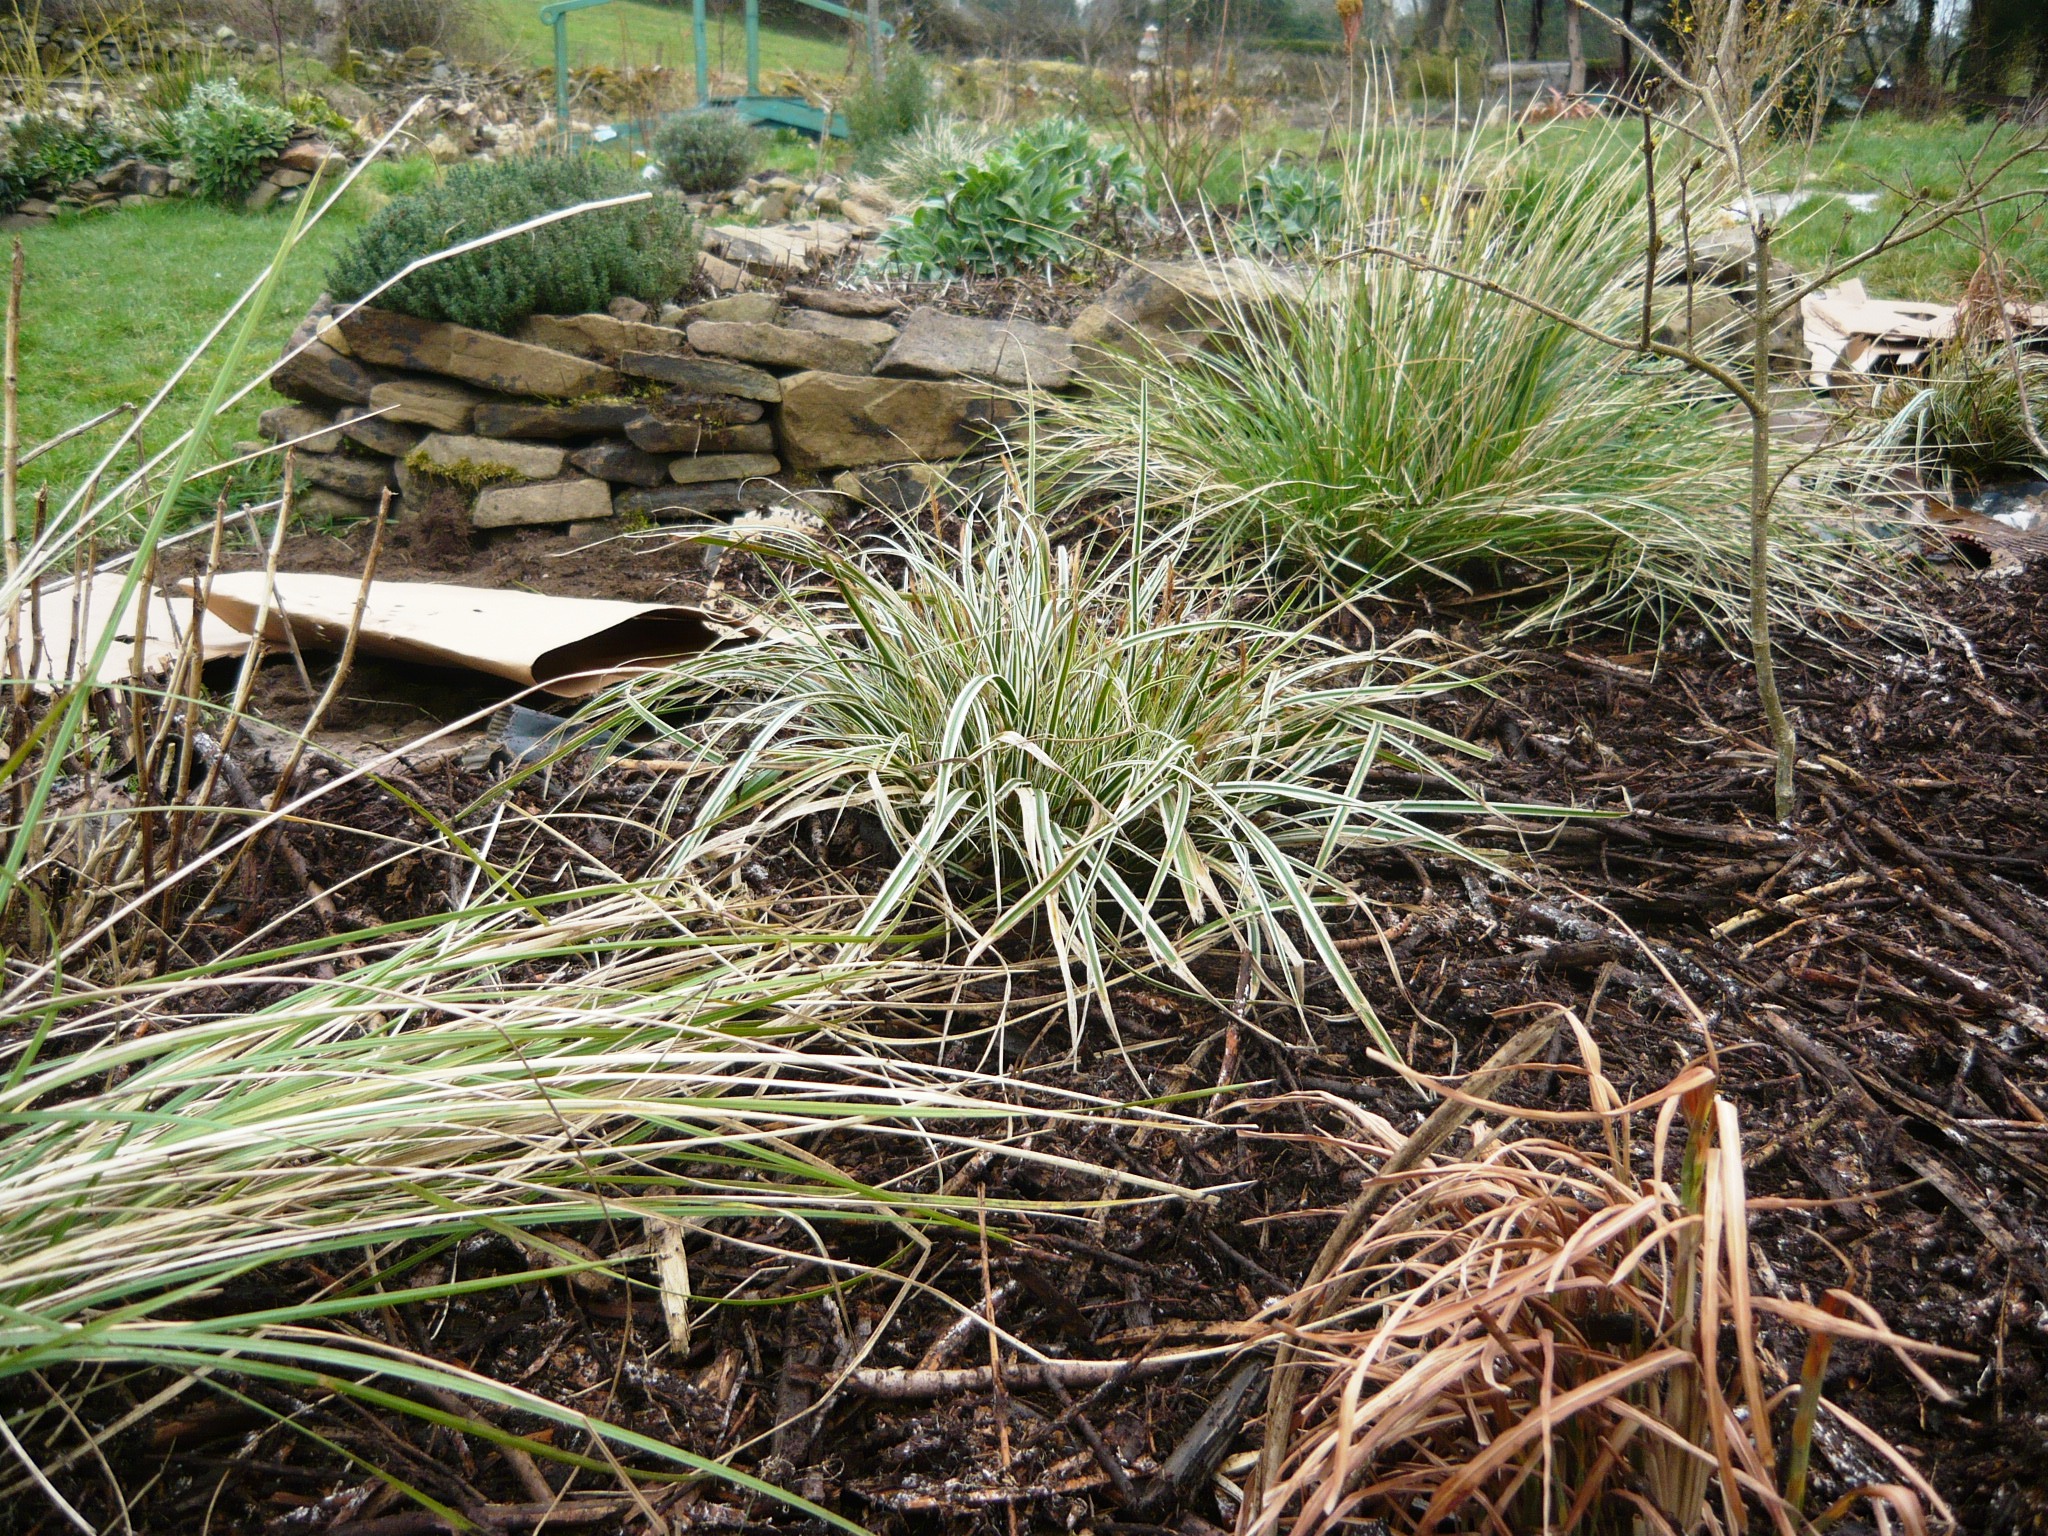
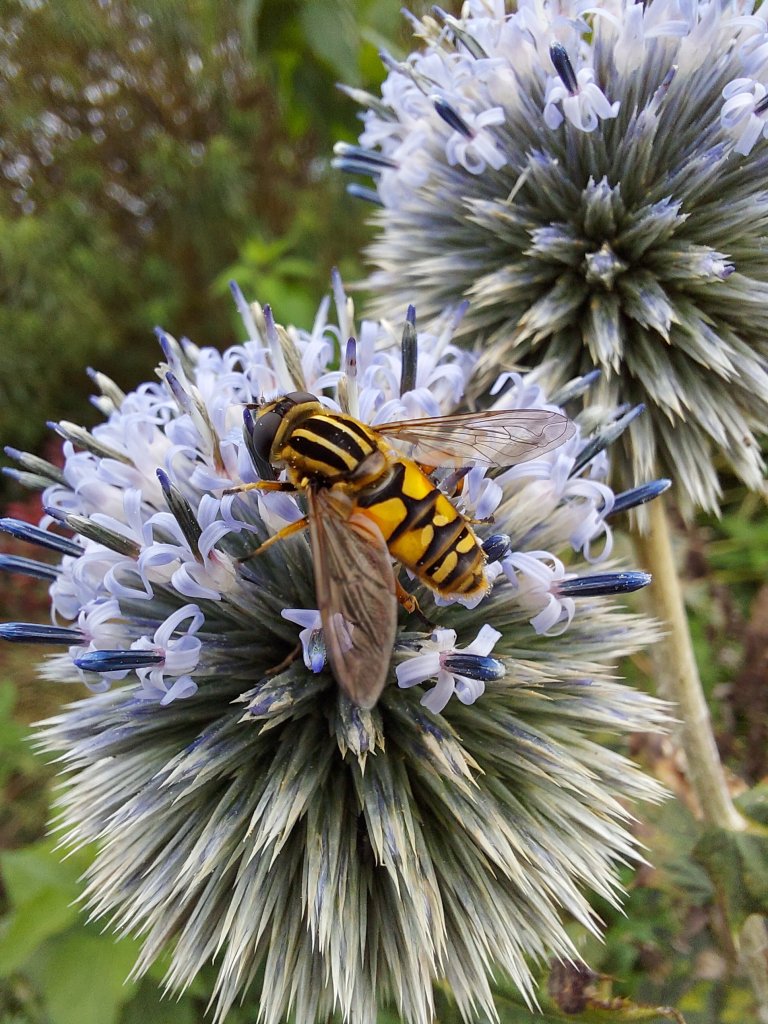
I think there is great inspiration for projects like this to be found in Nature. The above image shows a progression from yellow to green to blue…

I started writing this post some weeks ago and by now I spend most of my time in my student flat. We don’t have a lot of on campus time but the WiFi at home is just not up to scratch for online classes. So the blanket is a lovely reminder of home as I work on the course material during the week. In these uncertain times I think it is important to stay hopeful and happy. The bright colours work as an antidote to any unhappy or uncertain feelings. The colours of the individual chakras reminds me that I need to look after and be mindful of the whole of me and also all those around me.

As Ireland has entered another six weeks of lockdown I am grateful for the social bubble policy that allows me to come back home for the weekends and spend the rest of my time in my student flat. I am so busy with my studies that there is little to no time to spend worrying. I hope you find yourself in a similar hopeful and restful place. Stay safe!

A bottle-wall of many colours.

August bottle wall

August bottle wall

It was finally time to finish off work on our bottle wall sections this week. We have written a few posts about bottle wall construction over the last few months, and now it was time to add the finishing touches to our largest project. We found a lovely arched sash window as a second in a local joinery and decided to add a bottle wall arch to each side of it for a beautiful composition and also to add more light into our extension.

Read more

Recycled pet bed from an old suitcase.

If you are a regular reader of this blog you know that we like to recycle and reuse as many items as possible. When our newly adopted puppy needed a bed we wanted to make it ourselves. We had an old suitcase in the shed that came with the house when we bought it and up until now had been used to store tiles in for mosaics.

dog bed 002

We started the transformation from suitcase to bed by washing it thoroughly and zipping and buckling it up. Then we turned it over and cut a cross from the four corners and glued the flaps down securely. We cut a piece of plywood to fit inside the suitcase and glued it down.

dog bed wash

dubh bed cut x

dubh bed glue

dubh bed plywood

After that it was time to attach the legs. We made them from a piece of round wood cut into 10 cm sections. The legs were attached to the underside by screws from the inside of the suitcase, through the plywood and suitcase material. Now the bed has five very sturdy and heavy legs that make it stay in place when our dog climbs in and out.

dubh bed legs

dubh bed side

We gave the inside of the bed two coats of washable matt emulsion, adding filler around the plywood bottom after the first layer and ended up with a practical, easy to clean bed.

dubh bed filler

dubh bed painted

We used an old foam mattress, cut it into shape and made a washable, detachable cover for it. After that all the bed needed was a fluffy dog blanket and it was ready for Dubh. We adopted her today and although she has only been in the house for about 9 hours she already loves her bed and has dozed off in it a couple of times in between all the excitement of a new home, a garden to explore and new country lanes to go for walks down. We are hoping she will sleep soundly in it tonight. As she is only about five months old we expect her to grow quite a lot bigger and maybe we need to look for a larger old suitcase in the months to come.

dubh bed matress

dubh bed asleep

You could adapt this method to any size suitcase and use it for cats and dogs. If you have a different type of suitcase with a hard shell you can leave the lid open and secure it in some way so the pet won’t get bitten…

You will be preventing the old suitcase from going into landfill and by not buying a new pet bed you are doing the Earth a favour in the process. It is a quirky addition to your home and you can adapt it using colours and fabrics to suit your own taste and style. Have fun if you decide to try this out for your dog or cat.

dubh bed

Bottling it all up.

bottle-wall decorative bowls

We have come to the stage of our build when it is time to connect the extension to the house. We will knock a hole in the back wall of the cottage but first we are building the walls on the little connection part. We wanted the space to be as light as possible so decided to put in another bottle wall. Two days were spent recently cleaning; fitting and taping our glass bottle and jar bricks. It takes a lot of glass bricks to build a wall so if you are planning a build like this, start collecting jars and bottles at once. Duct tape is best we find, but in a pinch brown parcel tape will do. We have been collecting a lot of decorative small glass bowls on our charity shop rambles, and they are a nice addition to the walls. To make bricks out of them we use big soft drink PET- bottles. This wall will not get a lot of direct sunlight so the bottles should be strong enough. It is only the very thick bottom part that is exposed to the elements anyway.

Read more

Light at the end of the bottles.

We have been hard at work for over a month and finally we are starting to see the results of our efforts. One of the main reasons for our bathroom renovation was to raise the ceiling. It was so low that an adult was unable to stand up in the bath to take a shower. It always had a slightly claustrophobic feel to it. So the old leaking, low roof had to go.

 No roof

Along with a raised ceiling we wanted more light and our choice fell on a wall made out of old wine bottles and jars. Recycled glass is an environmentally friendly, free, beautiful resource. It is easy to come by and easy to use. What is not to like about it. We drank the odd bottle of wine, collected bottles from friends and ate a lot of pasta sauce and mayonnaise for a while. The walls in our bathroom are very thick so we only needed to pop a jar on top of each bottle and tape to secure. It is good to have a similar height to your glass bottle bricks as it makes the building a lot easier. You will need to play around with the different bottles and jars to get them to an equal height.  Make sure all bottles are clean and dry before taping them together.

bottles

After removing all the layers of the old ceiling and roof, we built up next to the window and on each corner with cement blocks that could easily take the weight of the new roof and filled in the sections in between with our made up bottle- bricks.

blocks

bathroom blocks

To save on cement we put insulation on the middle of the block in the same way we did on our bottle wall in our extension. You can read about all our construction techniques in the building category. The bottle bricks acts as double glazing in themselves so makes for a very well insulated wall.

bathroom bottles

over window

We filled in between the bottles with cement and smoothed it out on the inside and out. After that all that we needed to do was put on a 50/50 mix of PVA and emulsion for two layers followed by two layers of emulsion. We went for white and added some sand to the paint in the ceiling to get a similar look to the bottle sections and the ceiling. We added mosaics to the pillars and are very happy with the results. The result is a bright, personal and very cheap bathroom. About 80% of our tiles came from a skip so the main cost for our walls was for the few concrete blocks, cement, the tile adhesive and grout. But the best feeling comes from knowing we have impacted as little as possible on the environment by using mainly bottles and other recycled materials. It takes more time than tiling and building in a conventional way, but if you decide to do something similar, we think you will be very happy with the results. Please post pictures in the comments if you make something inspired by this post. We would love to see it.

bathroom

bathroom painting

bath bottle

bath bottle 015

bath bottle 007

One, two, three, SOW!

Seed packets

What better way to celebrate Saint Patrick’s Day than to plant potatoes? We have asked a few of the neighbours if it is a good time to plant them this time of year in our part of Ireland (the west) and they have all said we should be alright to put them in. For the last two weeks we have been keeping them in our porch, a cold and bright place and now the potatoes have good little shoots growing. We have not grown potatoes here before but we have opted for the tyre method where the potatoes are grown in a tyre and as they grow more tyres and soil are added to earth them up and produce a large crop. It will be interesting to see how it all turns out.

Potatoes and tyres

Planting potatoes

In between the tyres we put fluffed up sheeps wool to avoid creating a slug hotel where the slugs could hang out and go on nightly raids to the nearby just sown rows of carrots, radishes, parsnips and turnips. To avoid potato blight we are planning to make a strong nettle and comfrey tea that can be watered down and used at every watering. A friend told us about this method and he has grown healthy potatoes this way. As we are growing everything organically we would like to avoid chemicals and if anyone has other tips on how to avoid blight, please write about them in the comment section.

 Placing wool

Wool

 We also planted a lot of things today that need to be grown in pots to get off to a good start. As we have a tiny cottage and not much room inside, we invented a way last year to grow as much as possible under our circumstances. All through the year we save our toilet rolls and along with free newspapers, free plastic boxes from the supermarket and a bit of plastic wrap we create a practical, slug-proof and hygienic environment for our little seedlings. They can be planted straight in the ground in their rolls, or into a larger pot for growing on with no root disturbance.

 Seeds and boxes

We wanted to grow peas, beans, sunflowers and a variety of gourds and squashes so opted for a mix of multi-purpose and seed compost with added perlite as our growing medium. The toilet rolls can be stuffed quite full and placed on newspaper, tightly packed together for stability. We watered the full boxes and let them stand for a few hours to saturate the cardboard and let excess water run away.

 soil mx

a few rolls

full box

Planting all the seeds was great fun, with one person using the dibber to the correct depth, one person planting the seeds and one person writing down all the varieties for the different rows in the box. We then watered the boxes again to set the seeds in, let them drain off for a further couple of hours and wound the plastic wrap around the whole box a few times. Last year we let the seeds stay sealed up like this for about a month, with no water or air added. The box became a perfect micro climate and all the seedlings came out strong and healthy.

 dibber

boxes wrapped up

We keep the boxes in our gazebo and the seedlings do not seem to mind the frost, even when the ground is white and frozen in the mornings. The boxes and the gazebo keep them snug and they get enough light to not grow weak and straggly.

Plants for less.

grasses

 We, like most gardeners love to cram in a lot of shrubs, trees, perennials and grasses into our garden. Unfortunately we do not have the means to pay for full priced plants in the garden centre, but over the last couple of years we have found out that it is not so unfortunate after all. At certain times of the year we visit the sales at our local garden centre. Especially in spring, we have been very fortunate as they sell out a lot of last year’s perennials and grasses at as much as 75-80% off the original price. These plants may look a bit worse for wear, but when you get them out of the pot you almost always find that they have a great root system and are just perfect for planting out in the garden. We have bought almost all our plants in this way and have had very few casualties.

 root close up

sale label

A couple of weeks ago we picked up five potted grasses at a sale and we only paid €15 for the lot instead of the full €75. Today we finally had a bit of time to plant them. We started by forking the ground over lightly to remove all the couch grass that unfortunately has a tendency to creep across and root on any bare piece of land in our garden. We had some shrubs and grasses from last spring’s sale growing in this area and just wanted to add some more grasses to make for a beautiful and hopefully easily maintained part of the garden.

bed with cardboard

wheel barrow

bed half done

We planted all the grasses, adding a lot of well rotted manure to the planting holes and put down a double layer of cardboard boxes, to suppress the weeds and help with moisture retention if we get a warm and dry summer. We always put down cardboard and mulch on top of it around all small trees and shrubs as without the competition from weeds, they grow up to twice as fast. Our local supermarket is happy for any boxes we take away as they have to pay to recycle them. We have picked up many thousands over the last couple of years. We use them on all our paths as well, under the wood-chip mulch. As mulch for our newly planted grass area we put on a 15 cm layer of shredded Laylandii and we hope this will be enough to work as a weed suppressant for this year and hopefully by next year our ornamental grasses will have taken off and can handle the competition better.

 grass from circle

We do think it looks pretty, as the dark colour of the mulch contrasts beautifully with the golden and variegated grasses. We are so much looking forward to see how it will turn out in the summer.