

Following on from our last post, with all the henge pieces nailed to the uprights we moved on to the roof. The easiest way to do that was to make a reciprocal roof. For this design you need an upright post called a ‘deadman’. The formula for the deadman = height of henge + ( diameter of roof beams (thin end) x number of roof beams ) this should stand on a block of wood that is easy to remove. With a reciprocal roof there is a hole in the middle where the beams do not touch. The smaller the hole the steeper the roof, the larger the shallower. We decided we wanted a 70 cm. diameter hole, so we put our deadman 35 cm. from the centre. The first roof beam goes from the top of one of the posts and leans on the deadman. The second roof beam leans on the first and we temporarily tied them together before nailing, to allow for some adjustments. We worked our way through to the last beam which is the tricky one as it goes over the previous beam and under the first. So all the beams are sitting on the one before. The following two pictures are from another roof but show the process clearly.
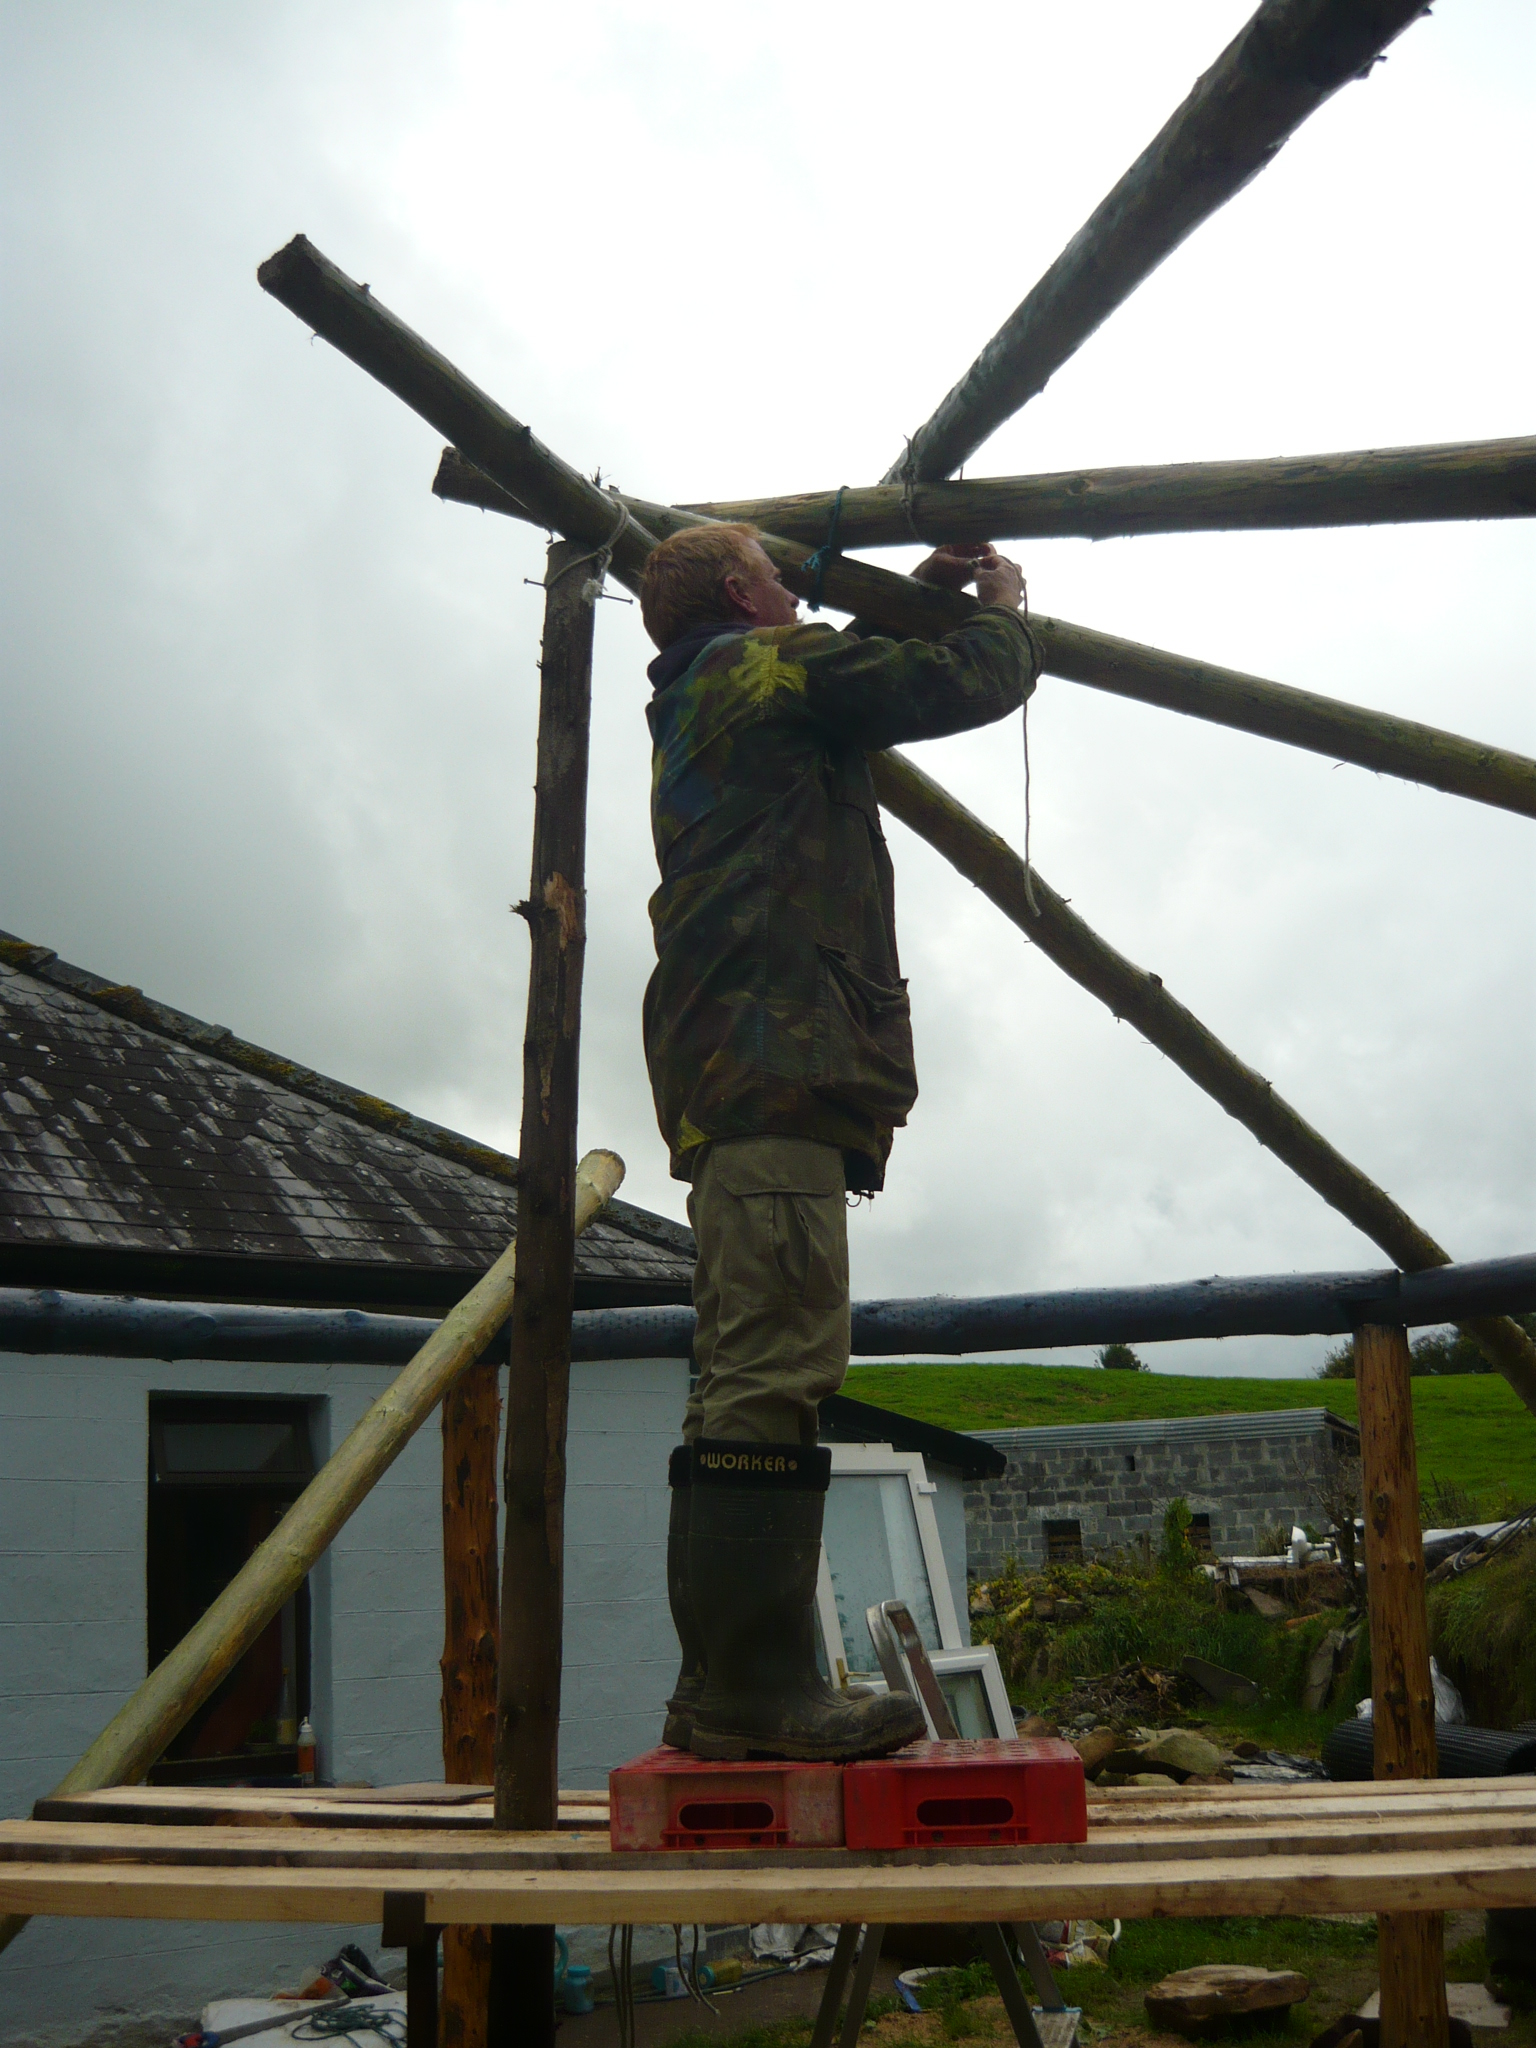

You can remove your deadman safely once all the beams have been nailed together and nailed to the top of the henges. Pre drilling the nail holes is advised to stop the wood from splitting. We left our deadman in place as the Leylandii is very springy and made a bouncy roof. We then strung polypropylene rope in a spiral to support the tarpaulin. We fixed it with wire staples to all the beams. We have not seen this technique used before but we wanted a cheap and easy way to have some support between the beams. It works well and we have since used it on our extension. The polypropylene does not break down as it is not exposed to UV light.


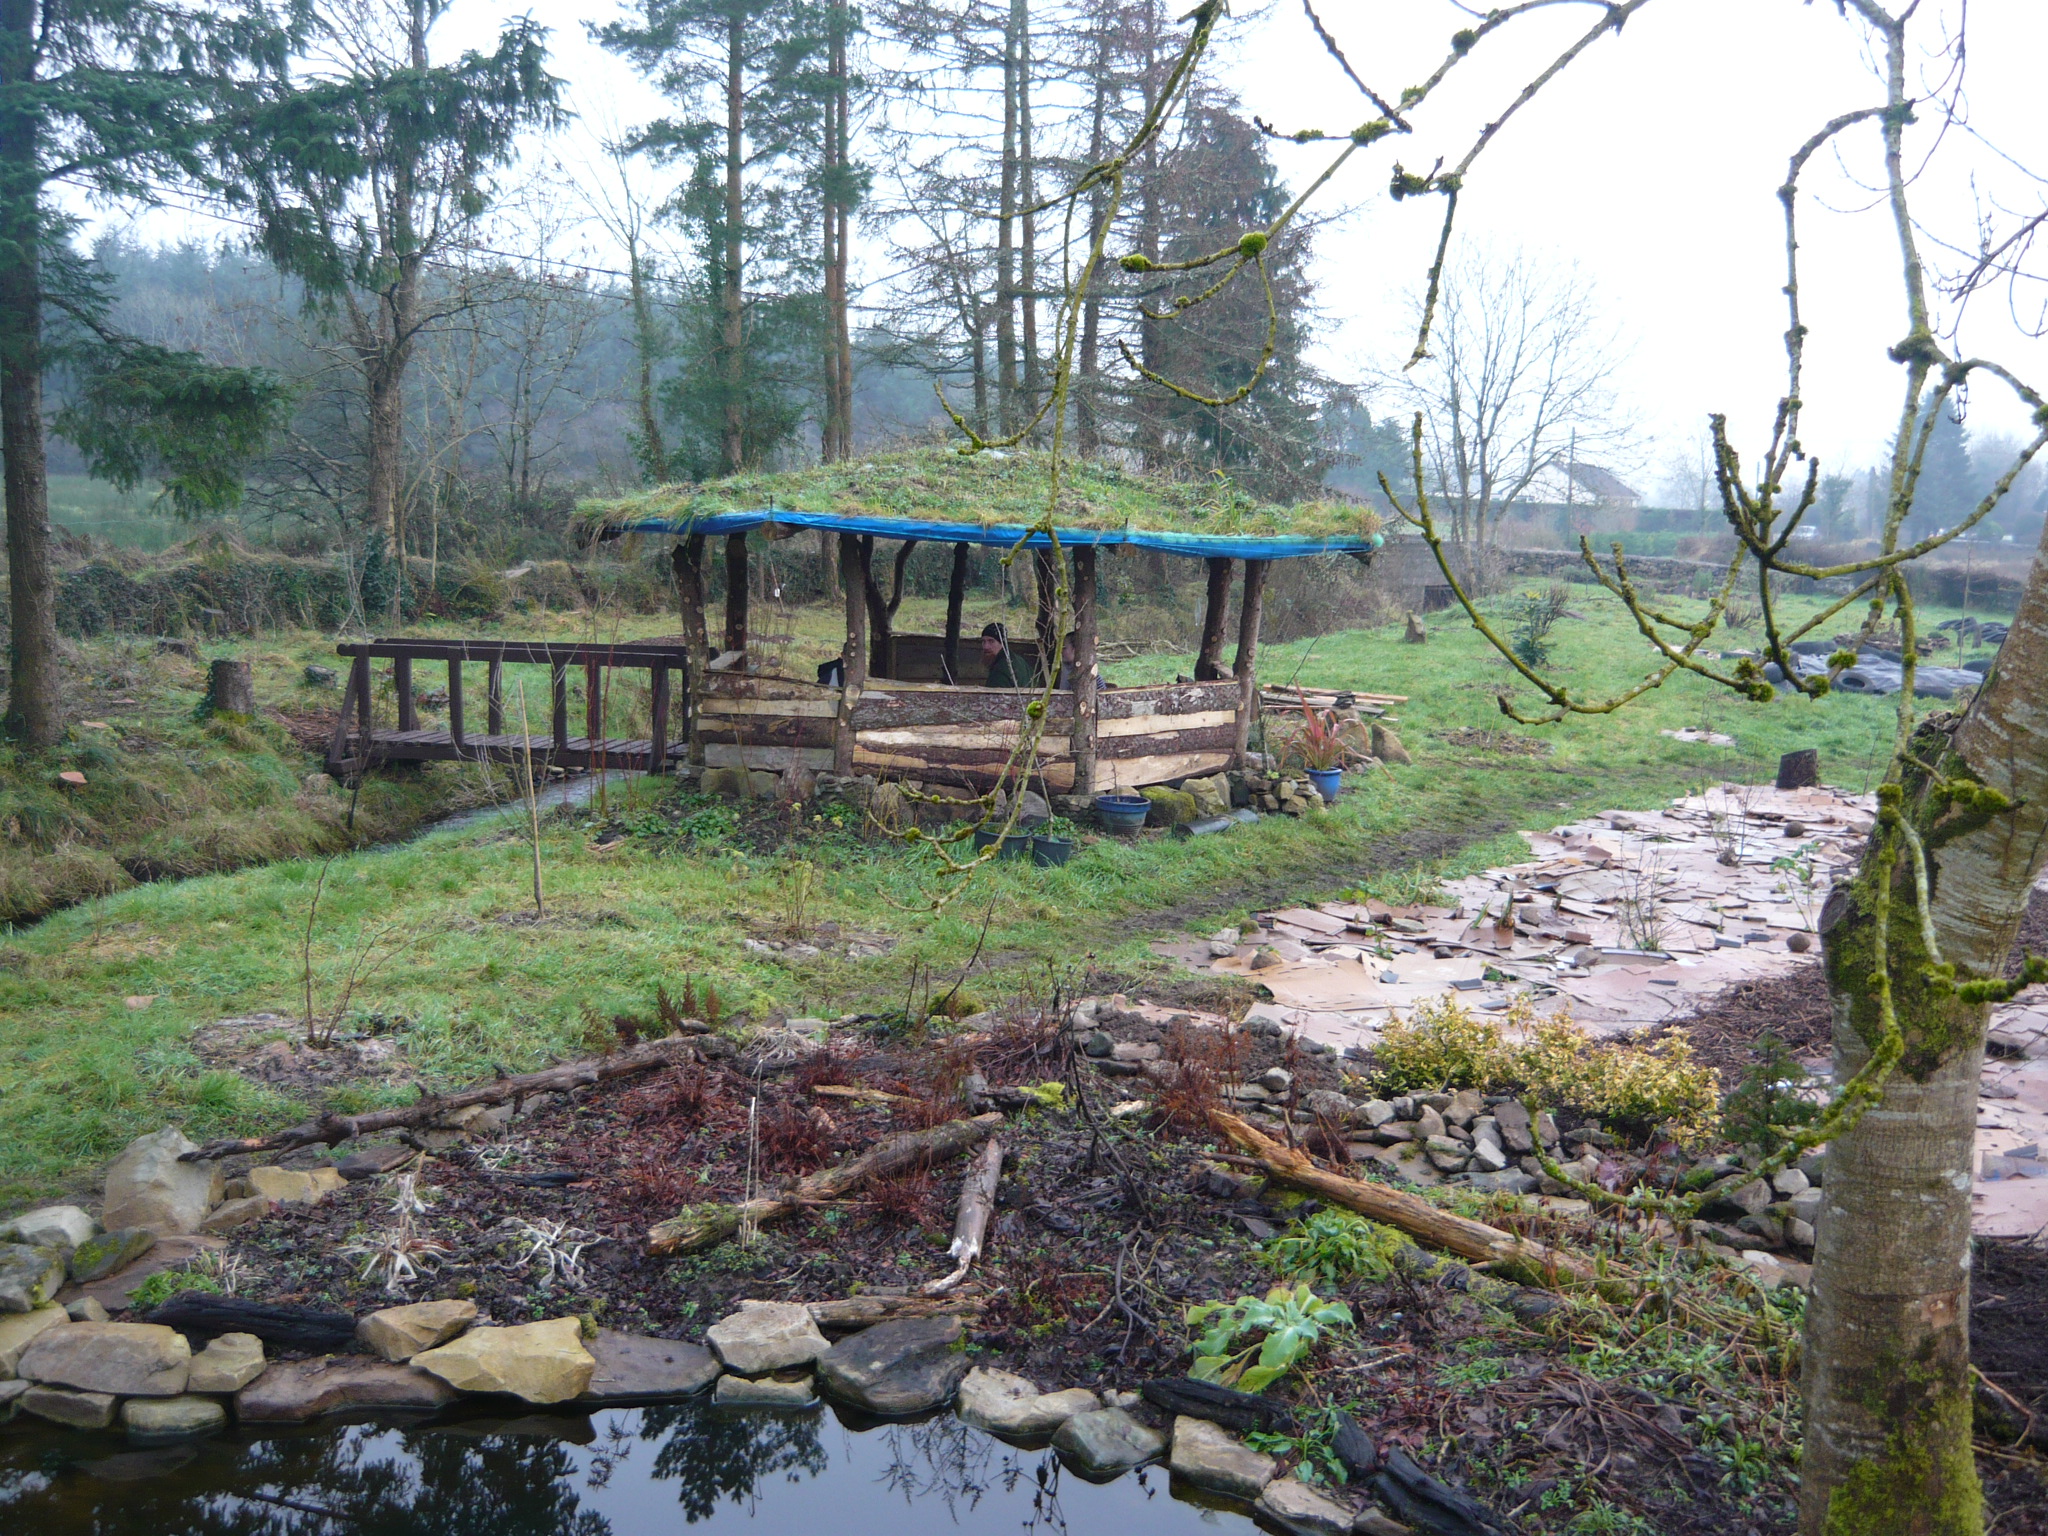
The tarpaulin was draped over the ropes and cut off, leaving an excess overhanging the edges. We then rolled this around a piece of wood, in each section and nailed it on top of the beams. This makes a solid edge that stops the soil from washing away. We then covered it with a layer of material, we had been given some carpet backing that was suitable. You could use hessian, old canvas or old carpets. We covered this with a thin layer of soil and seeded it, the roots of the plants grew into the fabric and bound the roof together. We also used some bird netting to hold the soil in place while the plants were growing. It is still there and now the whole roof is very green and flowers grow all over it. We used Clover and mixed meadow flower seeds as well as the grass that was in the soil. This year we have added some Nasturtium seeds and we are hoping they will trail over the edge. We had some off cuts of wood that we used for low walls. On each upright we added a piece of wood to each side that we nailed the off cuts to.


For the floor we put down some quarry dust to level it and then a layer of permeable plastic weed control followed by a layer of Leylandii mulch. This has worked really well, with no weeds after nearly two years. This gazebo cost next to nothing. One bag of cement, one reinforcement-bar, tarpaulin, a coil of rope, some 4inch and 6inch nails, some 2×1 rolling pieces of wood and some flower seeds. All in all less than €100. A very low price to pay for a practical, beautiful and comfortable outdoor room. We use it all year around, for meals, playing music, having friends around and doing homework. Have a go, it is quite easy and fun.


One thought on “Building a Gazebo with a living roof. Part 2.”