

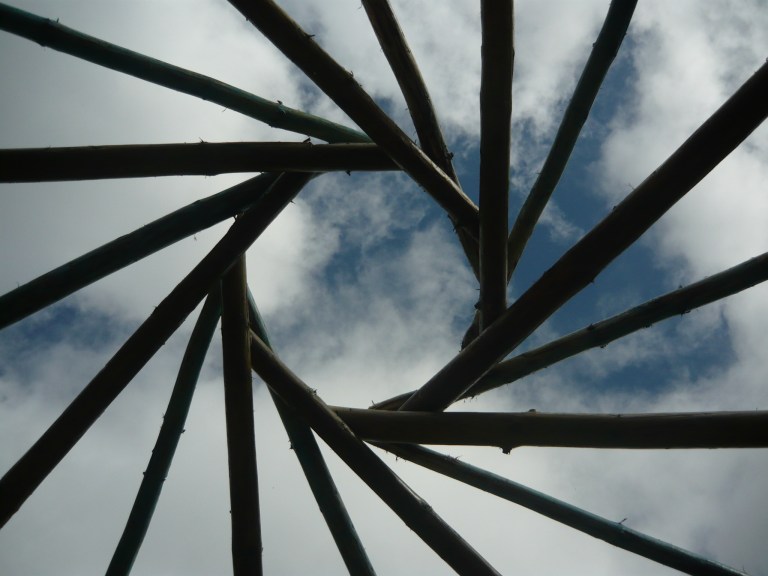
This is possibly our last post in the series about our roundhouse construction. We have now reached the top of the building and will tell you about our roof. Reciprocal roofs have probably been around for millennia or at least from the 12th century in China and Japan.
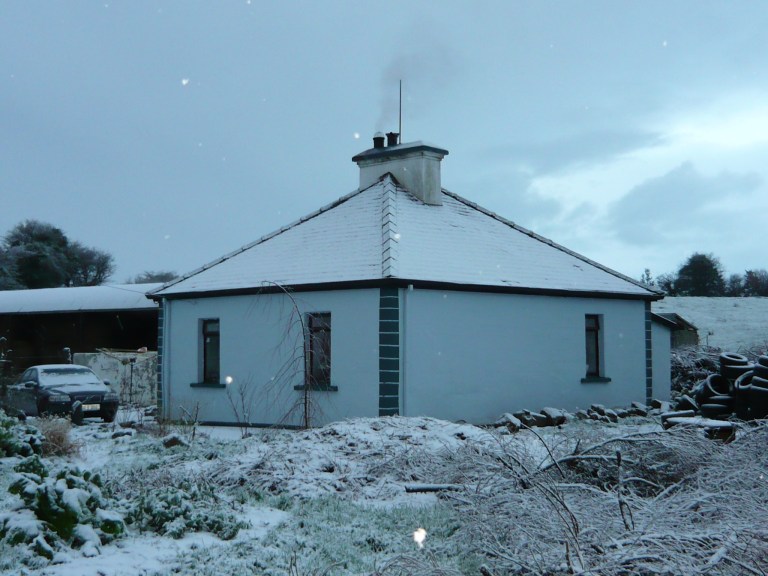
Our cottage before the extension.
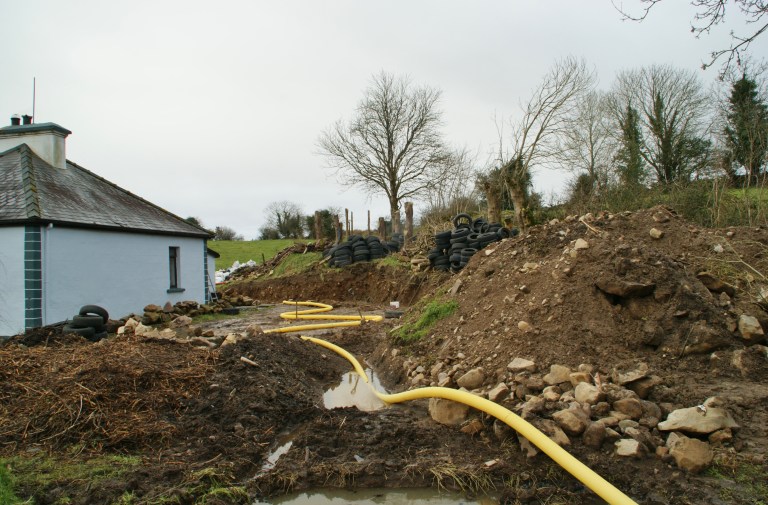
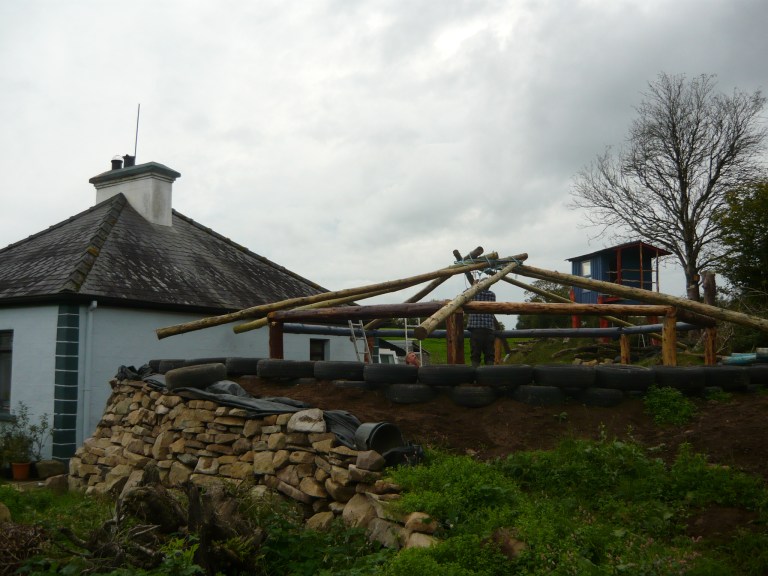
Site preparations.
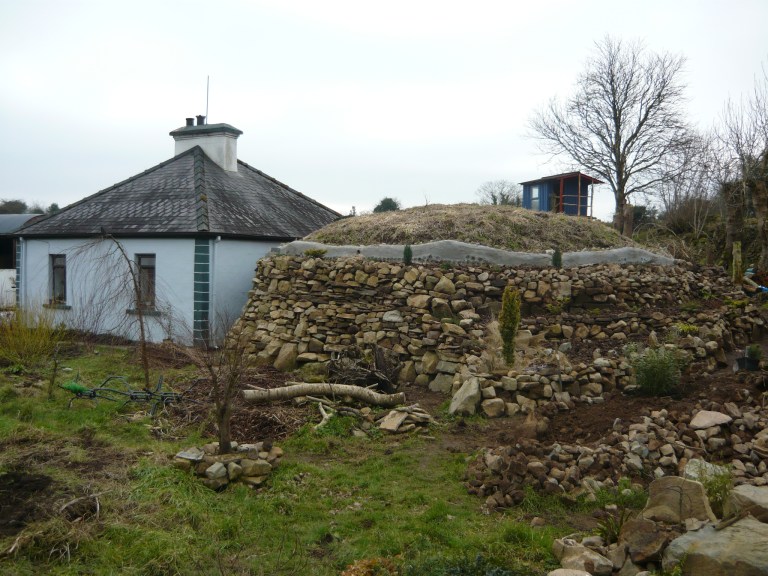
The finished extension. The blue box at the top is a small treehouse, not connected to the building in anyway.
If you are planning to build a roundhouse with a reciprocal roof you would be wise to visit Tony Wrench’s site where you can get a lot of information, buy books and discover many links to follow. One member of our family has been involved in the build of nine different roundhouses in Wales and Ireland so we had quite a lot of experience when it was time to extend our home. We bought our little cottage from 1924 with the plan to extend it with a roundhouse at the back. In Ireland planning law lets you build on a 40 square meter extension to an existing house as long as you follow certain criteria.
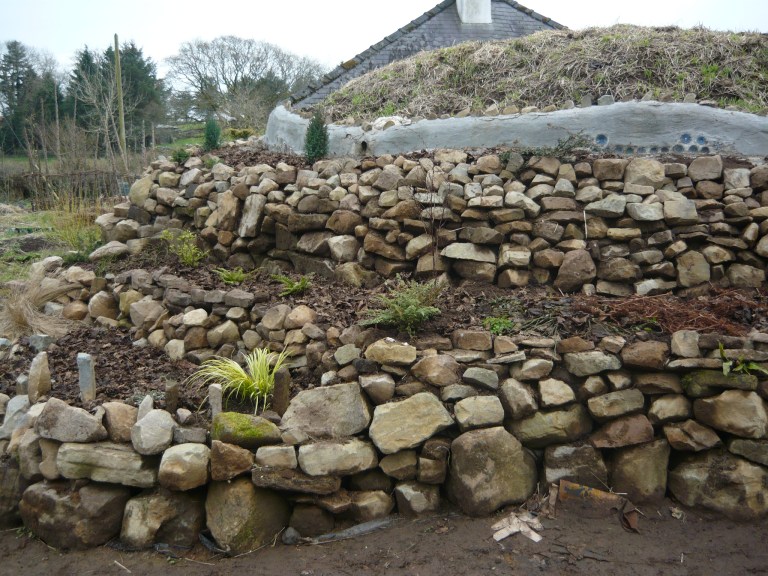
This is our extension in the winter of 2014-2015. You can see the roof at the top and the cottage in the background.
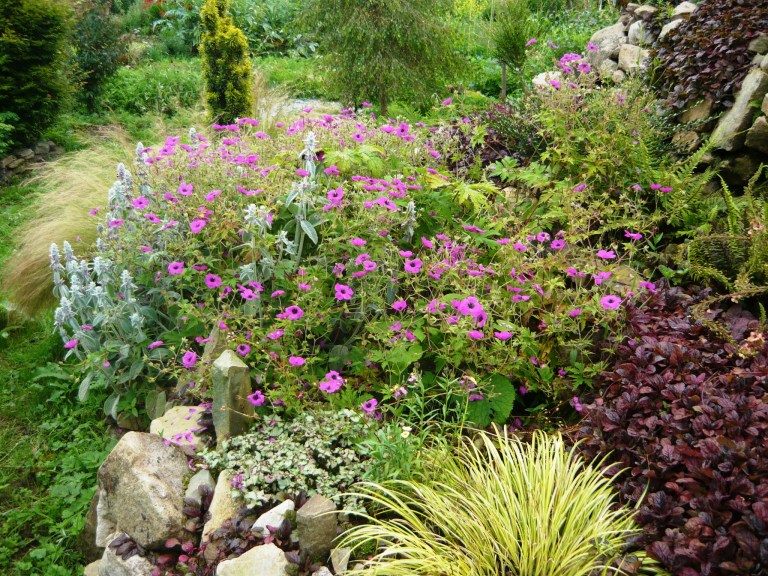
Same plantation this summer.
You can read about other parts of our build in the category Reciprocal roundhouse.
Our aim was to build a home as eco-friendly, cheap and aesthetically pleasing as possible. We wanted to incorporate as many local, free, recycled and natural materials as possible. Our biggest resource was stones from the garden. Sometimes you need to compromise and our lack of timber made us consider a rather unusual method for building our roof. In fact we do not know if it has ever been done before. We will tell you more about it shortly.
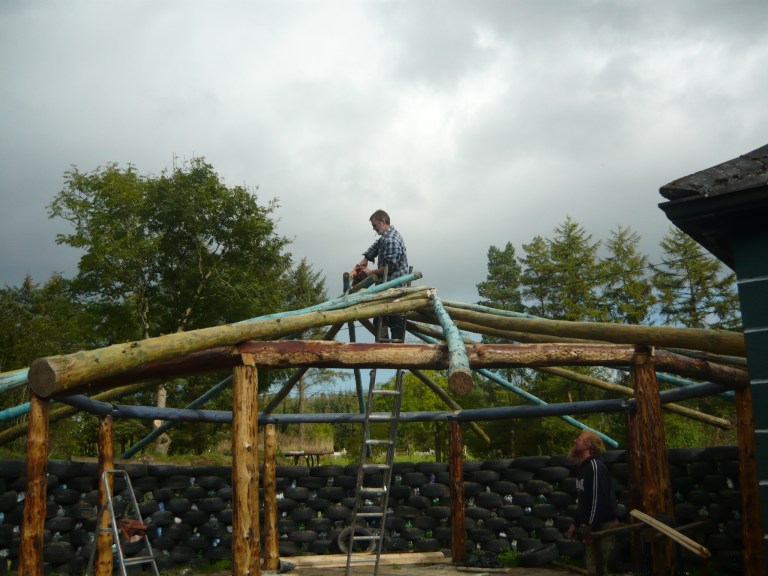
But we are getting ahead of ourselves and should start from the beginning. We de-barked all the main roof beams, in our case 16, and made sure they were of a similar girth. It is good to remove the bark as the wood is less likely to be attacked by insects and you can treat it and oil it in any way you prefer.

In the next few pictures you can see our roof taking shape. The whole beam construction was finished in one day with three people working on it. Once you have made the preparations the actual building is quite easy.


We have written about a similar construction process in a different post, Building a gazebo with a living roof part 2 and there is a lot of information available online and in books so we will not go into too much detail here.
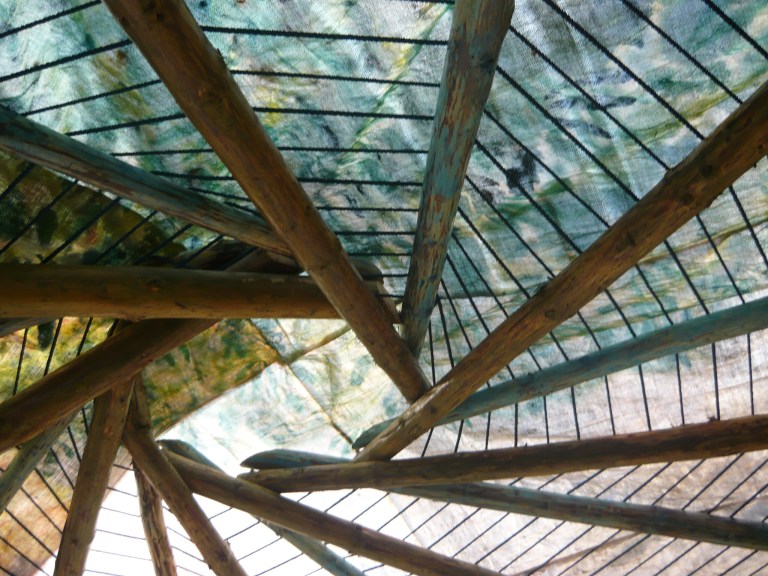
When all our beams were securely in place, we moved onto the unusual part of our roof. Traditionally whatever timber is available is split, ends tapered and then fastened to the roof to fill in the spaces between the beams and act as a support for the rest of the roof materials. We did not have any such materials, and were a bit pressed for time so decided to use polypropylene rope. We know this is not an eco-friendly material, but considering the small amount needed for the project and the fact that we had no other affordable or close material at hand, we made a compromise. It has been two years now and the rope is perfect, with no signs of sagging or weakening. There is no reason why it should not last another 20 or 30 years.


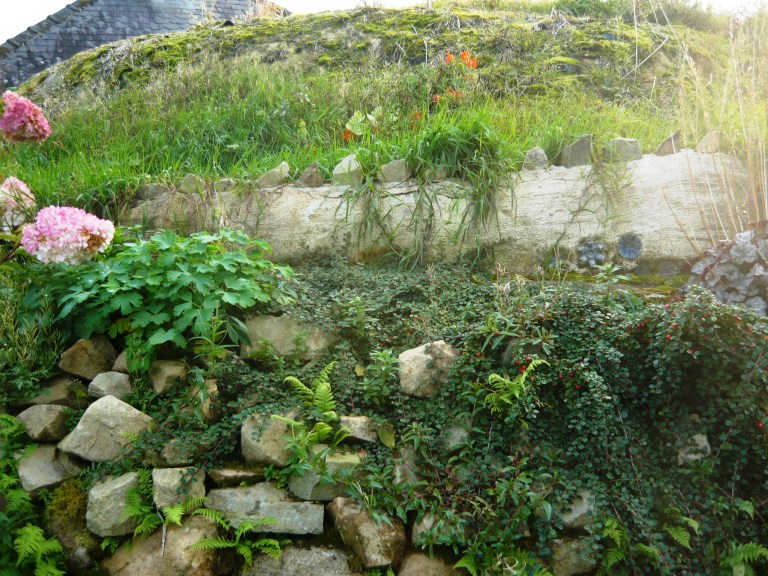
We attached the ropes to each beam with a metal U hammered in as we stretched the rope as much as possible. The process made for a very strong, flexible and practical roof construction. When the ropes were in place we added a huge canvas, a layer of straw for insulation and a pond liner. On top of that we have old wool carpets, wool, straw and a few handfuls of soil. Lots of plants grow up there now and we mostly leave them too it, letting moss form on the north side of the roof and whatever seeds that fall on it grow. There are lots of different flowers up there now.

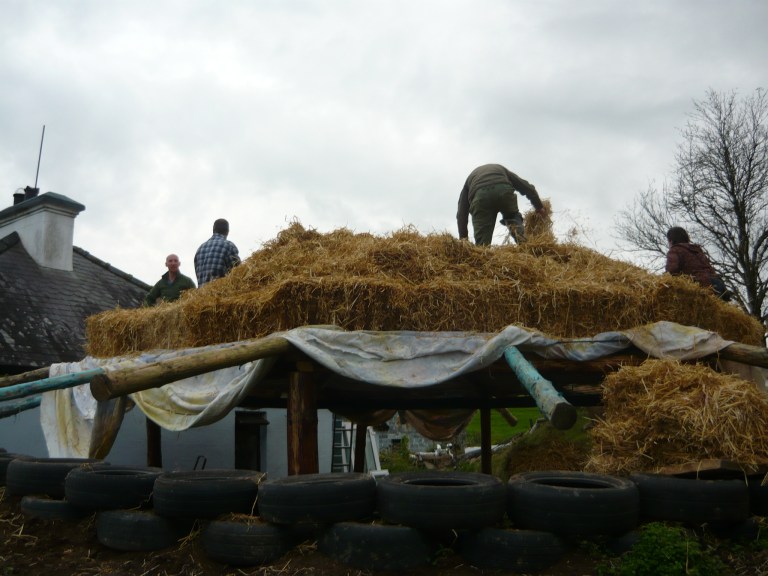
We now realize that we will need to add one more post in the future to describe how the roof sits on top of retaining wall made from tires and how we have connected it to our indoor garden that is to the side of the roundhouse.
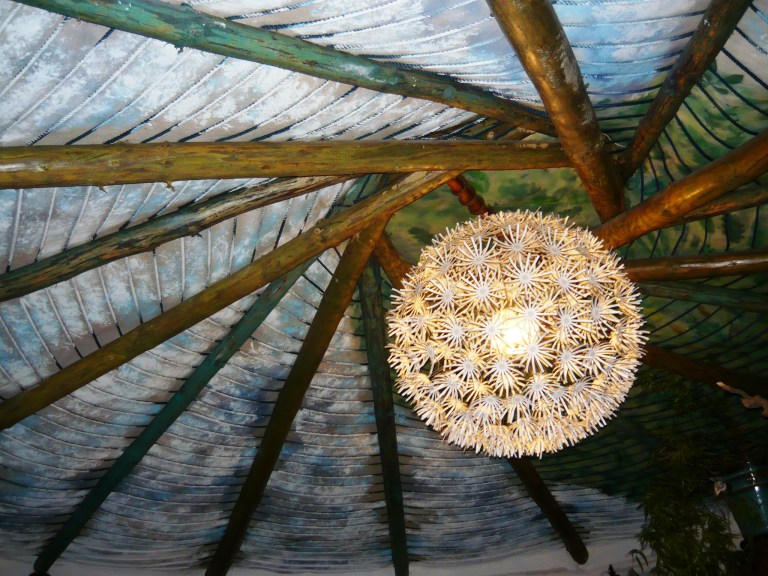
We will leave you now with a couple of photos of our finished ceiling painted and decorated by the whole family.
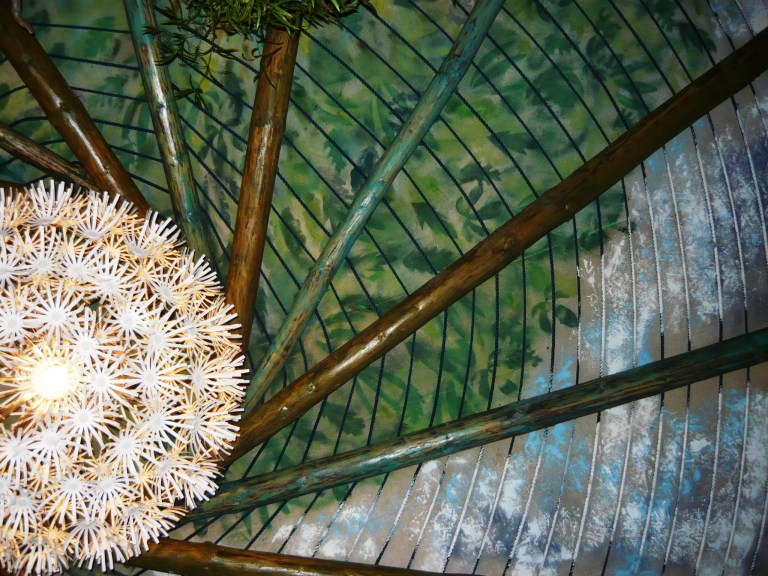

One thought on “The reciprocal roof.”