

As we have been busy building, tiling, gardening and painting for the last year or so, it was a very exciting time this week when we finally had a chance to get the sewing machine out.

Two of our teenage daughters are sharing a room and they had a wish for some bunting to decorate their curtains and windows.

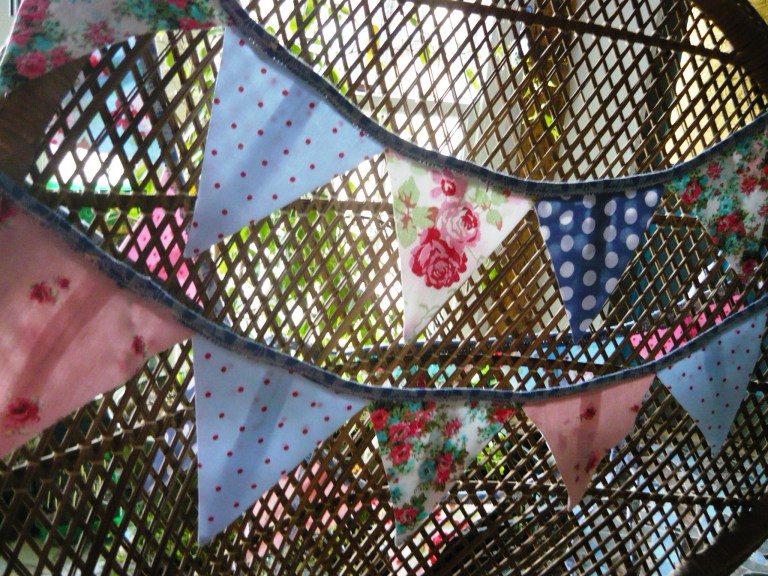
In s Swedish craft magazine, 101 nya idéer, (101 new ideas) autumn issue nr. 4 2015, we came across an easy way to make bunting, using only one piece of fabric for each triangular flag instead of the classic two triangles sewn back to back. It was a very easy and quick project and we thought we should share it with you here, in a slightly personalised version. We are under the strong belief that a few lengths of bunting can cheer up and lift the spirits of almost any room, garden or celebratory situation.
First you need a selection of fabrics for the flags; we recycled some old clothes and added a few IKEA fabrics, for a romantic, floral look that suit the colours in the girl’s room.

Make a flag template out of paper first, and transfer it onto card for durability. We think it is easiest for you to look at the pictures and see how the template is created, rather than us trying to write about it. You can make your flags to any size you want as long as you keep the two long sides of the triangle the same length. The two flaps on the sides should fold over and just meet on the centre line.


Place the template on the reverse of your fabric and draw around it. Remember to add about 1 cm seam allowance to the two longer, outer sides. You do not need any seam allowance at the top of each flag.

Fold the flags in half, right side facing, and sew them all, one after the other to save on thread and time.
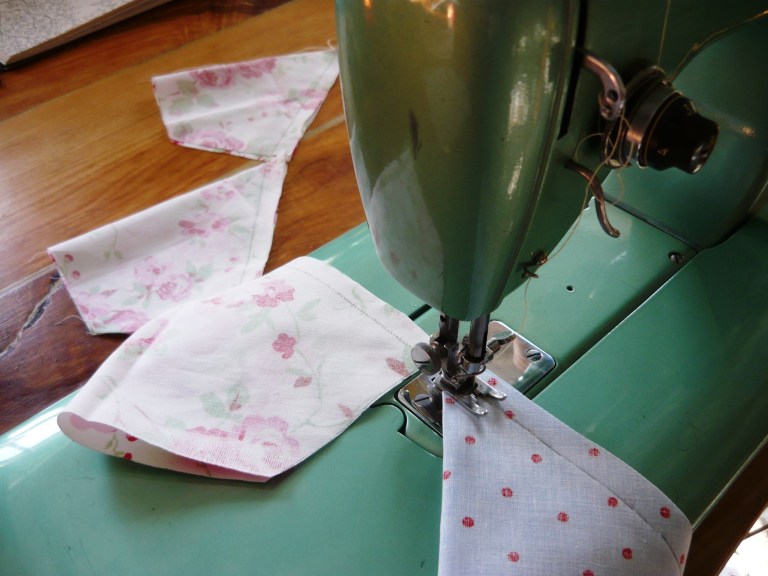
The tip of each flag needs to be cut off in order to create a sharp point. Use your nail and finger to separate the seam and press with a hot iron.


Use a chopstick to help in turning the flag right side out and push the fabric all the way to the point. You can then press the flags again; making sure each seam is at the middle of the back.


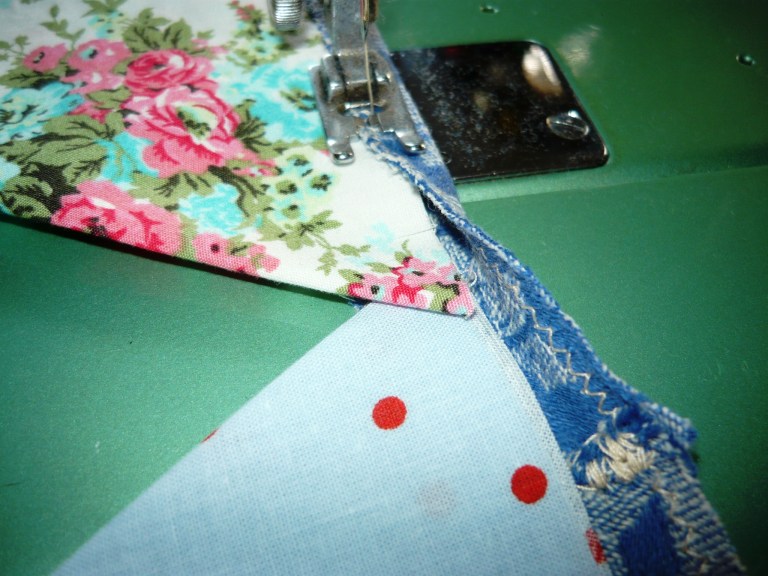
We used some lovely old woven fabric from Sweden, which we were lucky enough to find in a second hand shop some years back, for the long pieces you need to attach all the flags too. This fabric is very practical as it can be cut on the bias, following the pattern for a finished bunting that drapes beautifully. You could use a ready-made bias binding or anything else you like for this part of the project.


We used a zigzag stitch to prevent the fabric from fraying too much and to join our fabric strips into two long lengths, one for each window. After that all we had to do was sandwich the flags between our folded strips and slightly overlap them along the way. You might want to leave a space between each flag for a slightly different look. We think the bunting will look lovely once the curtains have been updated with a layer of white fabric, attached to the front. At present they are made from thick cotton chenille in a mustard colour, much to the girl’s horror. They are great at excluding light and keeping the room warm at night, but will need a colour change before the bunting can go up.


But, as the old saying goes, if you wait for something good, you can never wait too long. And it would not hurt for the girls to tidy their room in the meantime!
