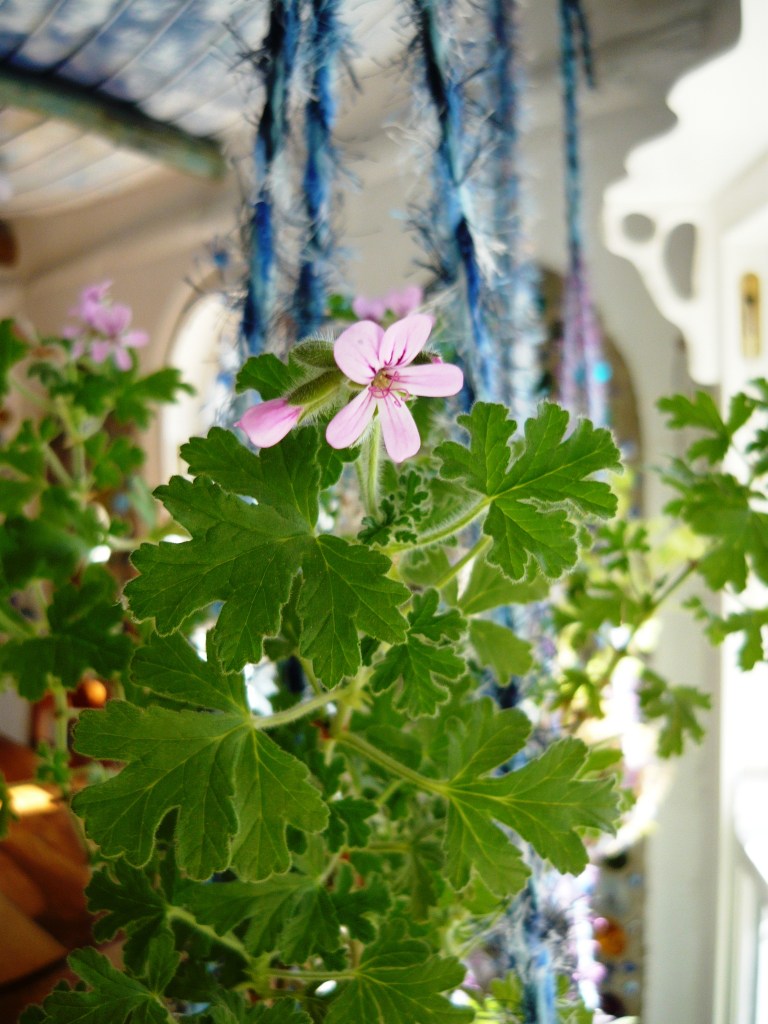
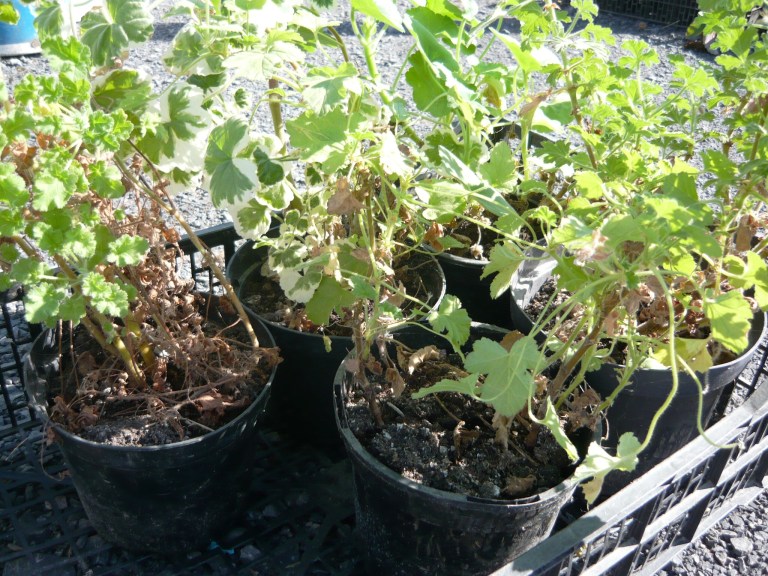
Last year we were given some lovely Pelargonium cuttings from a friend to add to our pelargonium collection. They all spent the summer outside, but when it got too cold they had to move indoors. They have been stored all winter in some plastic crates and were looking a bit worse for wear due to poor light and cramped conditions.
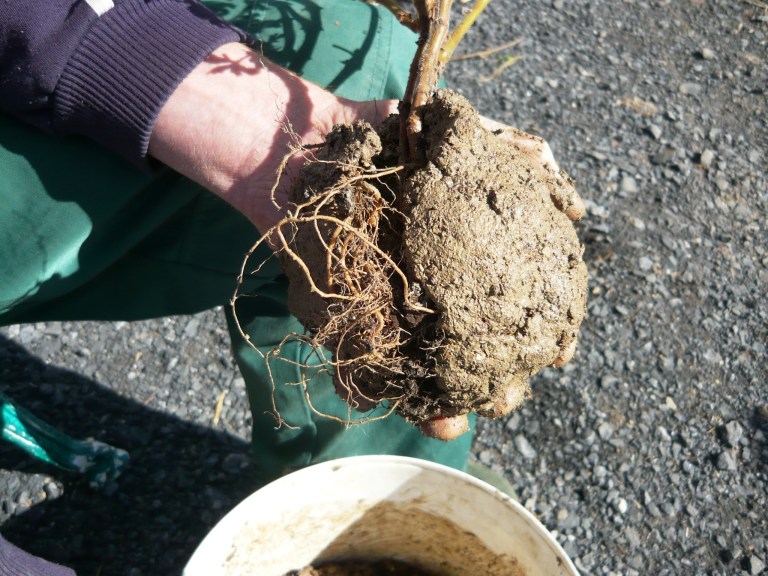
We wanted to try something a bit different for planting them up this year and when we came across some clay while digging in our garden, an idea was formed. Why not try the ancient Japanese art of Kokedama? Koke means moss and dama ball.The technique involves clearing the roots of the plant from soil and covering them with a mix of clay and moss peat. After it has been formed into a ball, you wrap it up with moss and wind a string around to keep it all together. In Japan it is often used for bonsai, and the tree with the moss ball is either hung up or put on a flat surface. We put our personal twist on this project and it can in no way be considered to be traditional or following Japanese standards.

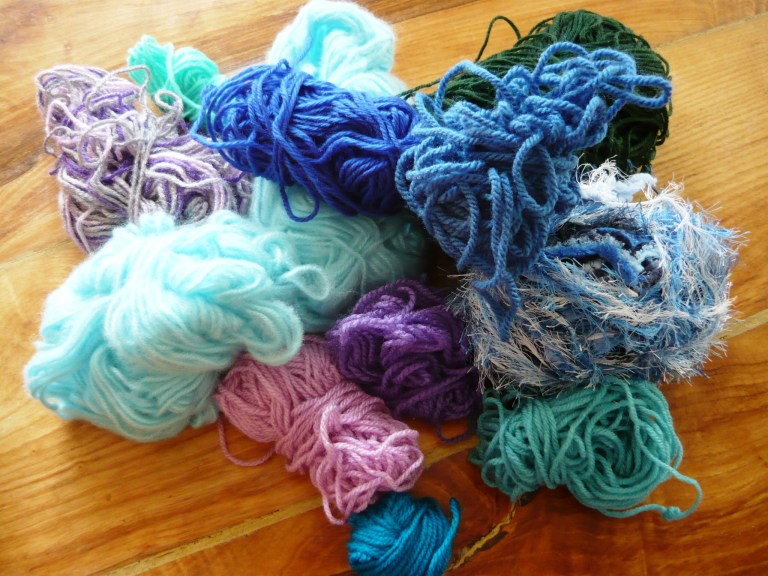
We have a lot of odds and ends of yarn, which we normally incorporate in knitted blankets, but we thought a small amount would be lots of fun to use for this project. We started off by cutting four very long pieces of yarn and attached one end of them to a doorknob. We pulled the yarns taut and twisted them all together clockwise. When we had a fairly good twist we folded the yarns in half, and let it spin back on itself. This creates a rope of sorts. If you have a lot of rope to make it is handy to use a drill with a key less chuck, for twisting your yarns together to save time.

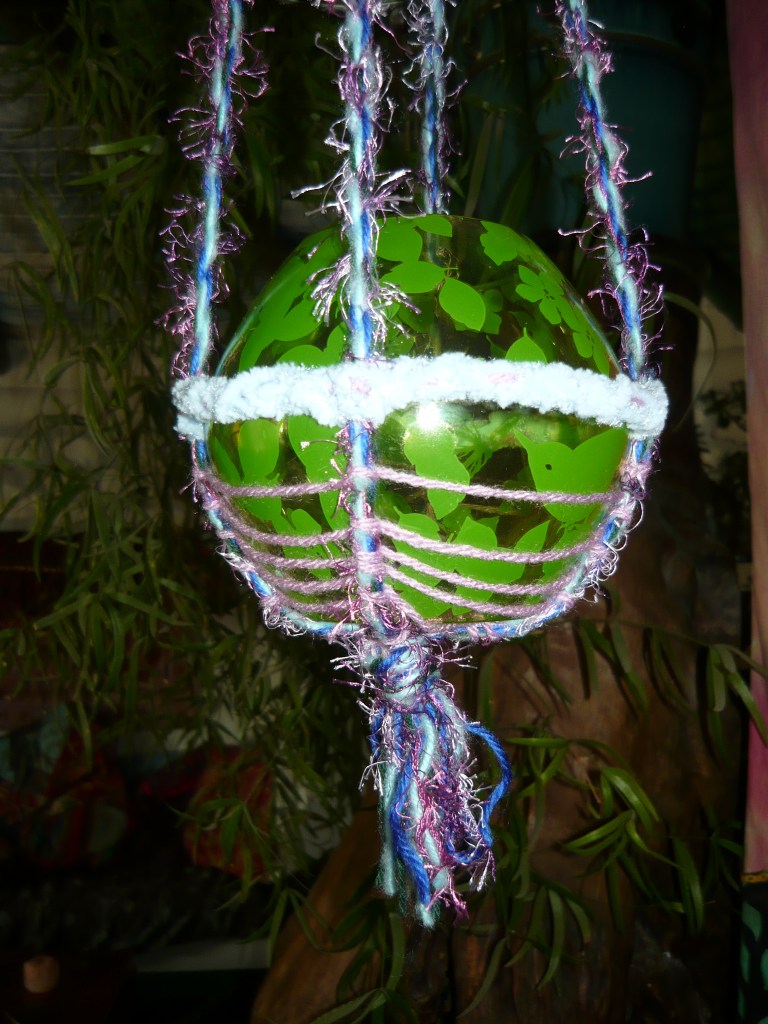
We then went on to fold the finished rope in four and tie one end together. We used a round lamp shade of glass as a mould for weaving our yarn hanging baskets around. You could also use a ball. The following pictures describe the weaving process.
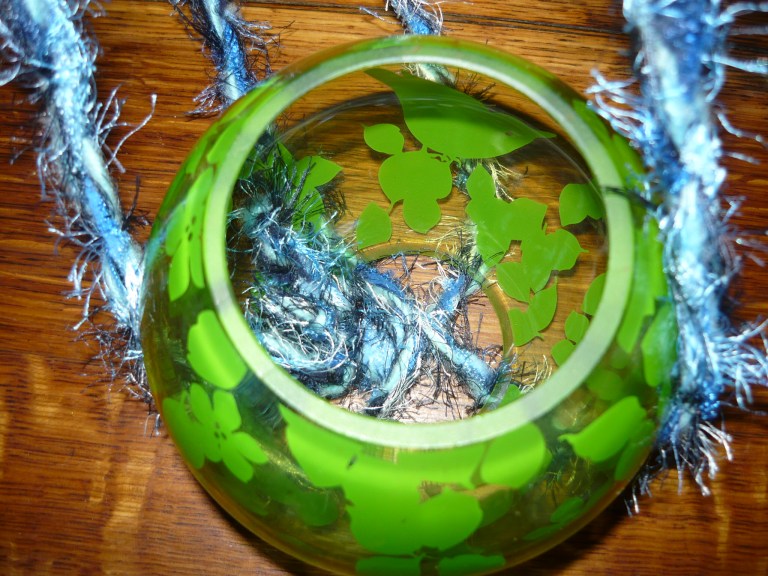
Tie the four ends together and place the knot under your mould.

Tie the long ends on top.

Turn over and cut the ends to form a tassel.
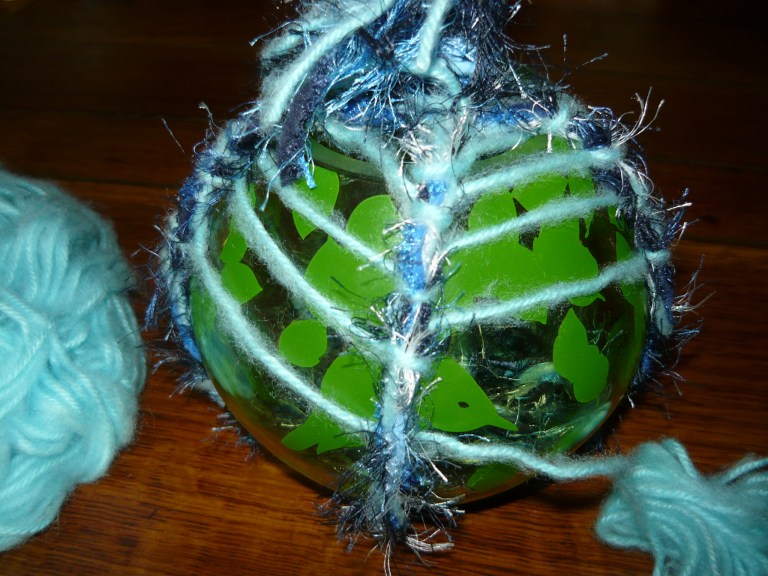
Weave your yarn around the ball in a spider web fashion.
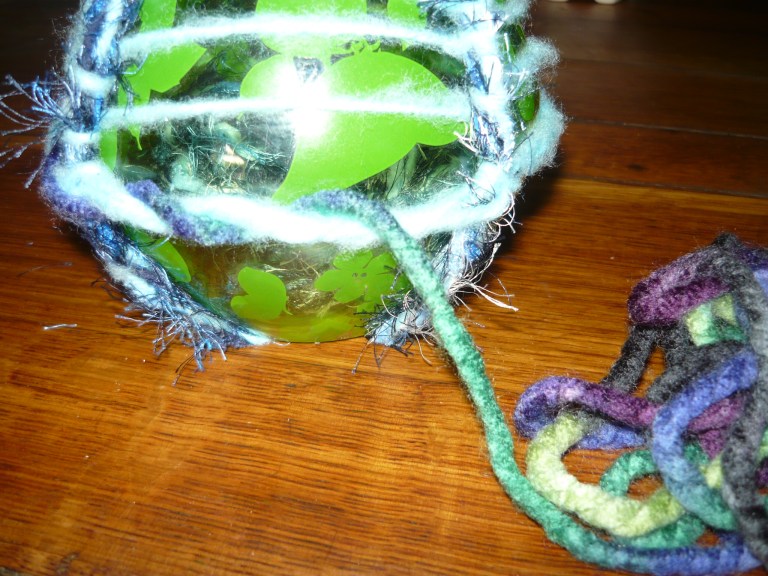
Finish of by adding a thicker yarn for a sturdy edge.
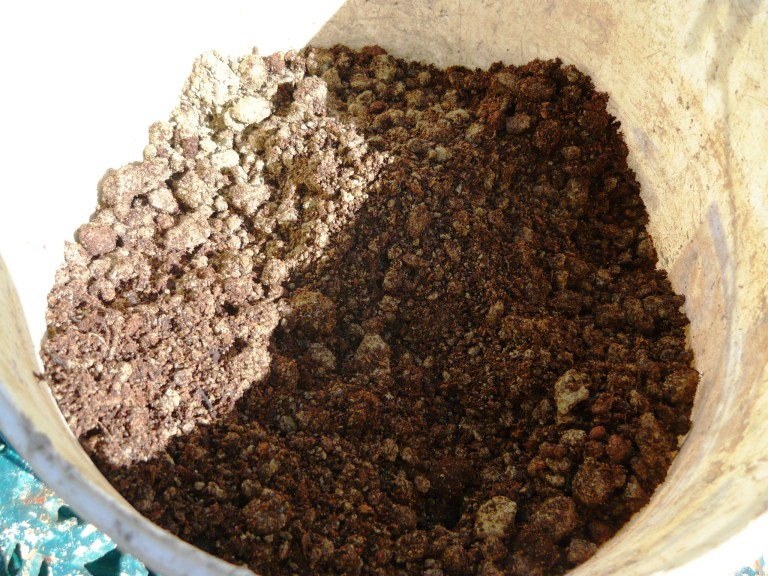
When we had five baskets finished we went on to creating our moss balls. Our clay contained very few stones, so we just crumbled it up and added about 20% moss peat to it to make it easier for the roots to soak up water. In Ireland we have peat everywhere, but if you live somewhere else and wish to be environmentally friendly, use a peat substitute like coconut coir. We added water until we had a pliable mix.
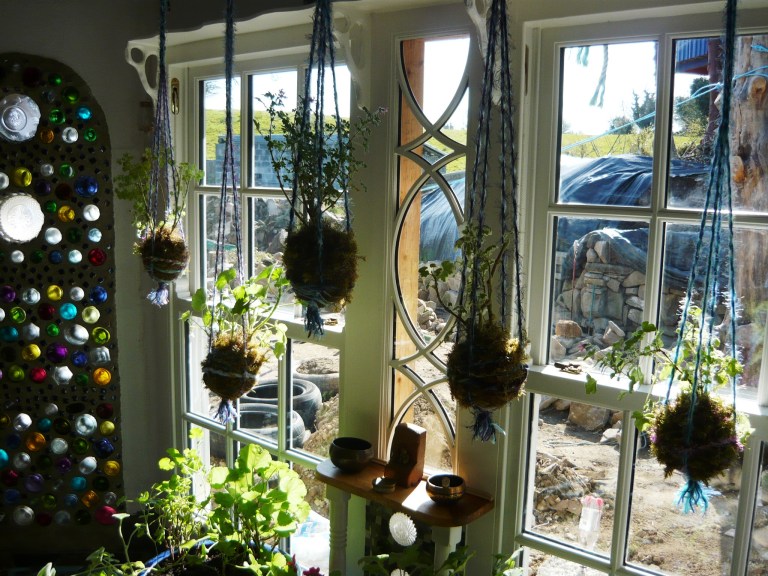
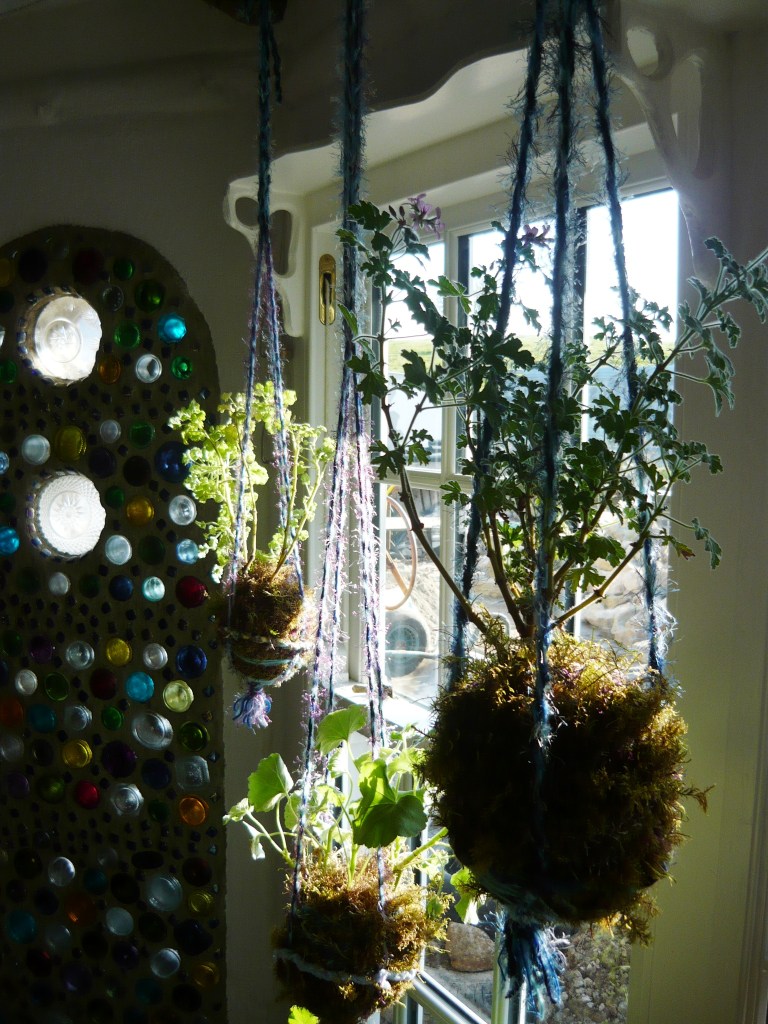
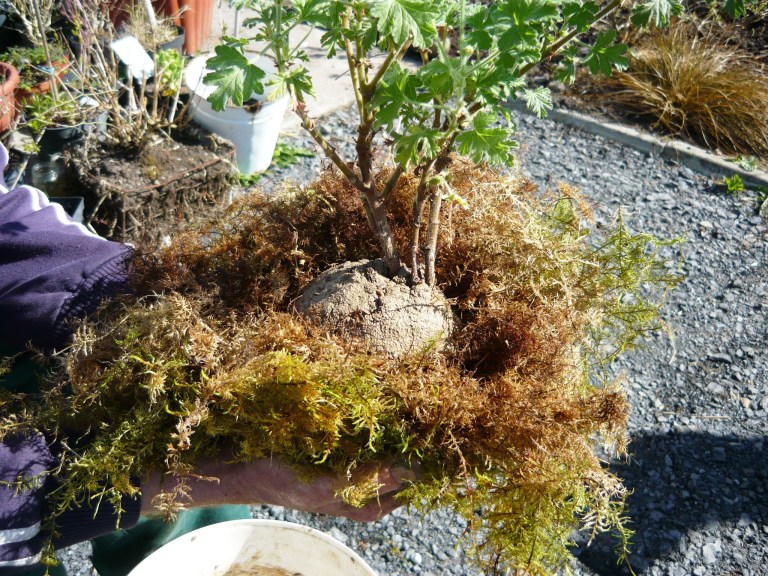
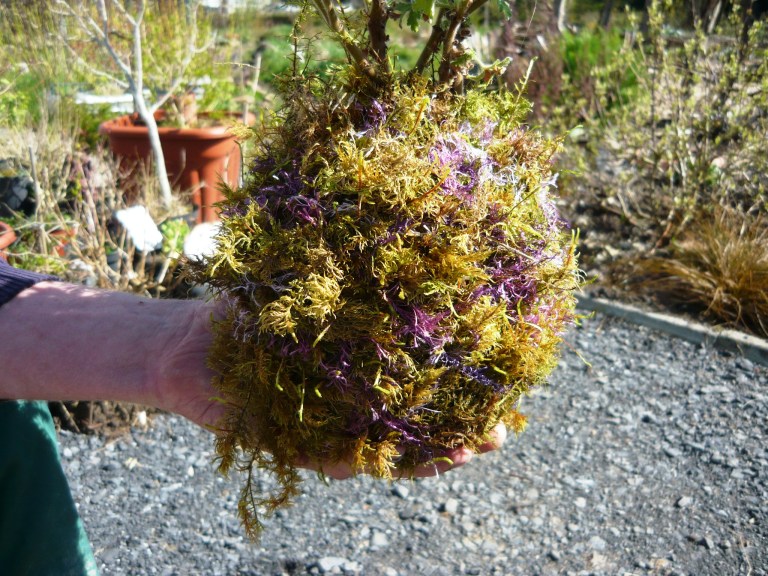
Once the clay mixture was formed around the root ball, we wrapped it up in some moss from our garden. We then wrapped some yarn around to stabilize our ball and popped it into a moss ball holder.
All in all this was a very fun project, it cost us next to nothing and we are pleased with the end result. You could use this technique for many different plants, both inside and out, but avoid cacti and succulents as they will find the clay mixture to damp and might rot. We will use a spray bottle for misting our moss balls and dunk them in a bucket of water and plant food now and again to keep our new hanging garden looking great.