Set in stone.

North stone

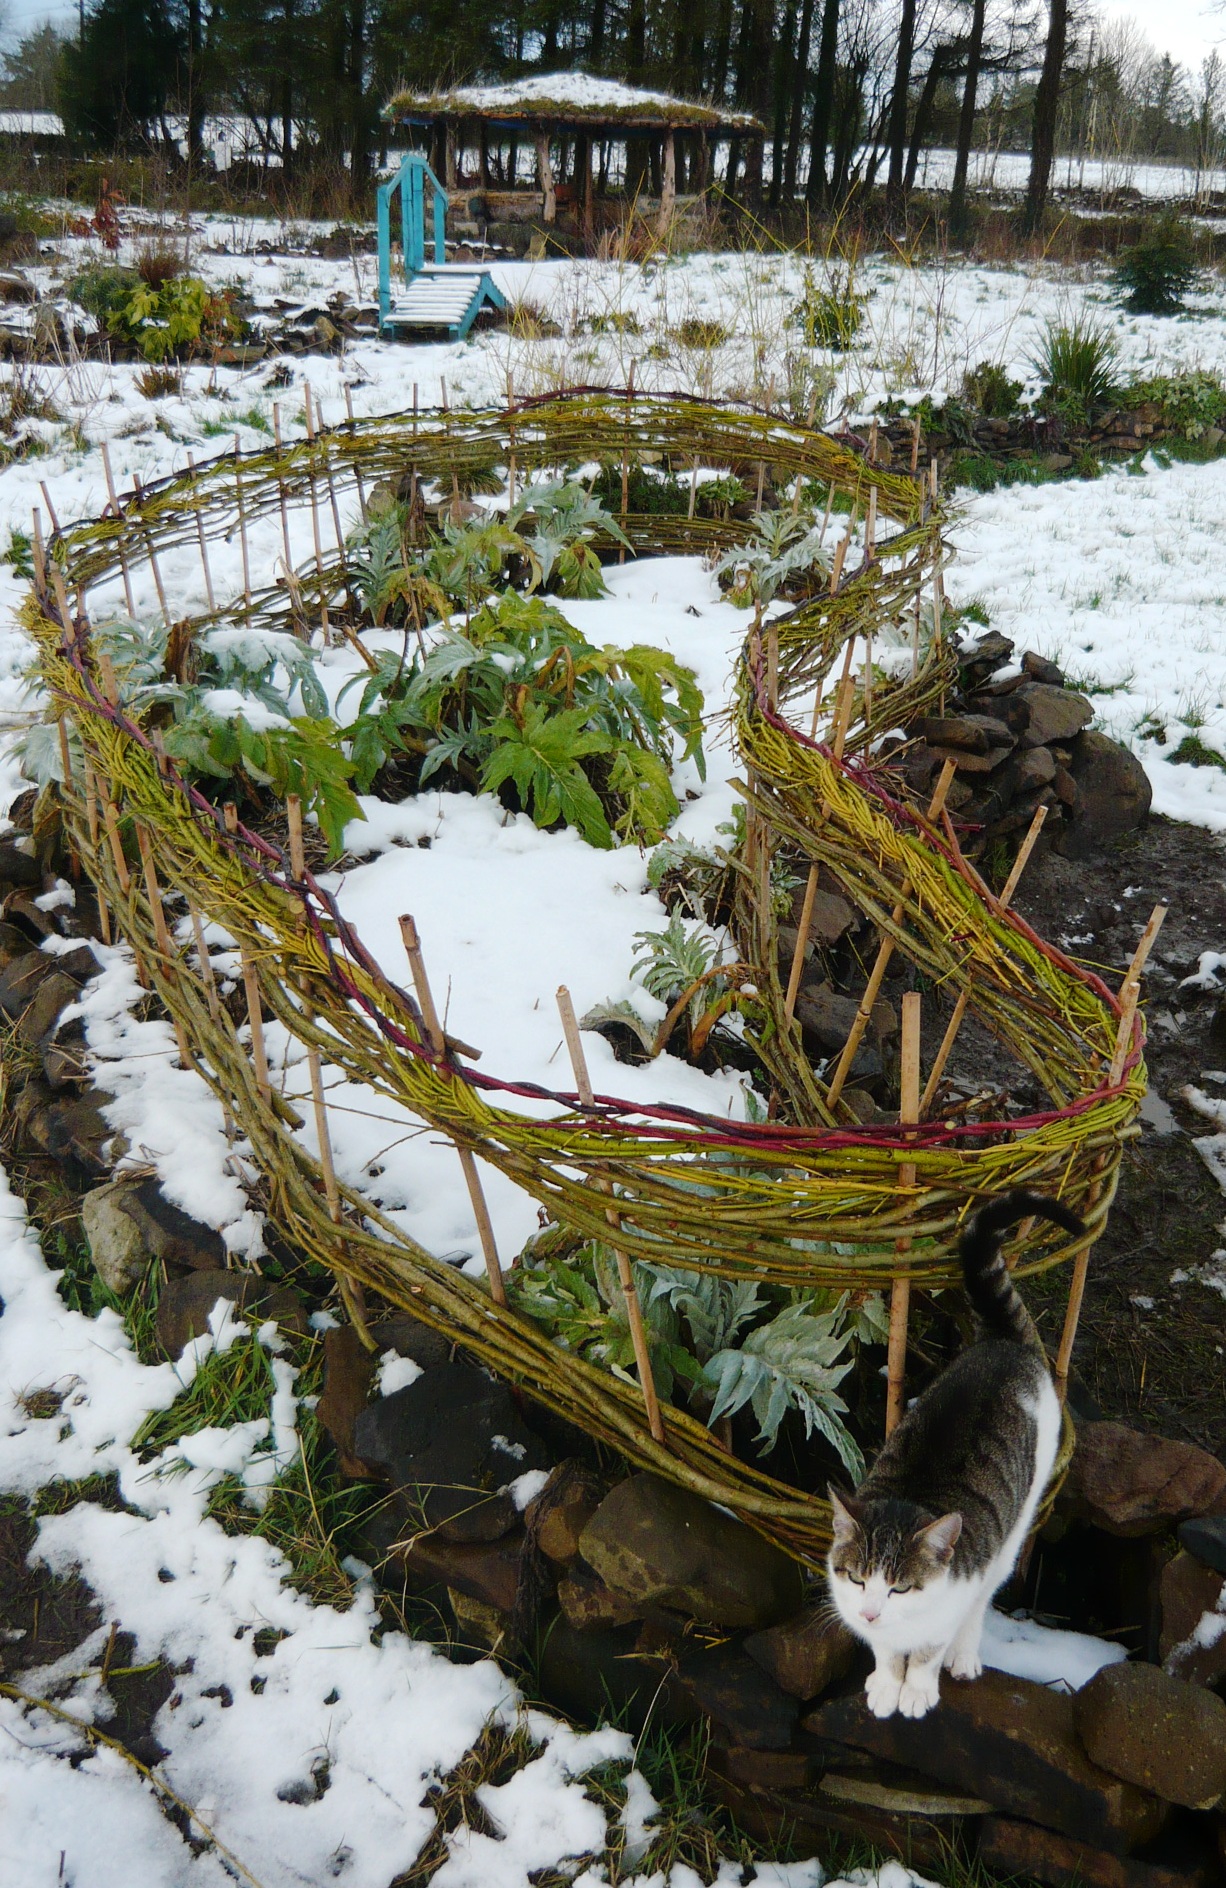
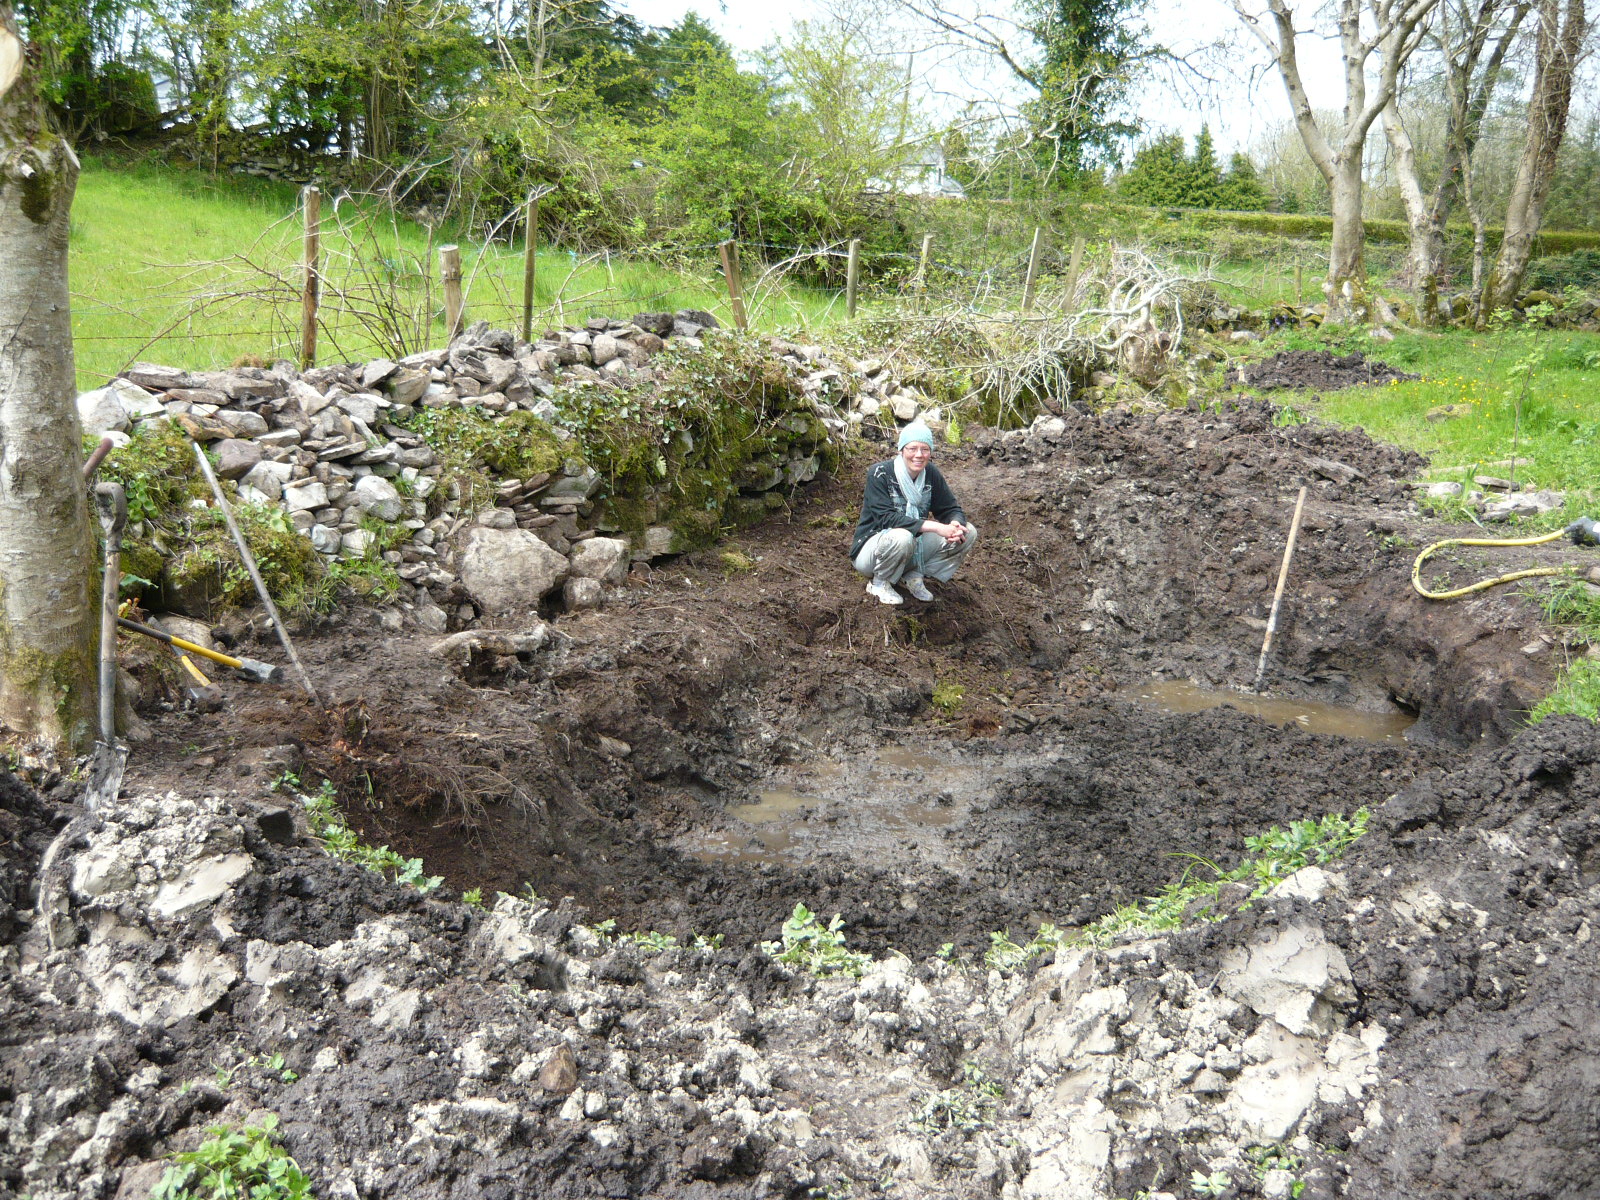
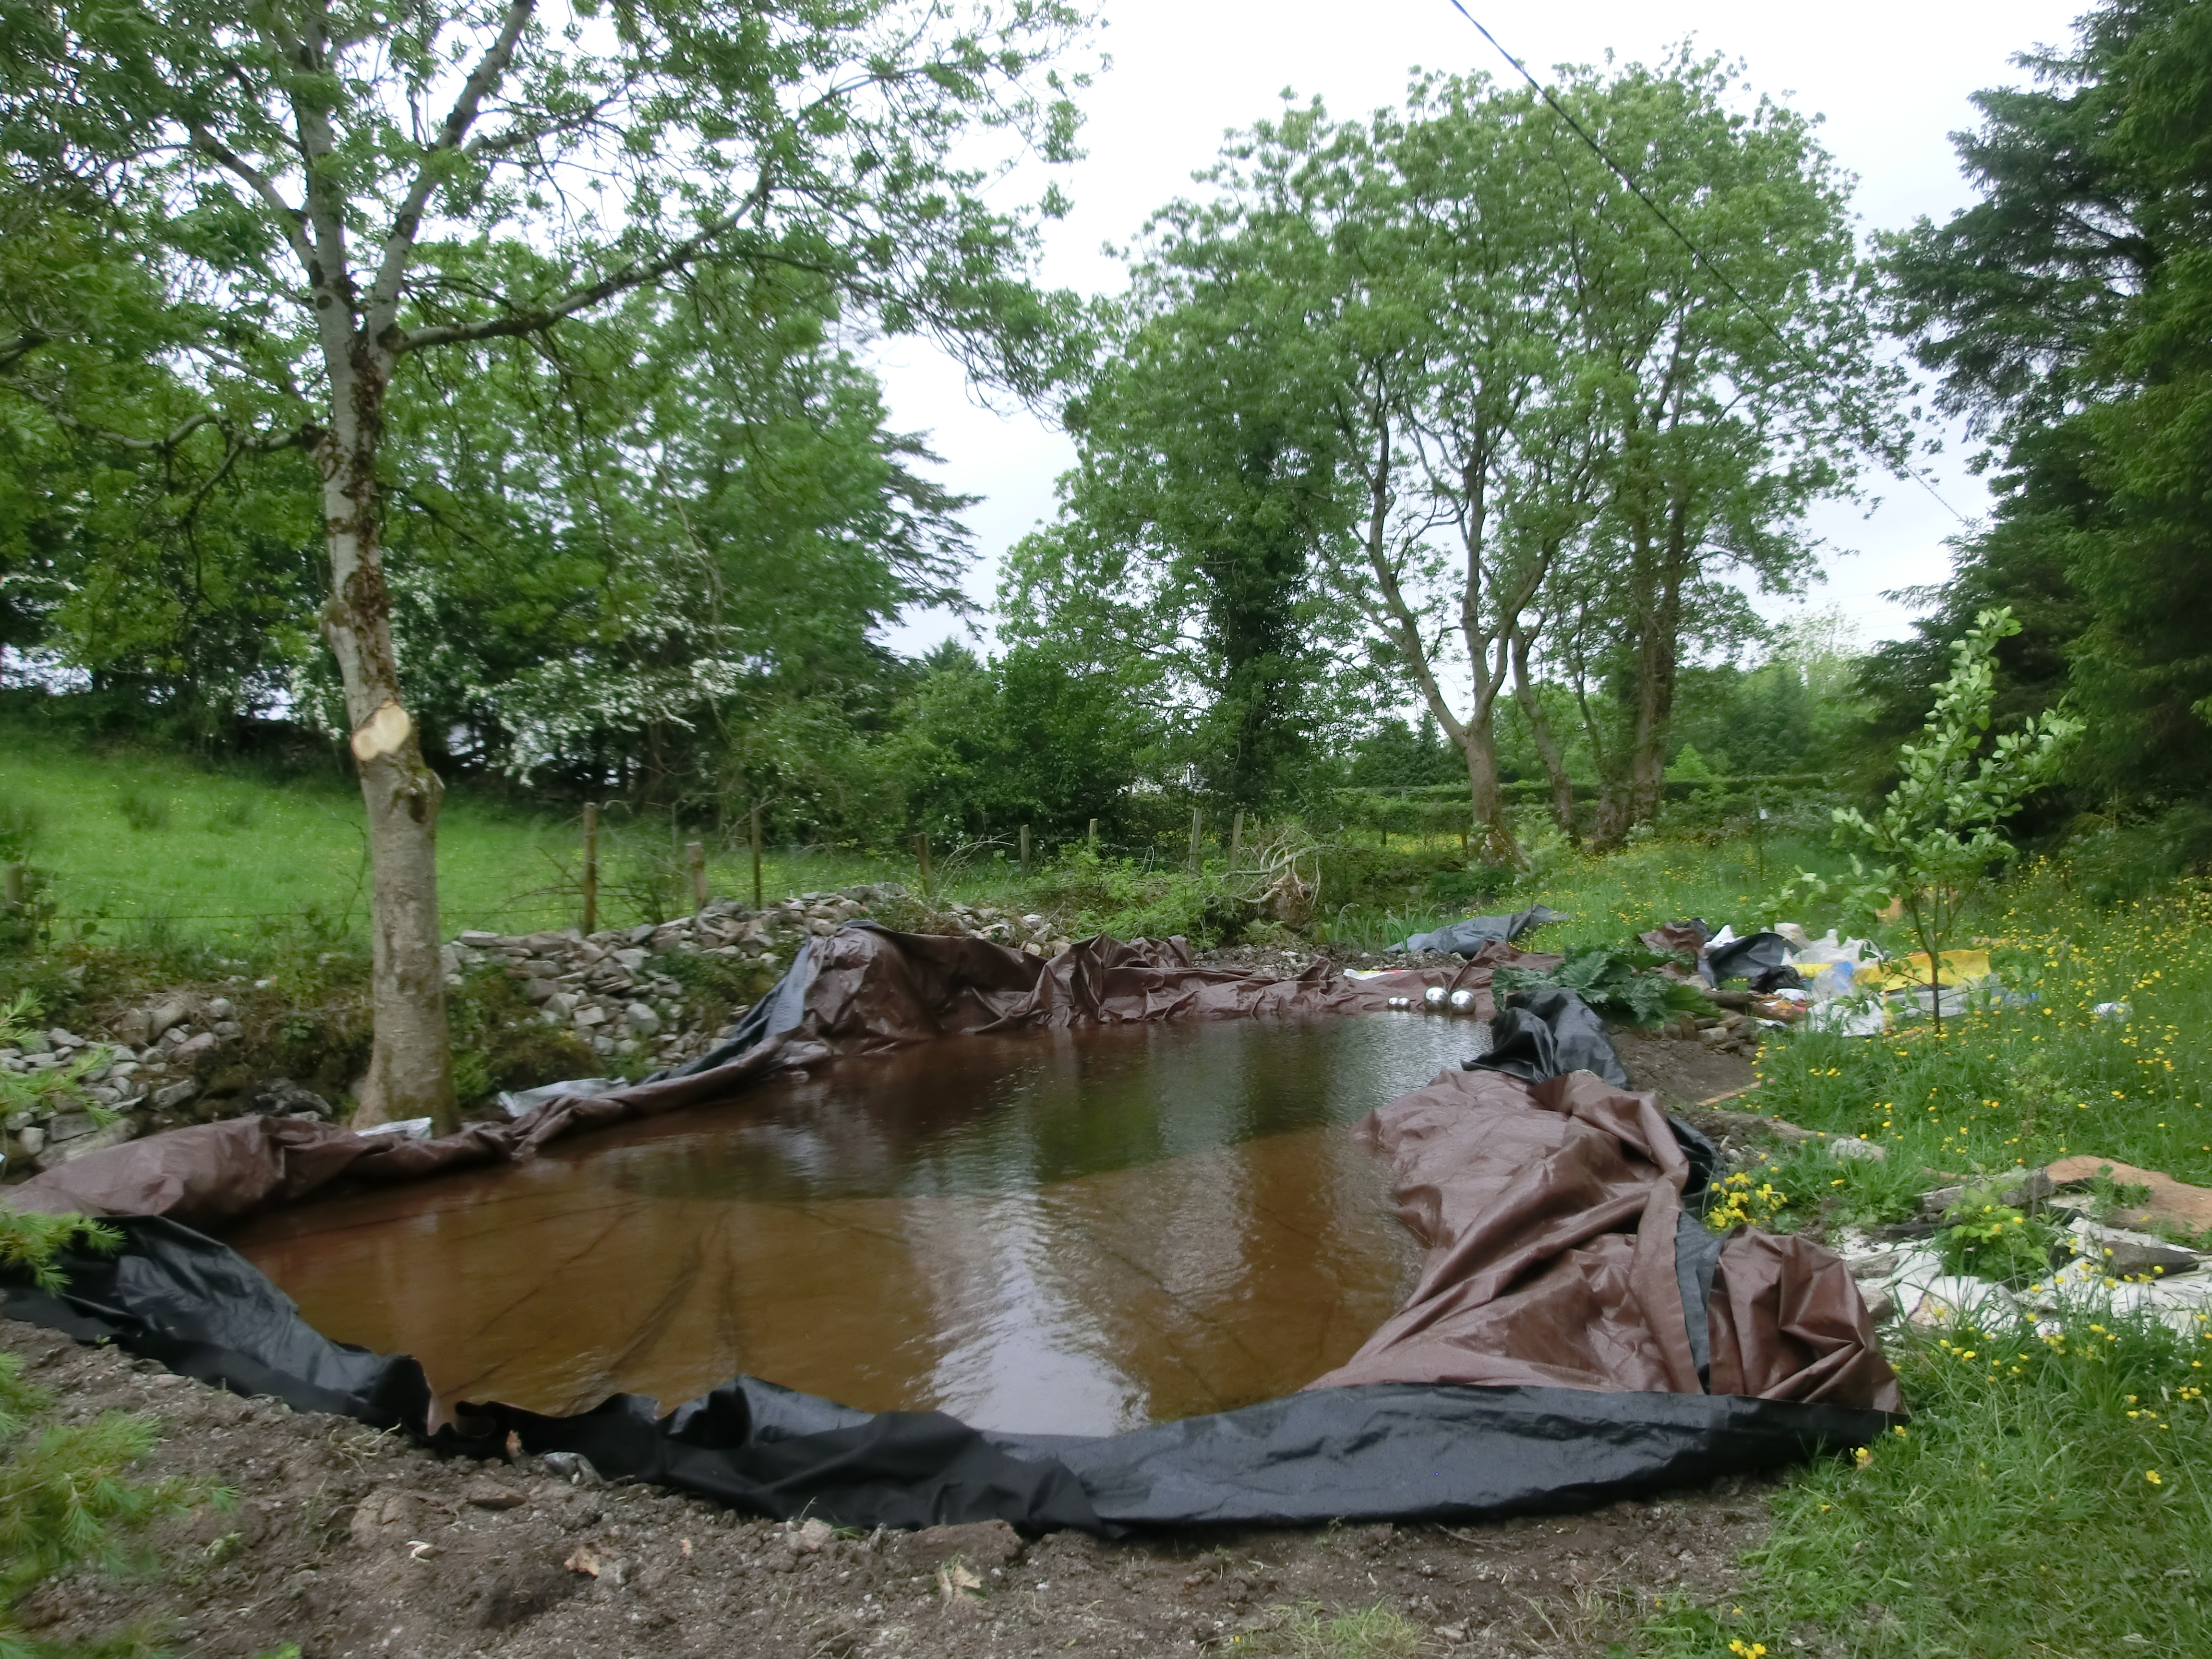
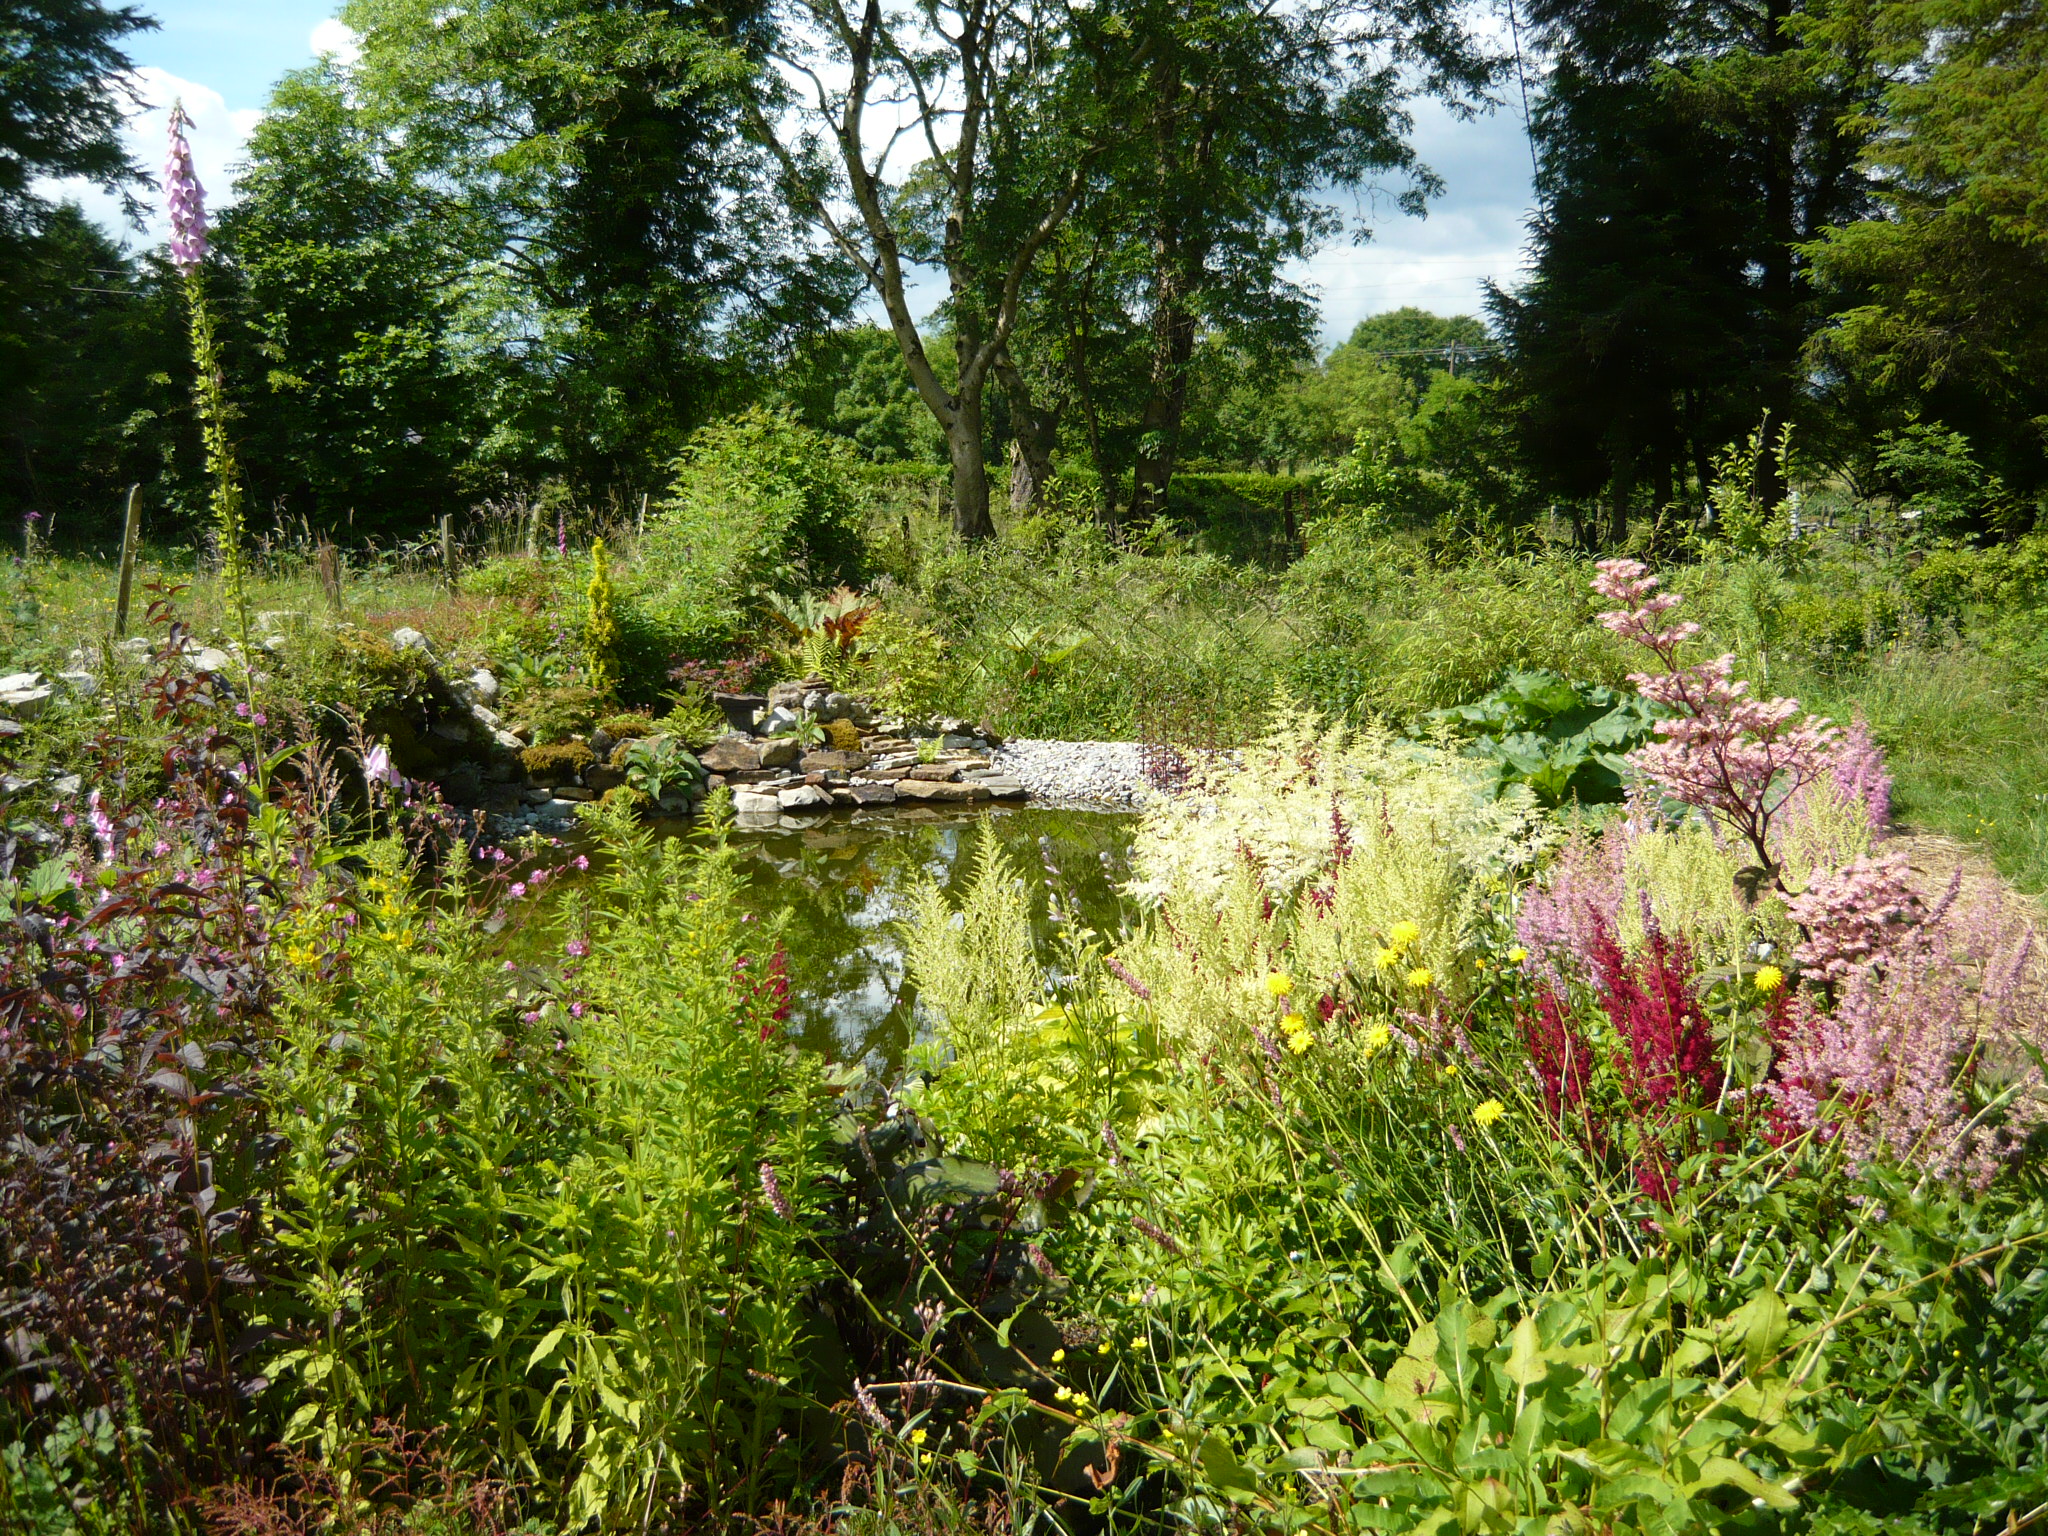
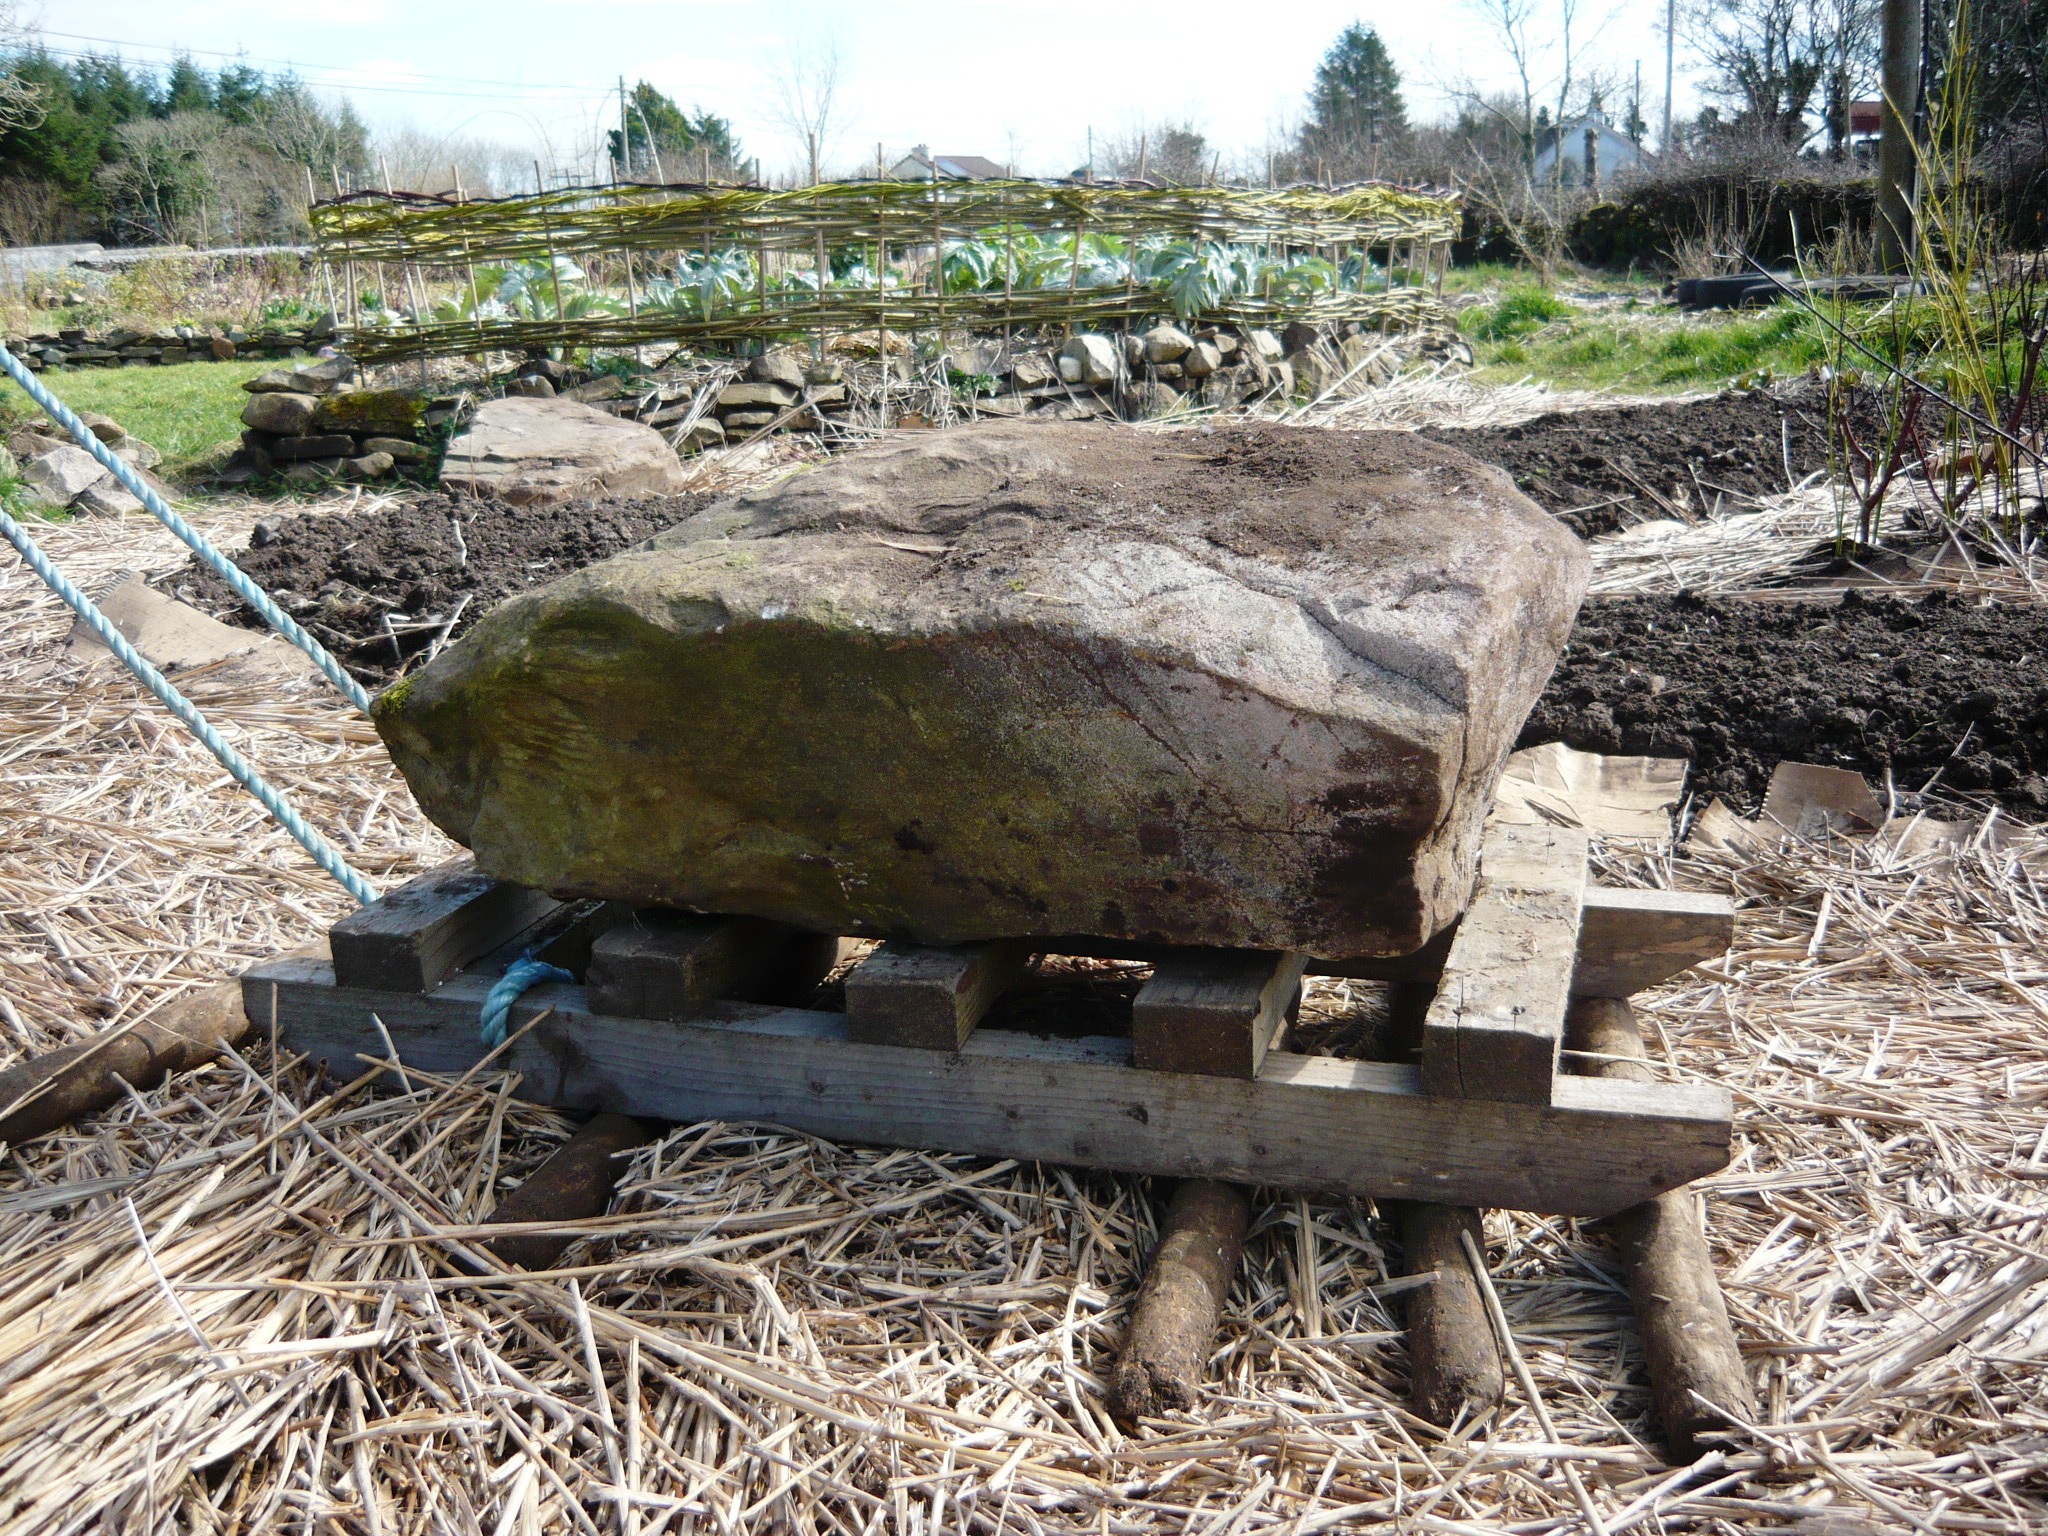
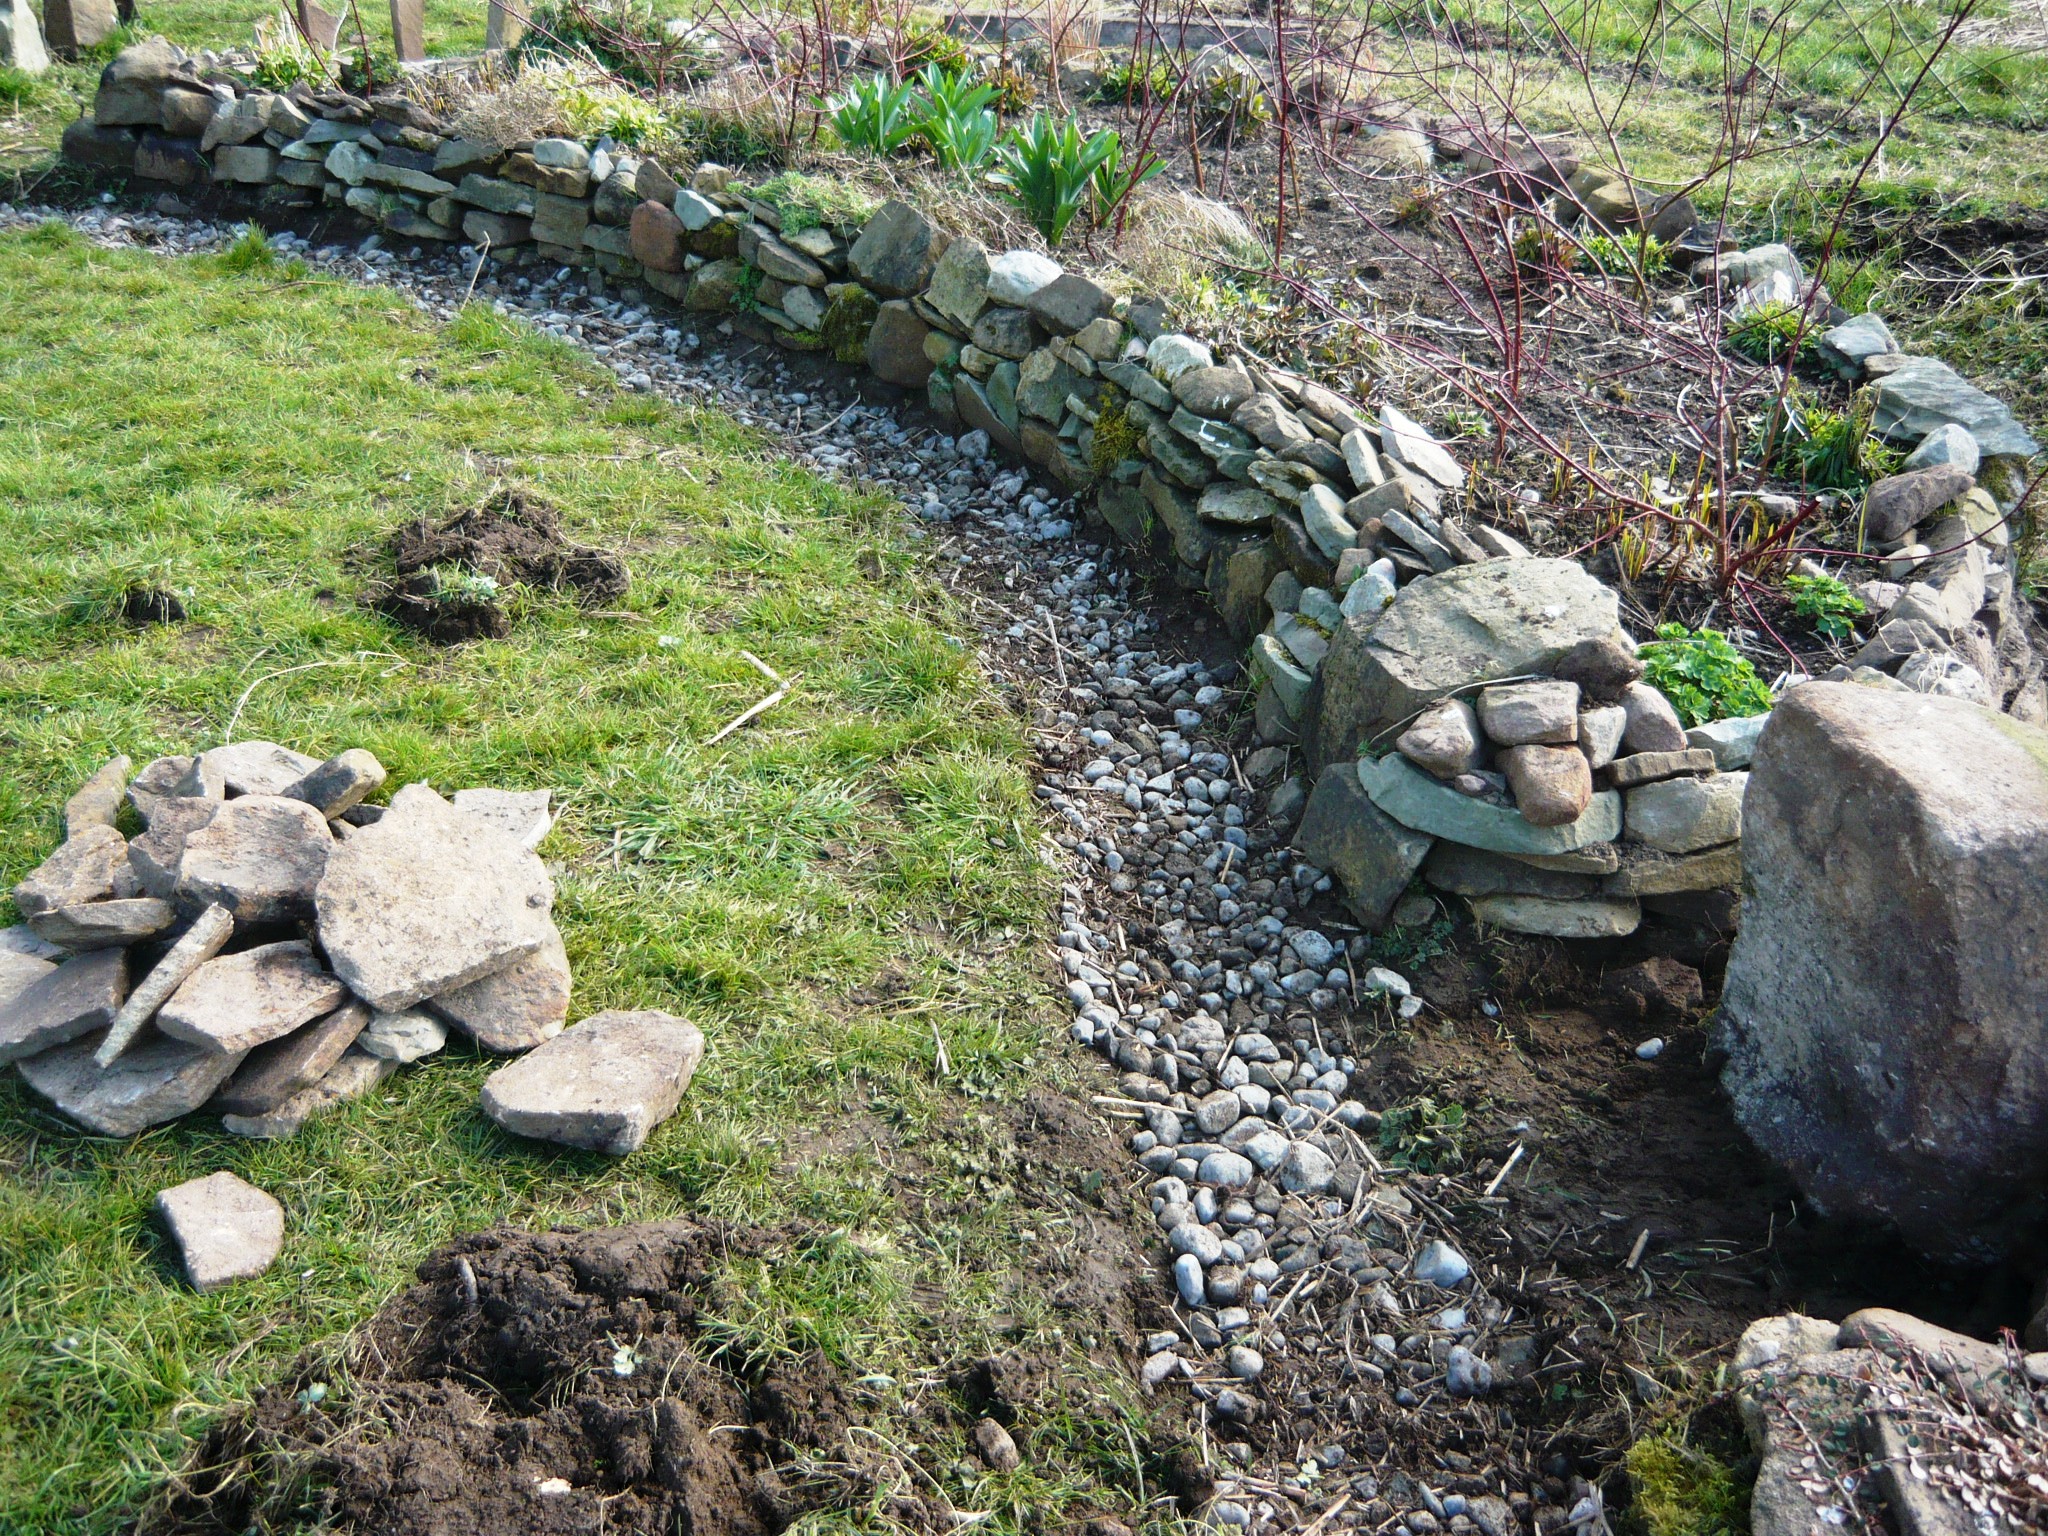
Most of our garden is planted with edible plants. But when we planned it out on paper we also wanted to include a lot of flowers. Some of them are herbs with culinary and medicinal purposes and some are magnets for bees and butterflies. We wanted to arrange our flowering plants in a pretty way and also wanted a flat area for friends, kids and relatives to pitch a tent when visiting. We do not like square shapes, straight paths and formal gardens very much. Because of this we choose a design based on circles. Circles have been used for thousands of years in cultures all over the world. We like ancient stone circles very much and decided early on to have a large circle in the centre of our garden and add four standing stones, one for each point of the compass. The first job was to get rid of the stones in the ground in order to have a smooth area for pitching tents and have a bit of a lawn as the rest of the garden is more on the wild side.  We did not know just how many stones there were in our 9 meters across circle. We built crescent moon shaped raised beds all around the circle and still ended up with huge piles of stones for other projects. We then had to hire a rotivator to get the area somewhat flat and ready for seeding. All those preparations were done last year. This past weekend we had beautiful weather and decided it was time to put our standing stones in place and start making an edge in natural stone to make the circle easier to mow with our push mower and have less weeds growing into the raised beds. The stones needed to be moved from another part of the garden and we made a sledge for this purpose. We then used the ancient method of rollers to move the standing stones across the garden. It was fun and quite easy.

 Stone sleigh

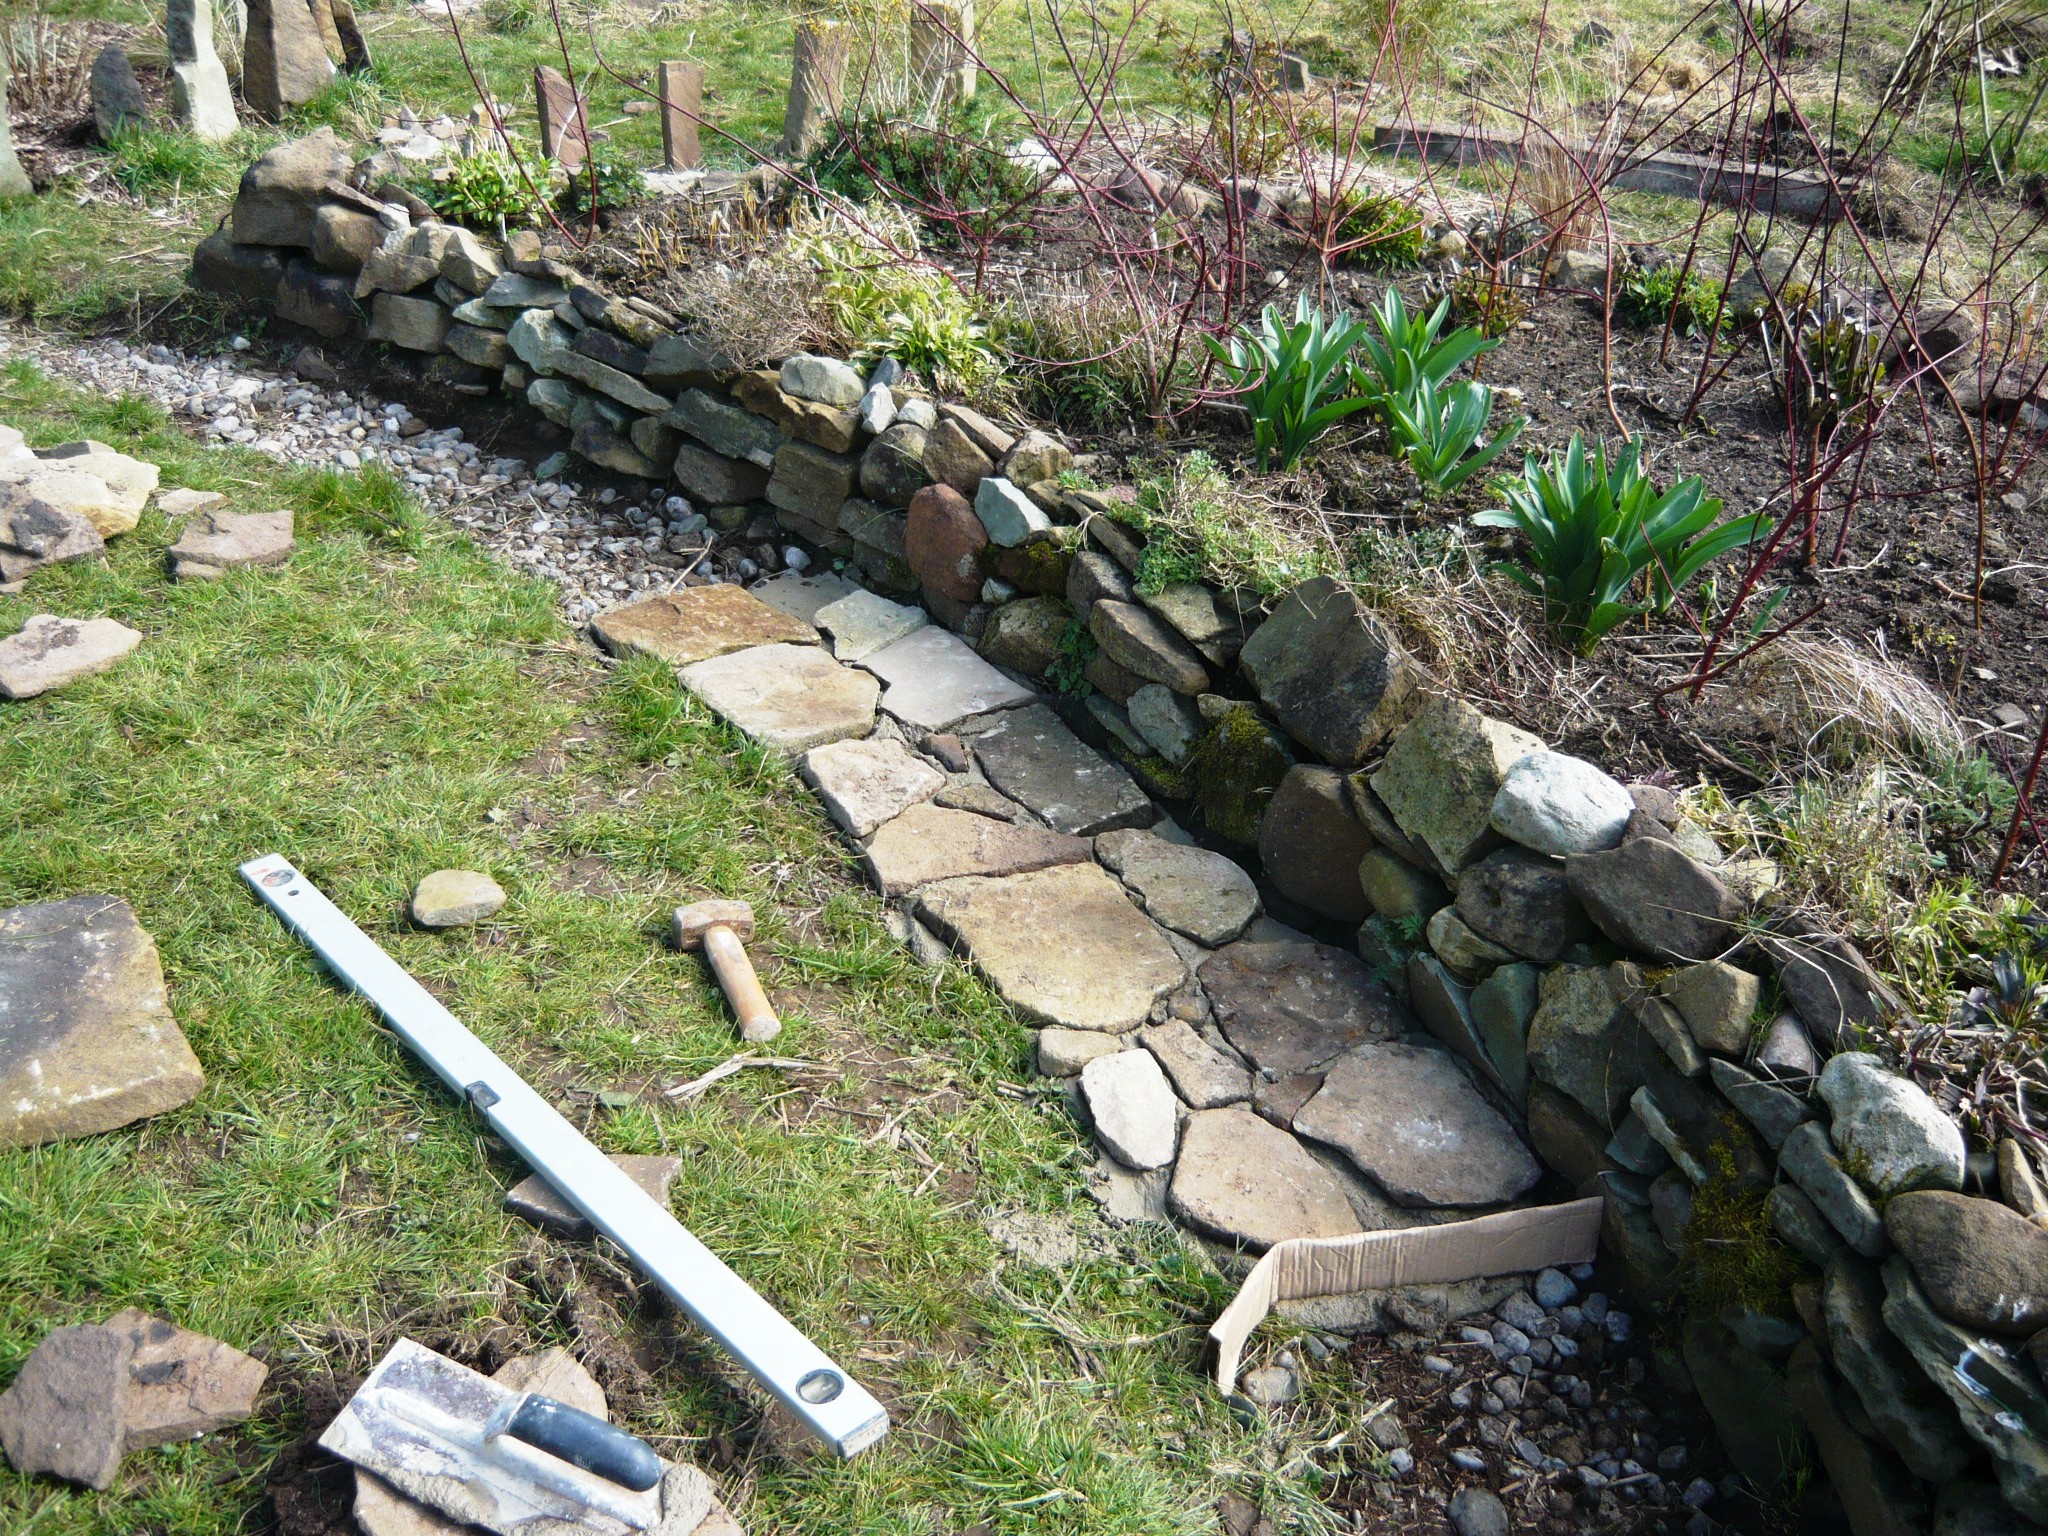
We dug holes and planted the stones firmly in place at the cardinal points. We dug out a shallow ditch all around the circle and filled it with gravel. Then it was time to mix up some cement and put down the small flagstones for the mowing strip. At each standing stone we added a few more stones.

Gravel ditch

Crazy paving

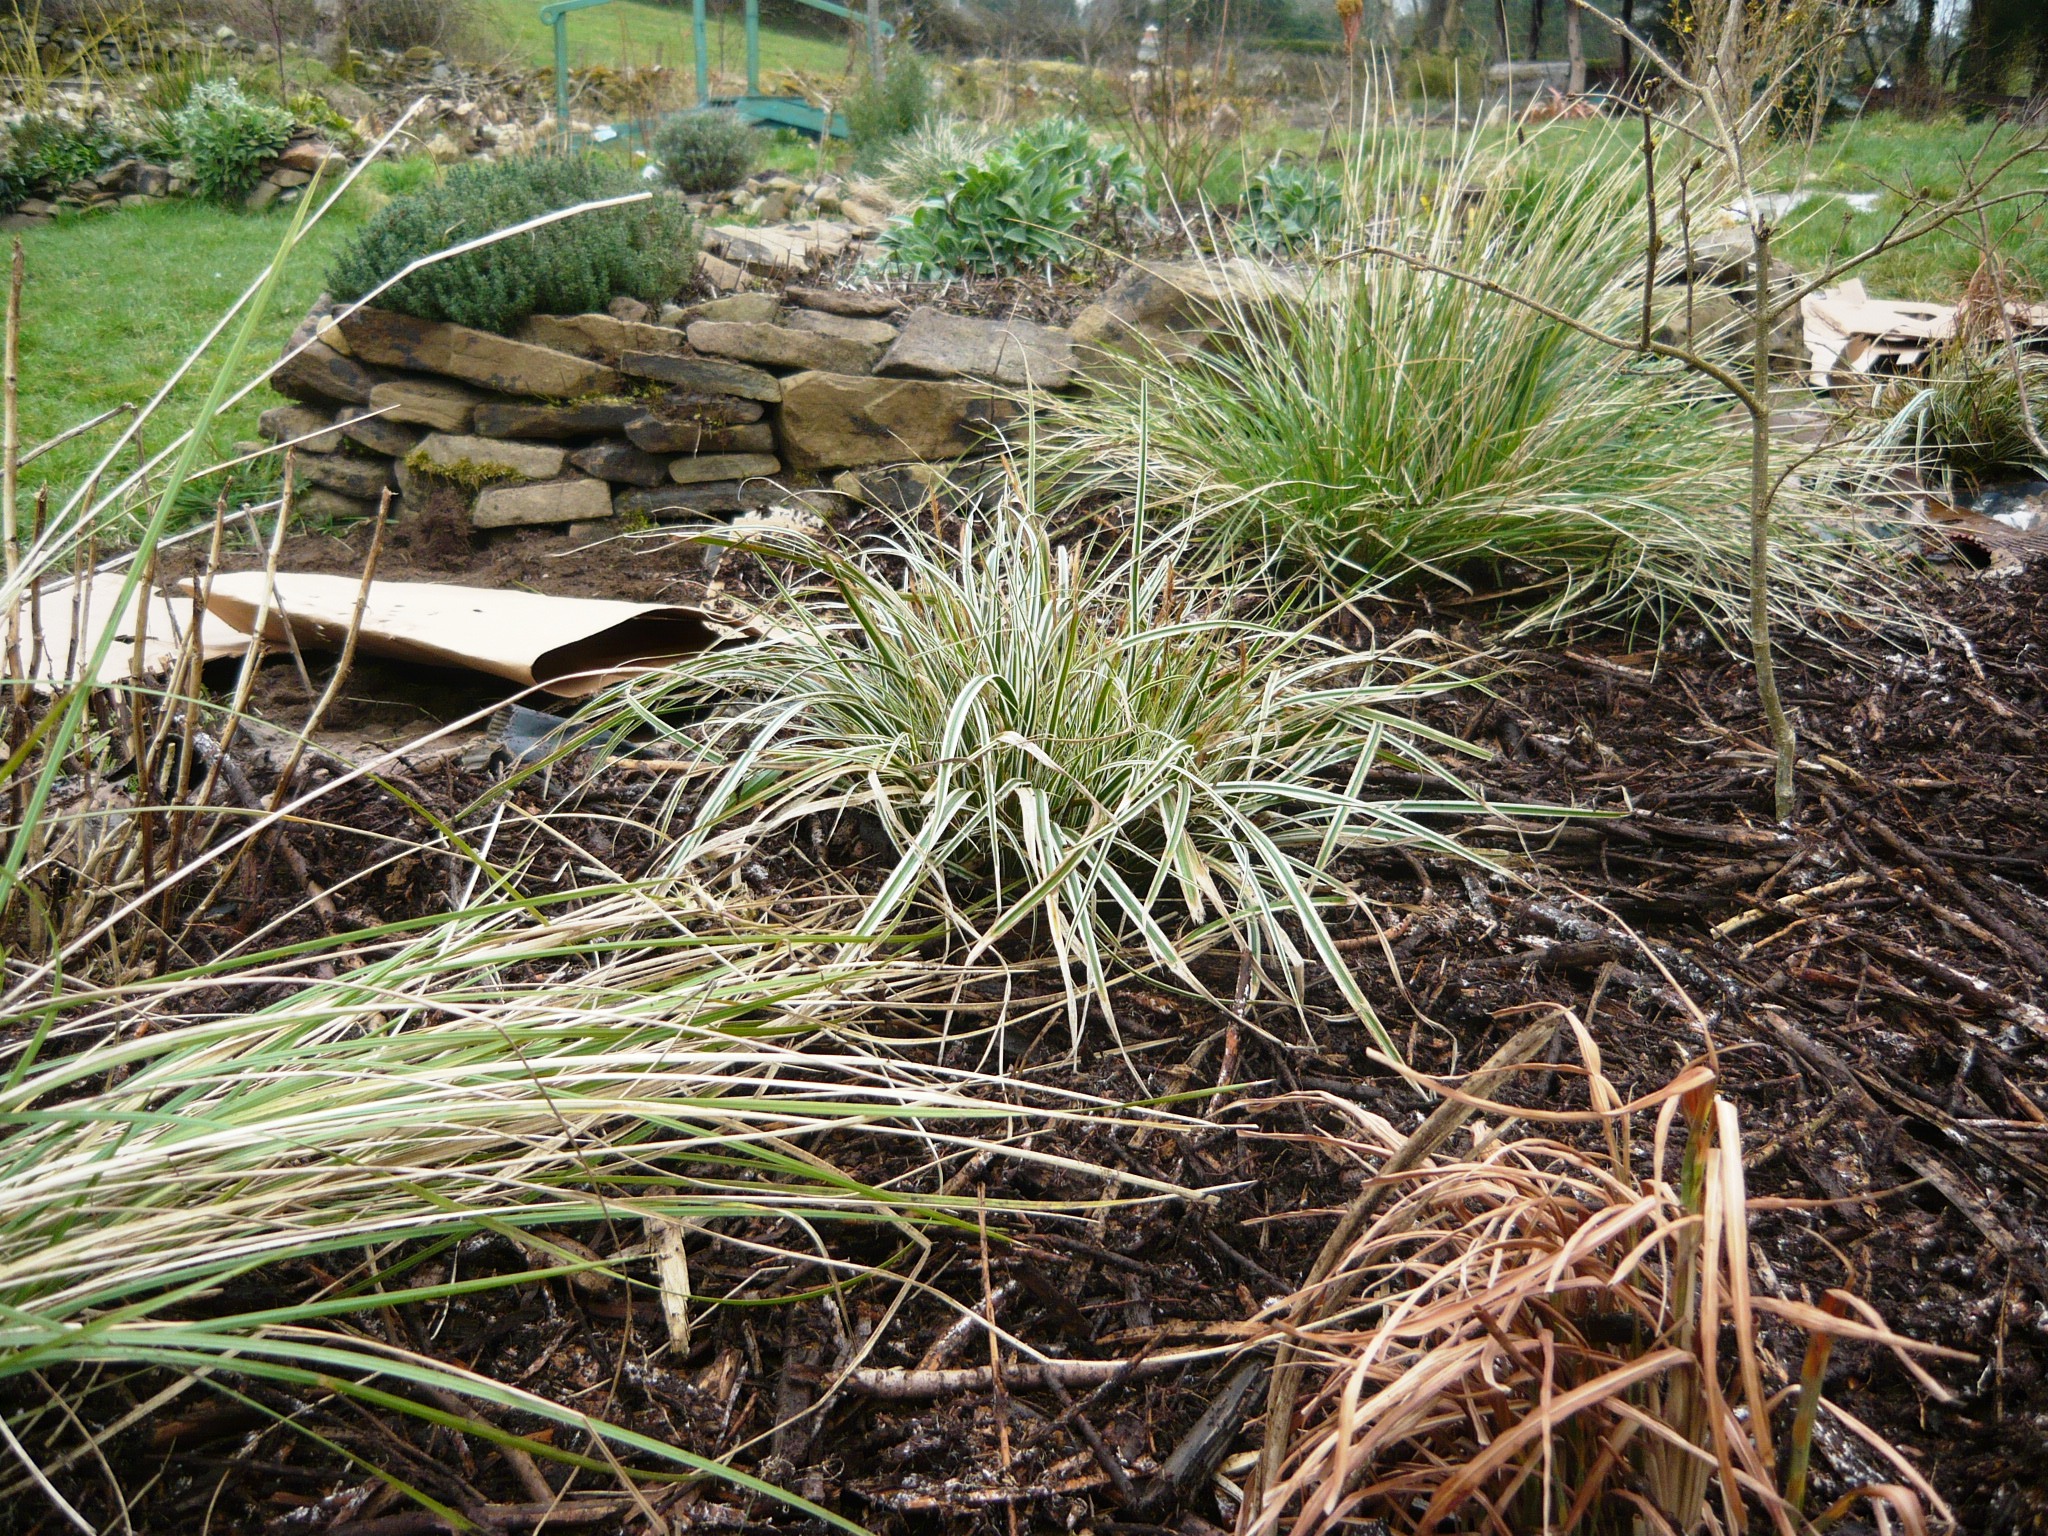
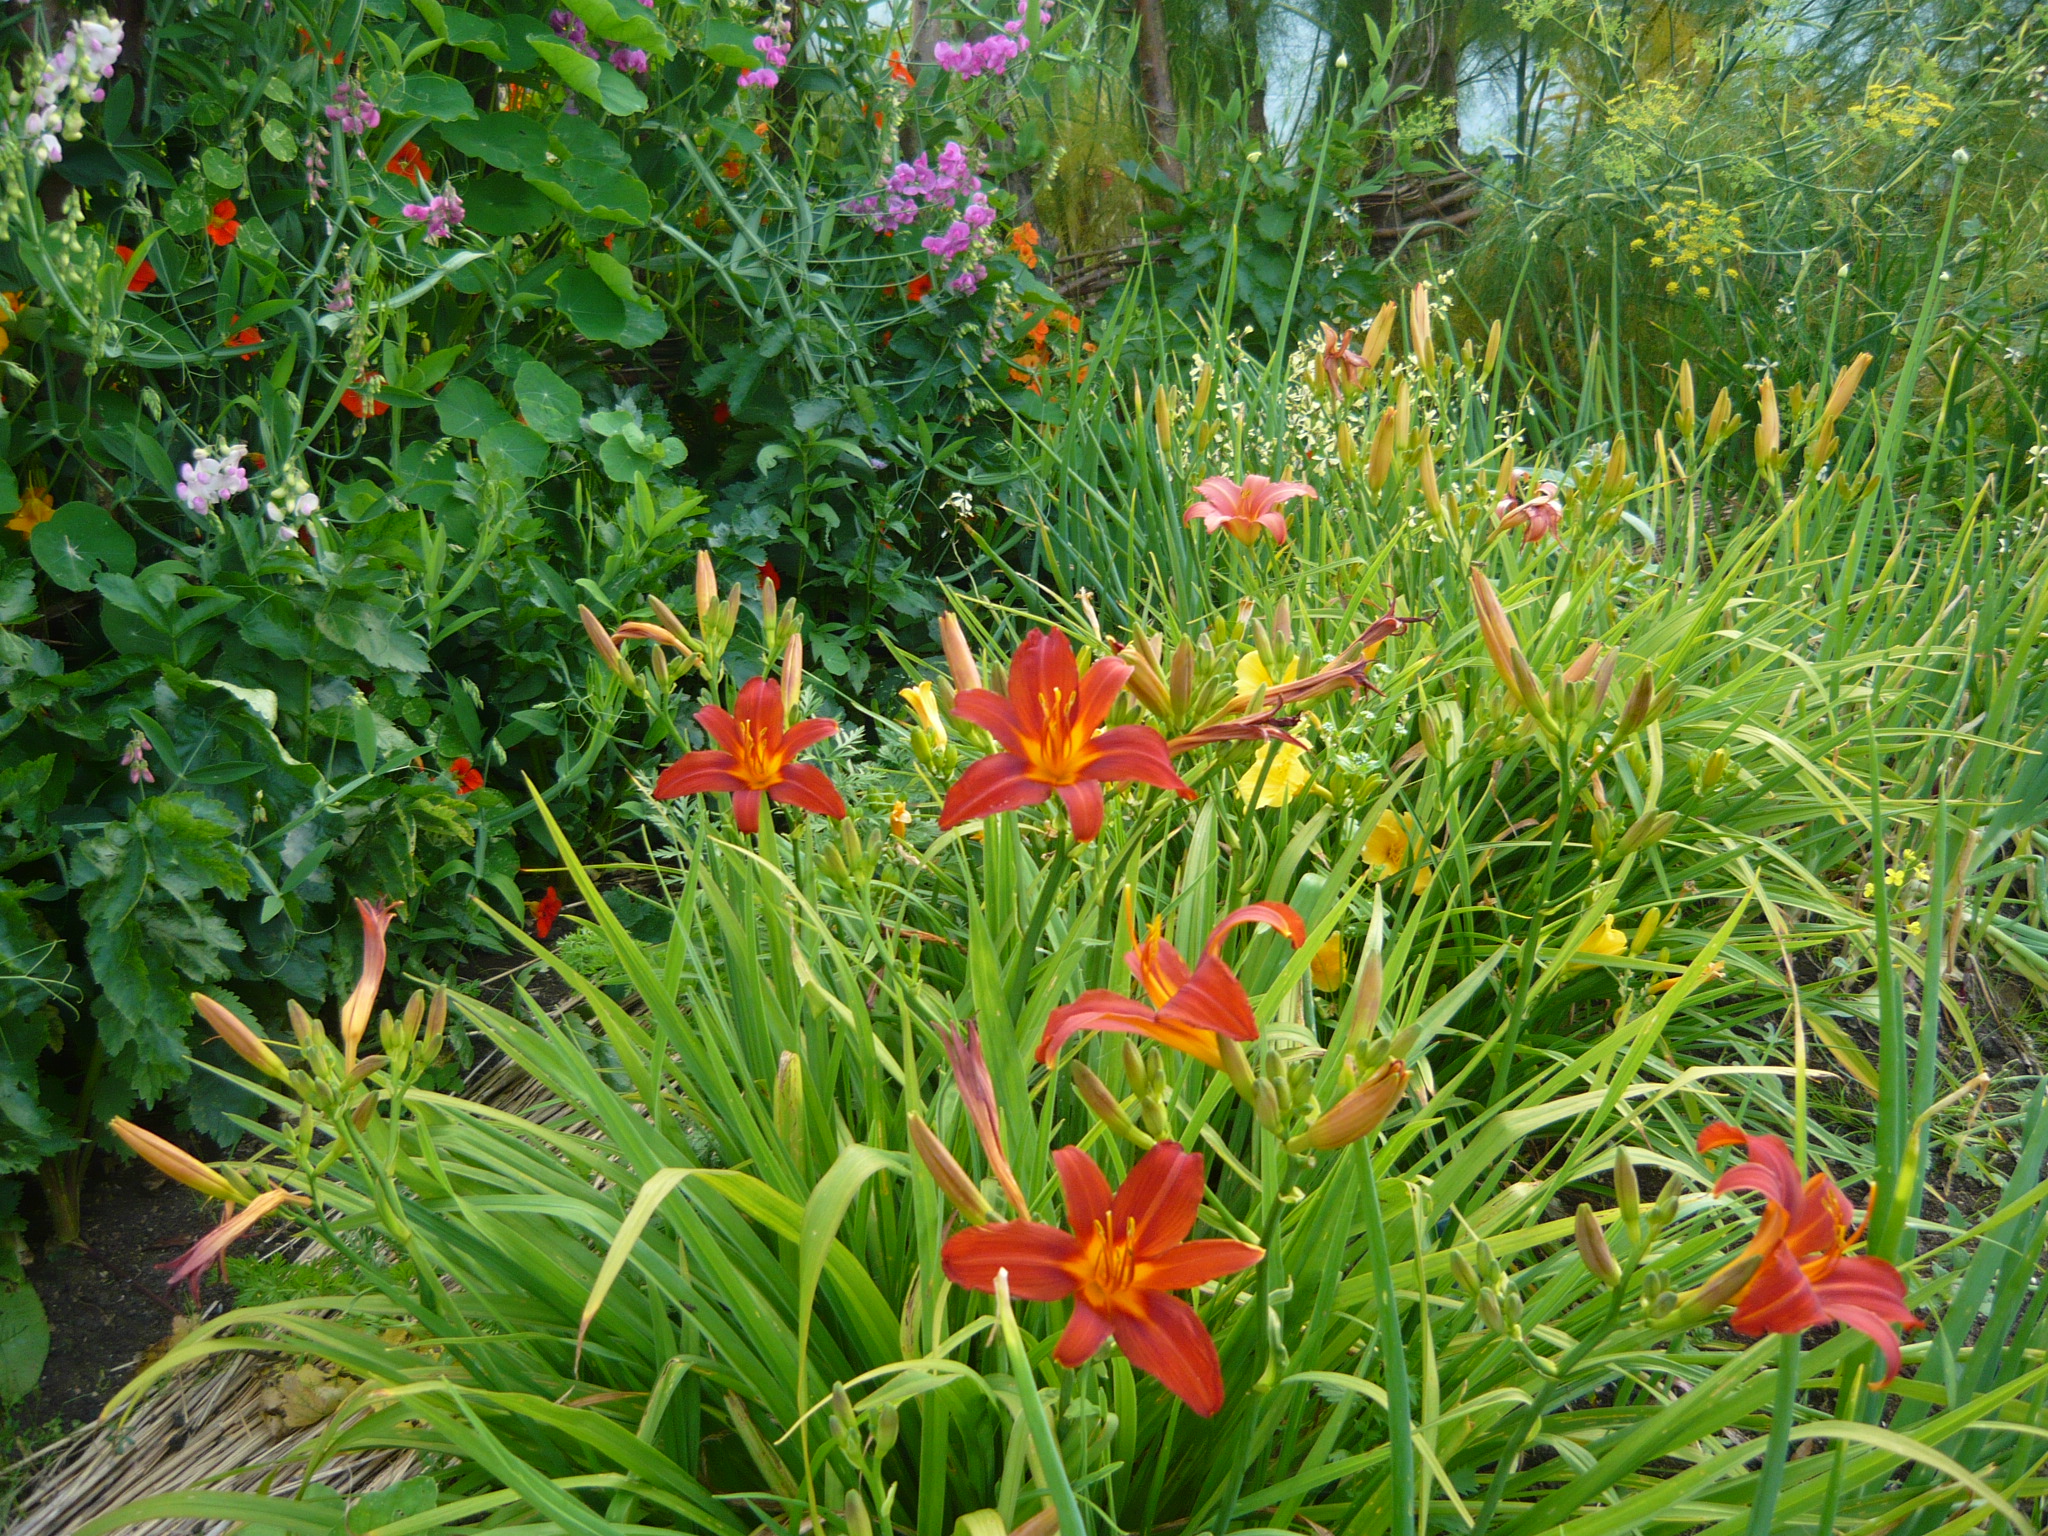
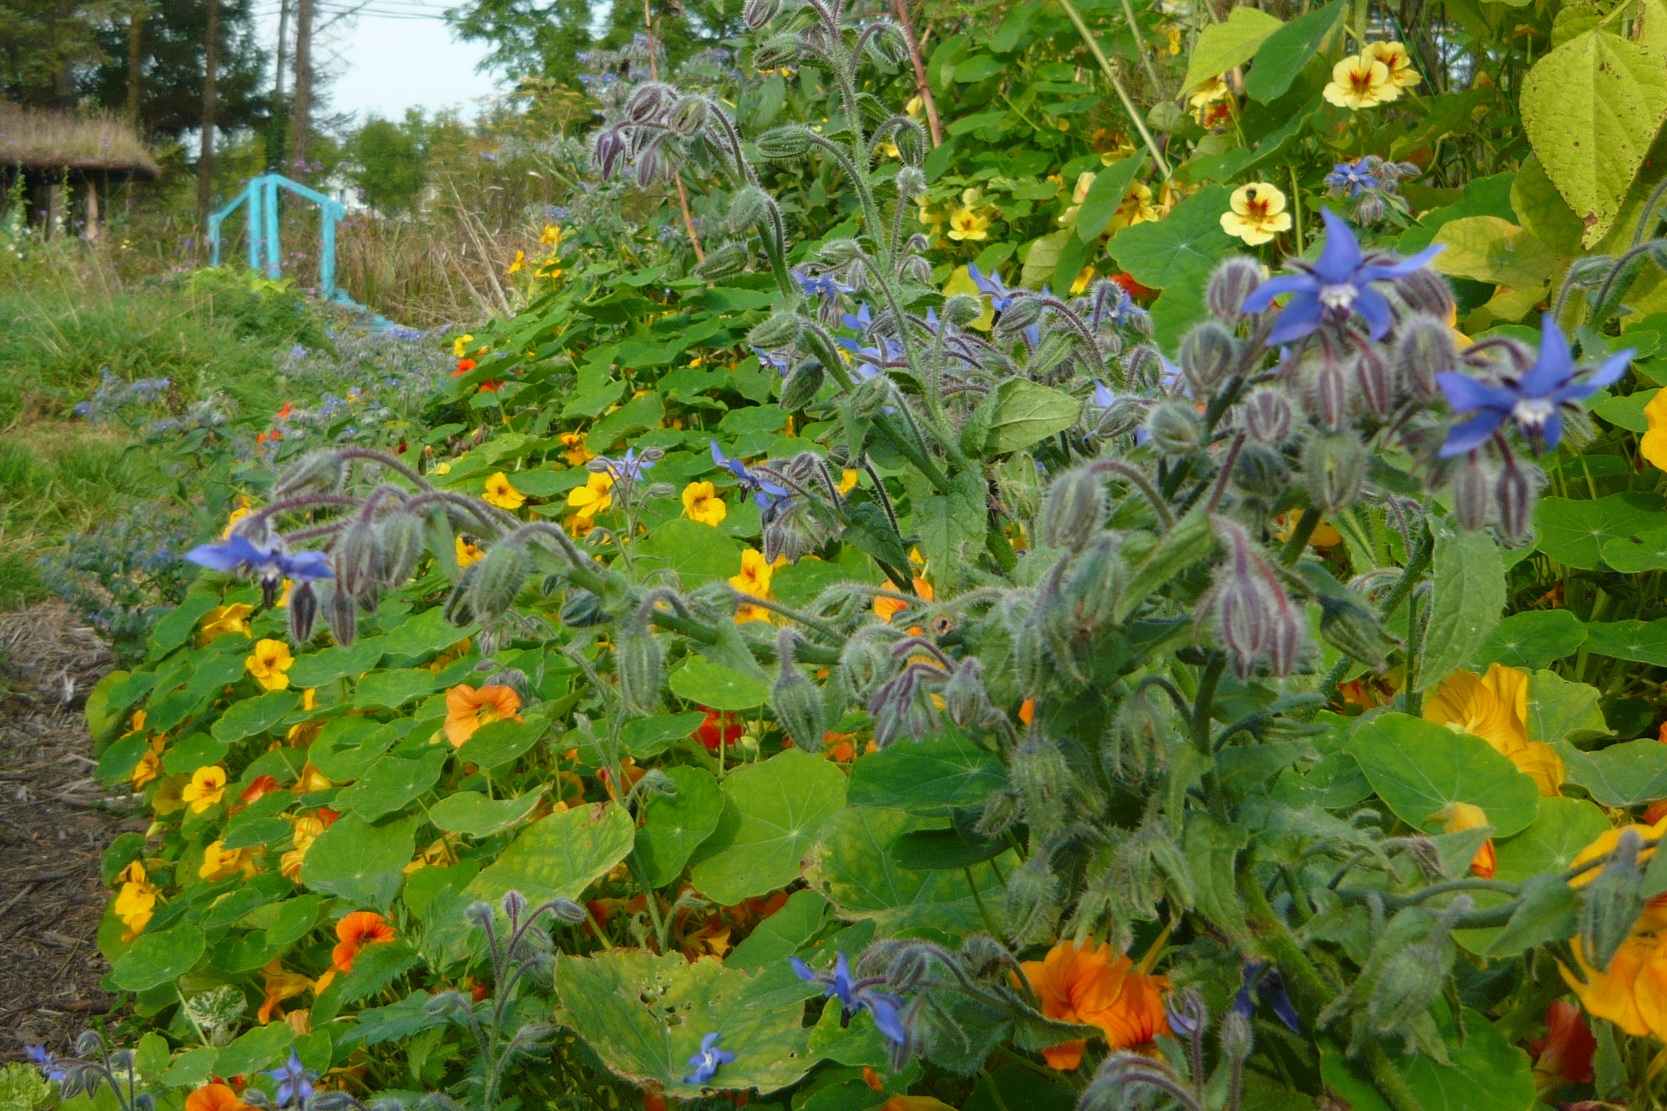
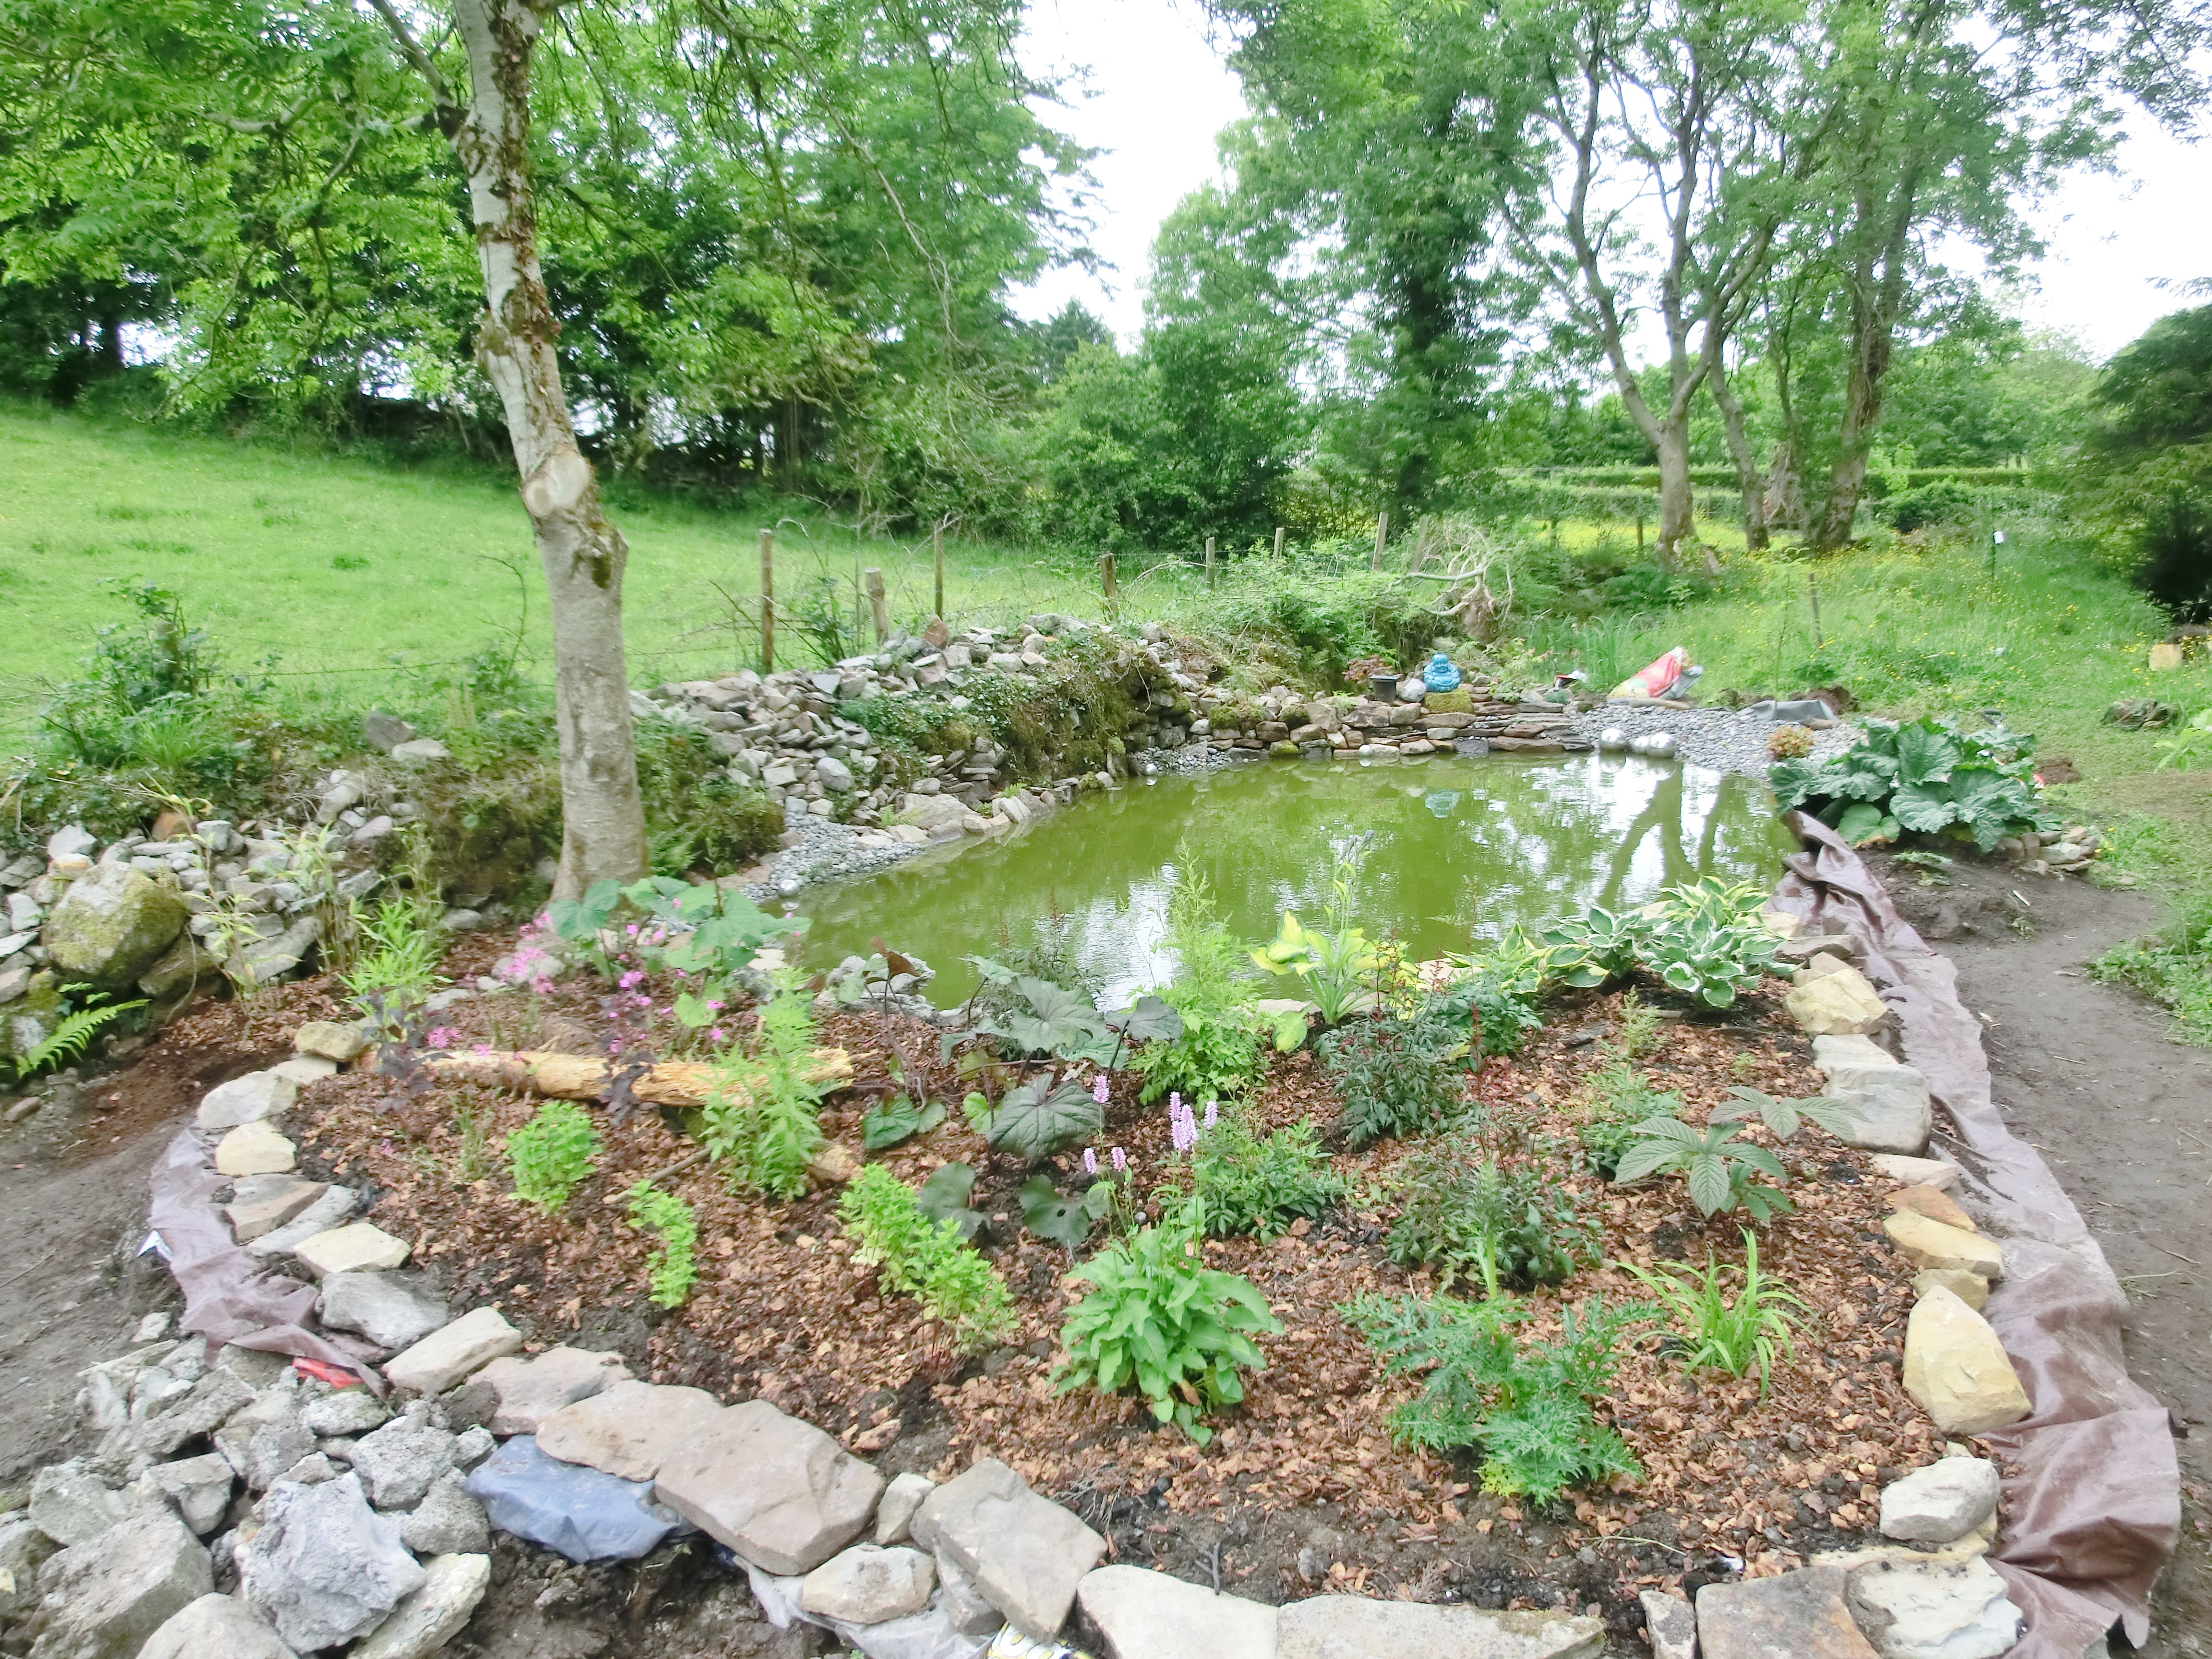
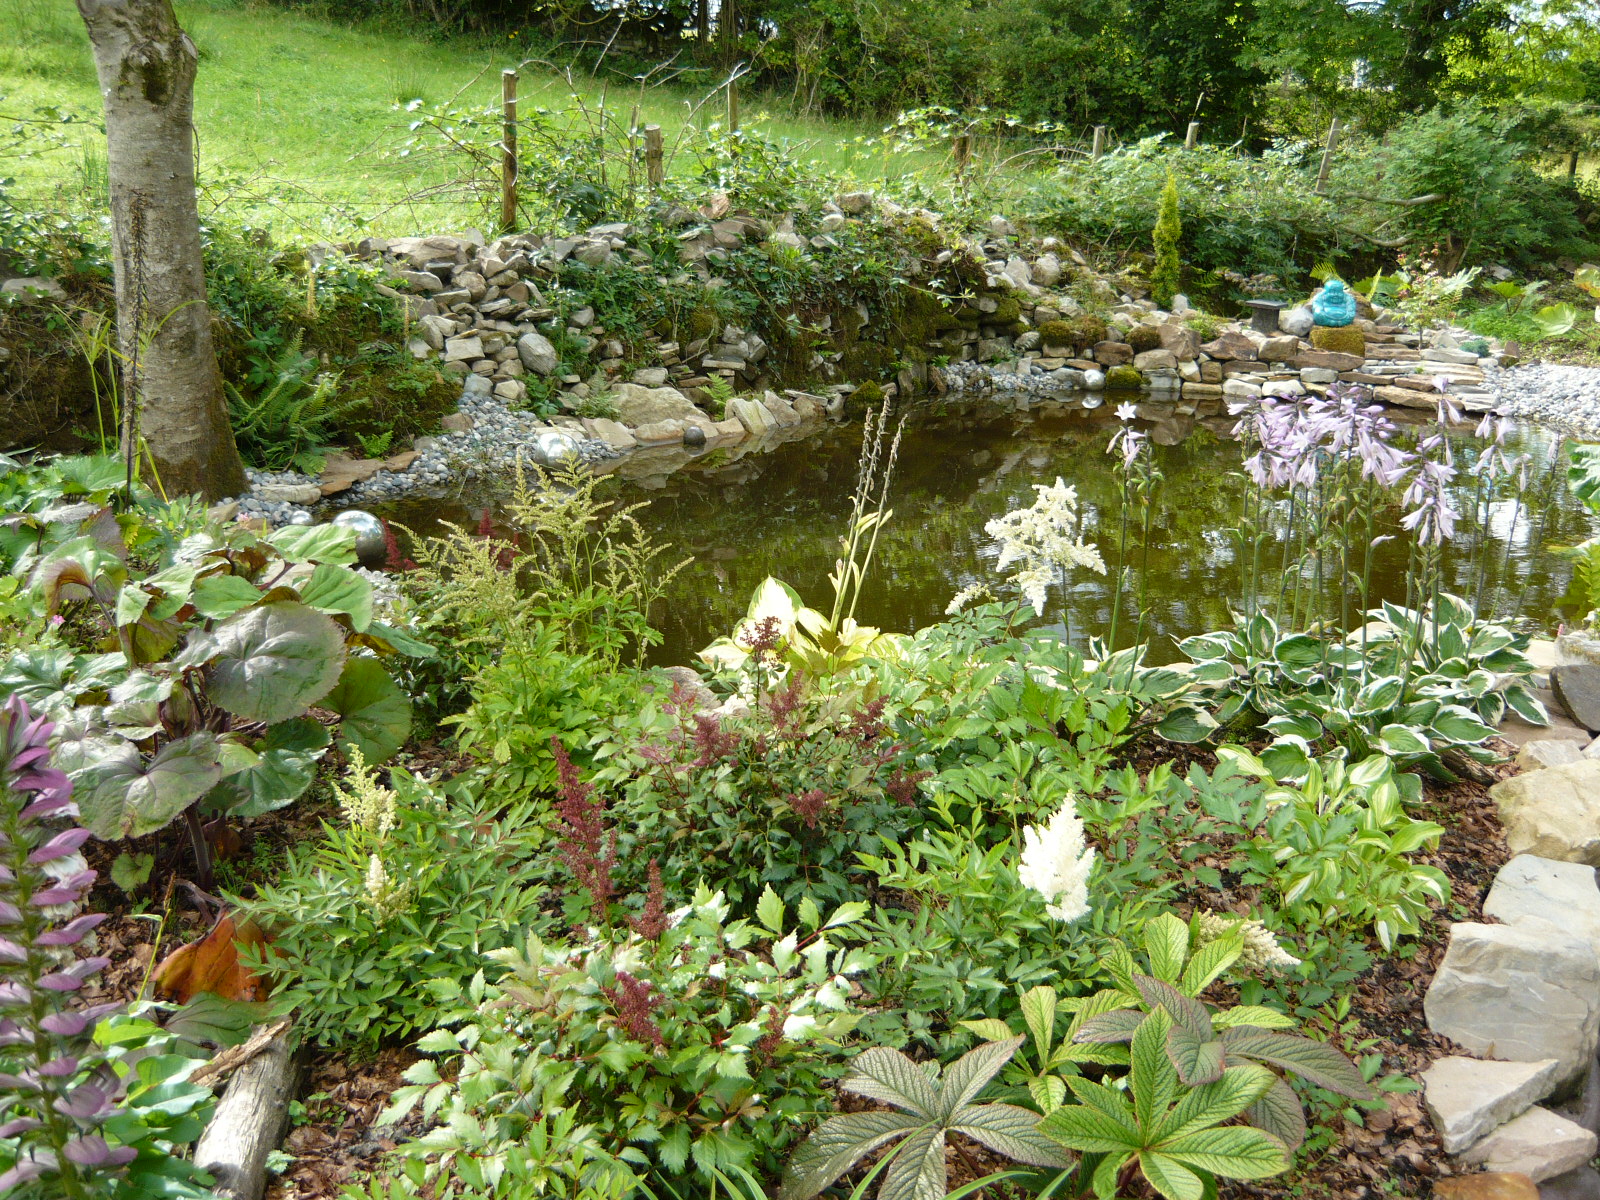
East is connected to the element of air and the colour yellow so in this section we planted a Japanese maple with yellow leaves and a lot of grasses that can move in the wind. South is connected to the element of Fire and the colour red so we have a lot of red flowers here and a lovely Japanese maple with bright red leaves. In the West we added a lot of seashells for the element water and a blue flowering Ceanothus.  We still have to do the North stone decorations which will consist of a lot of crystals for the element of Earth and bright green plants.

Elemental plants

East set in stone

East

South set in stone

South

West set in stone

West

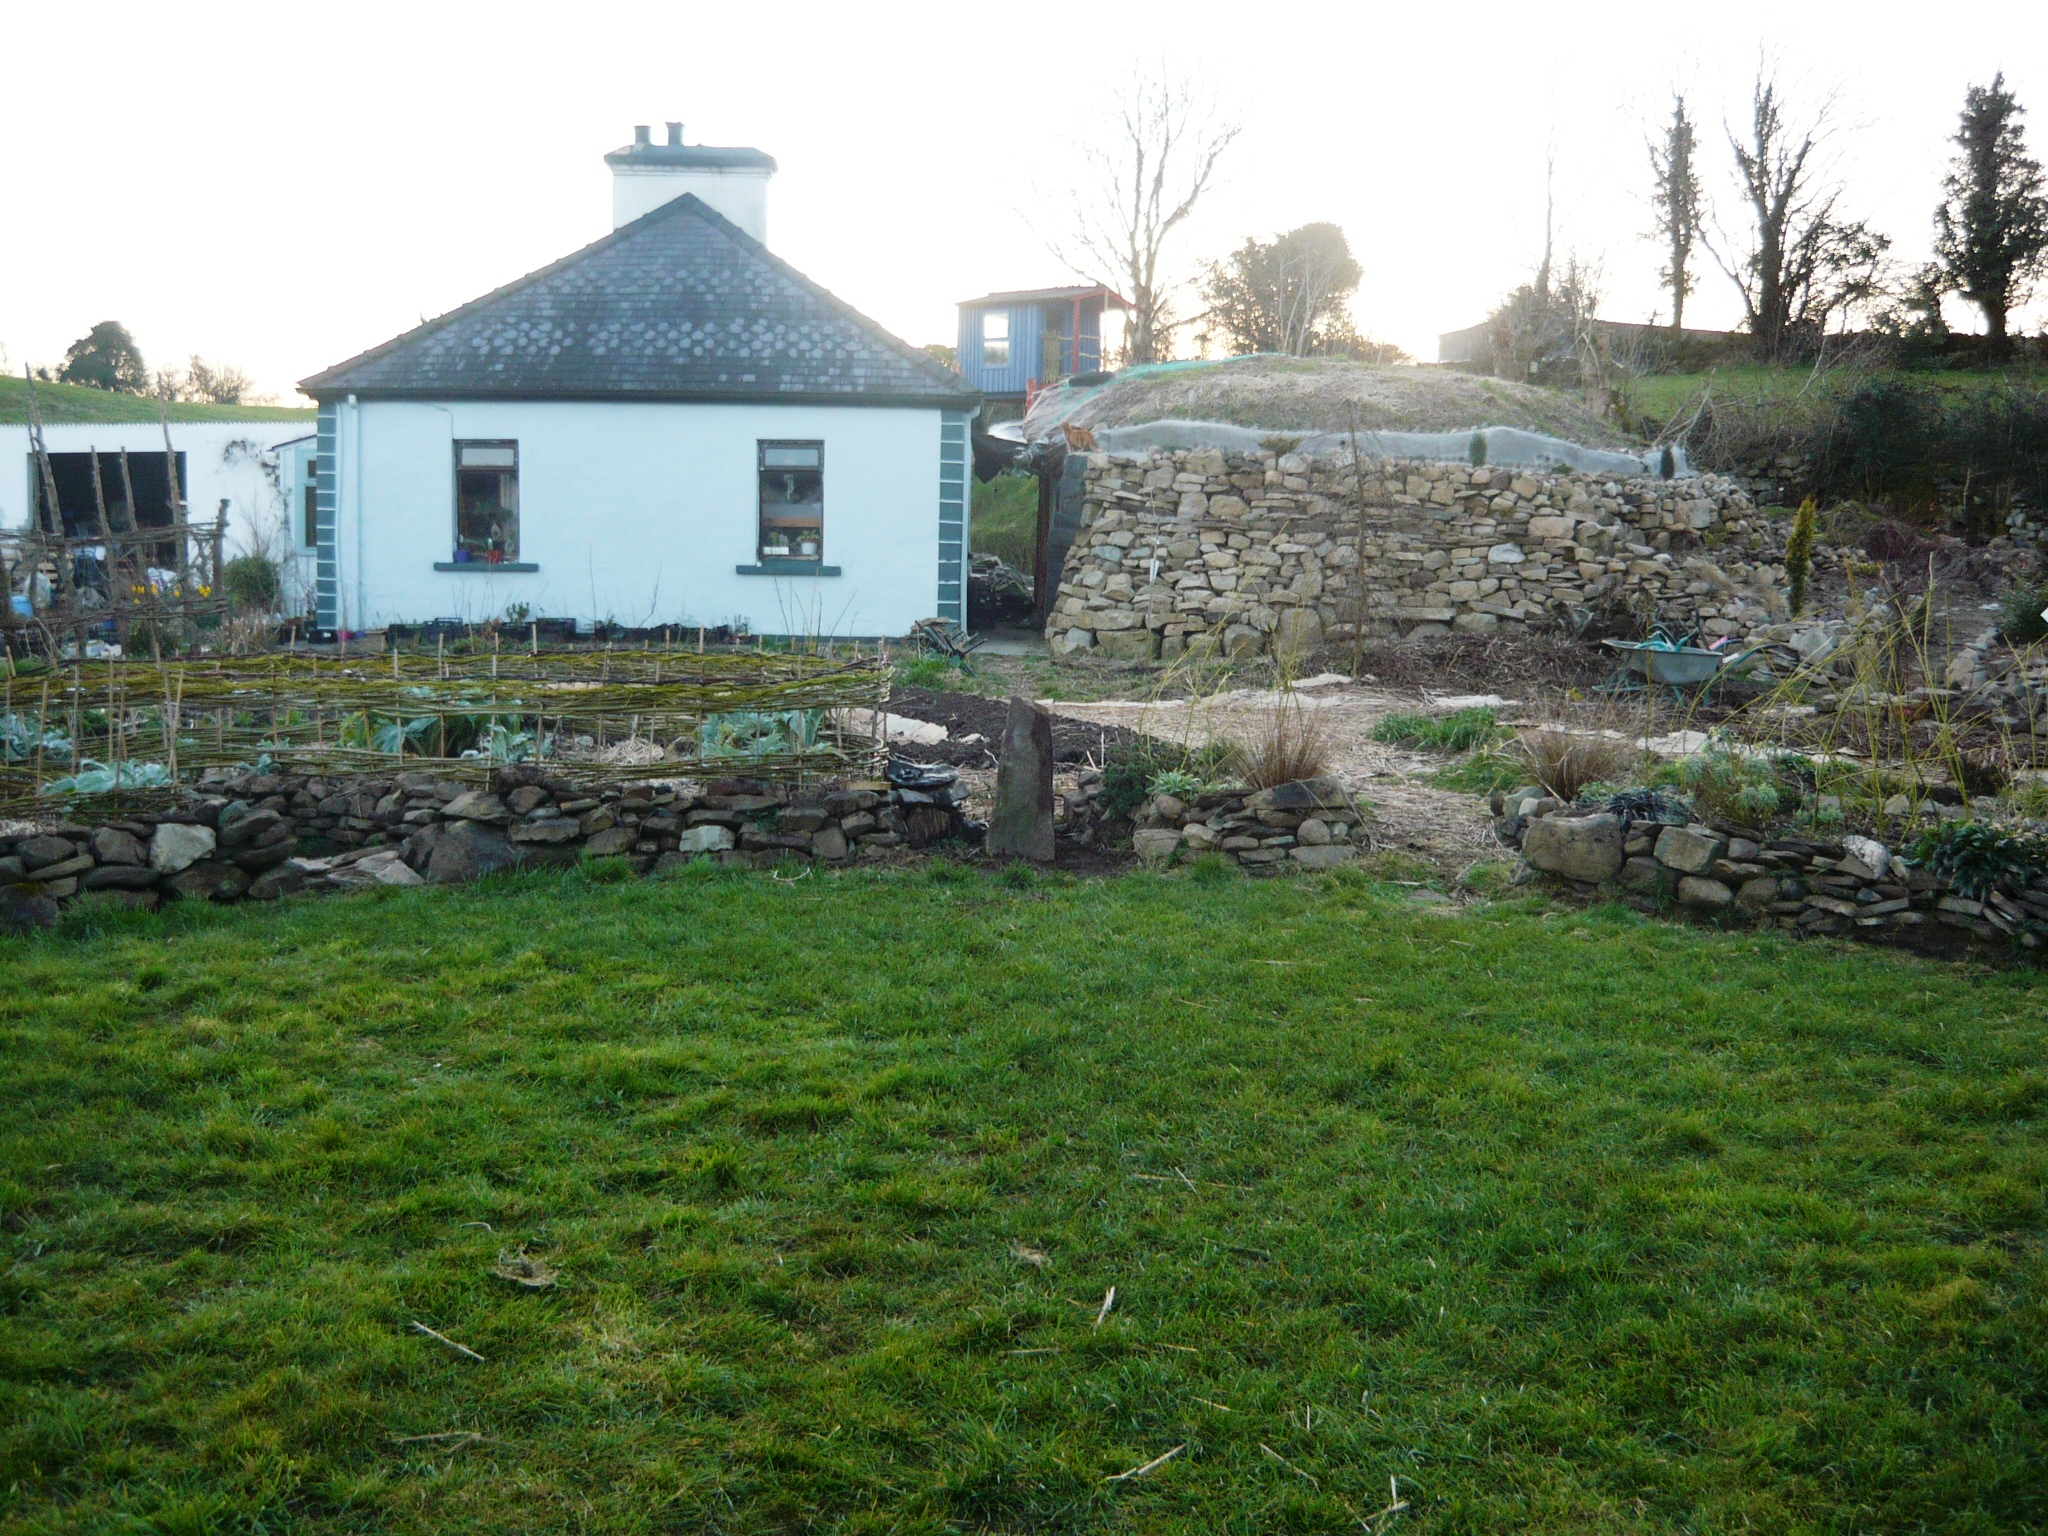
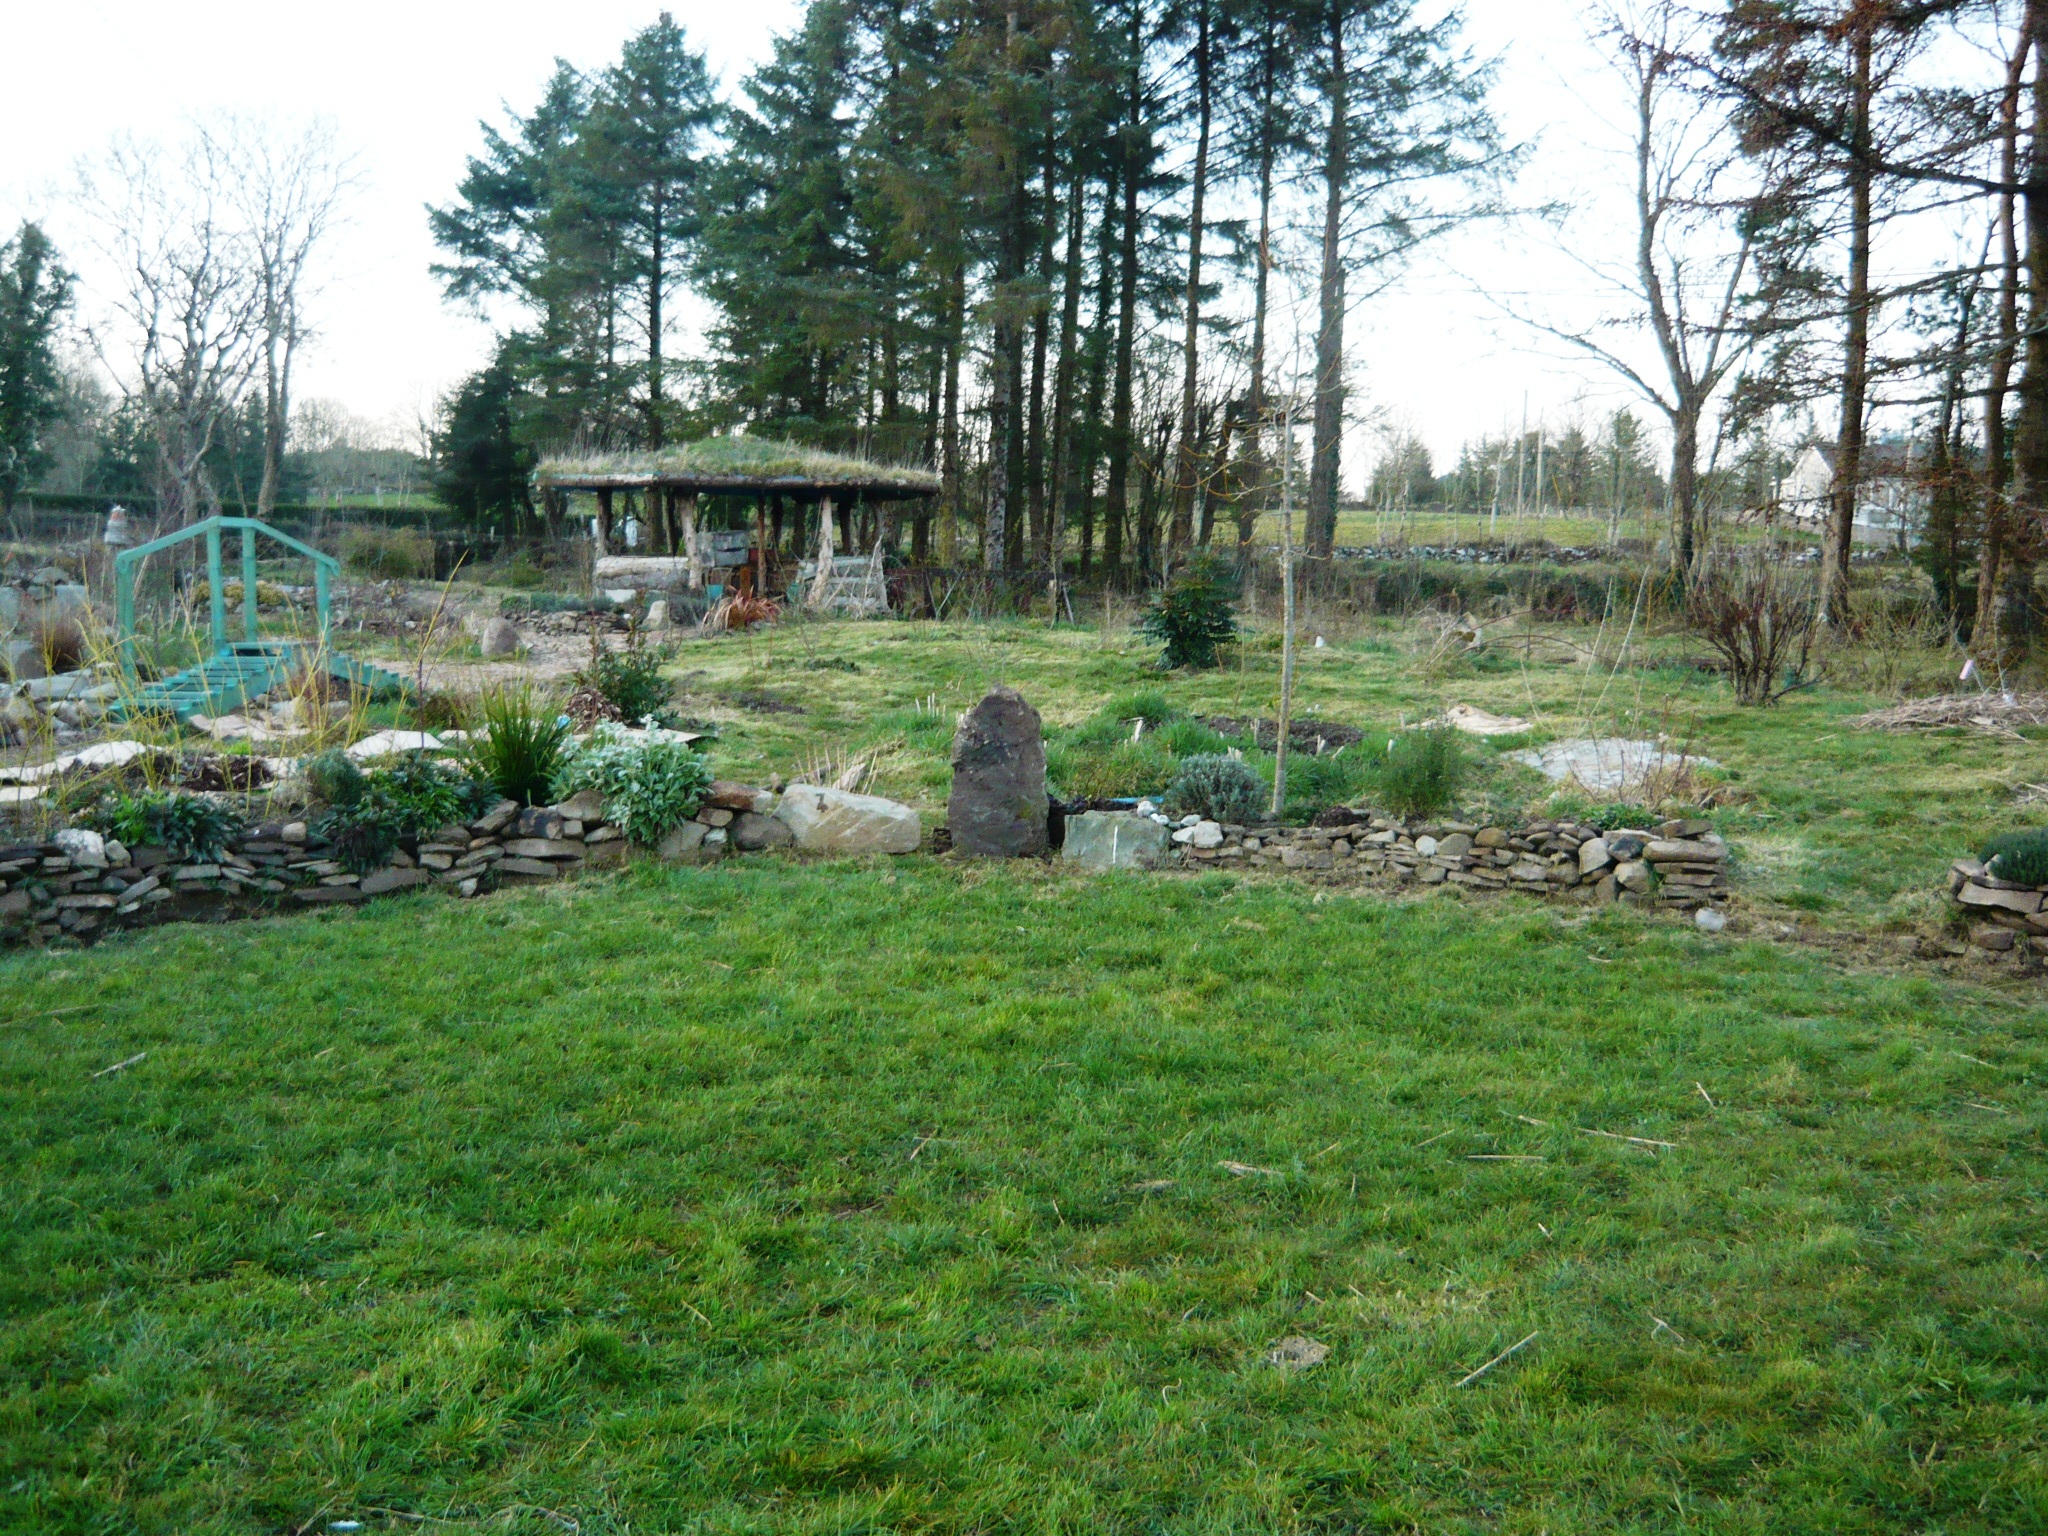
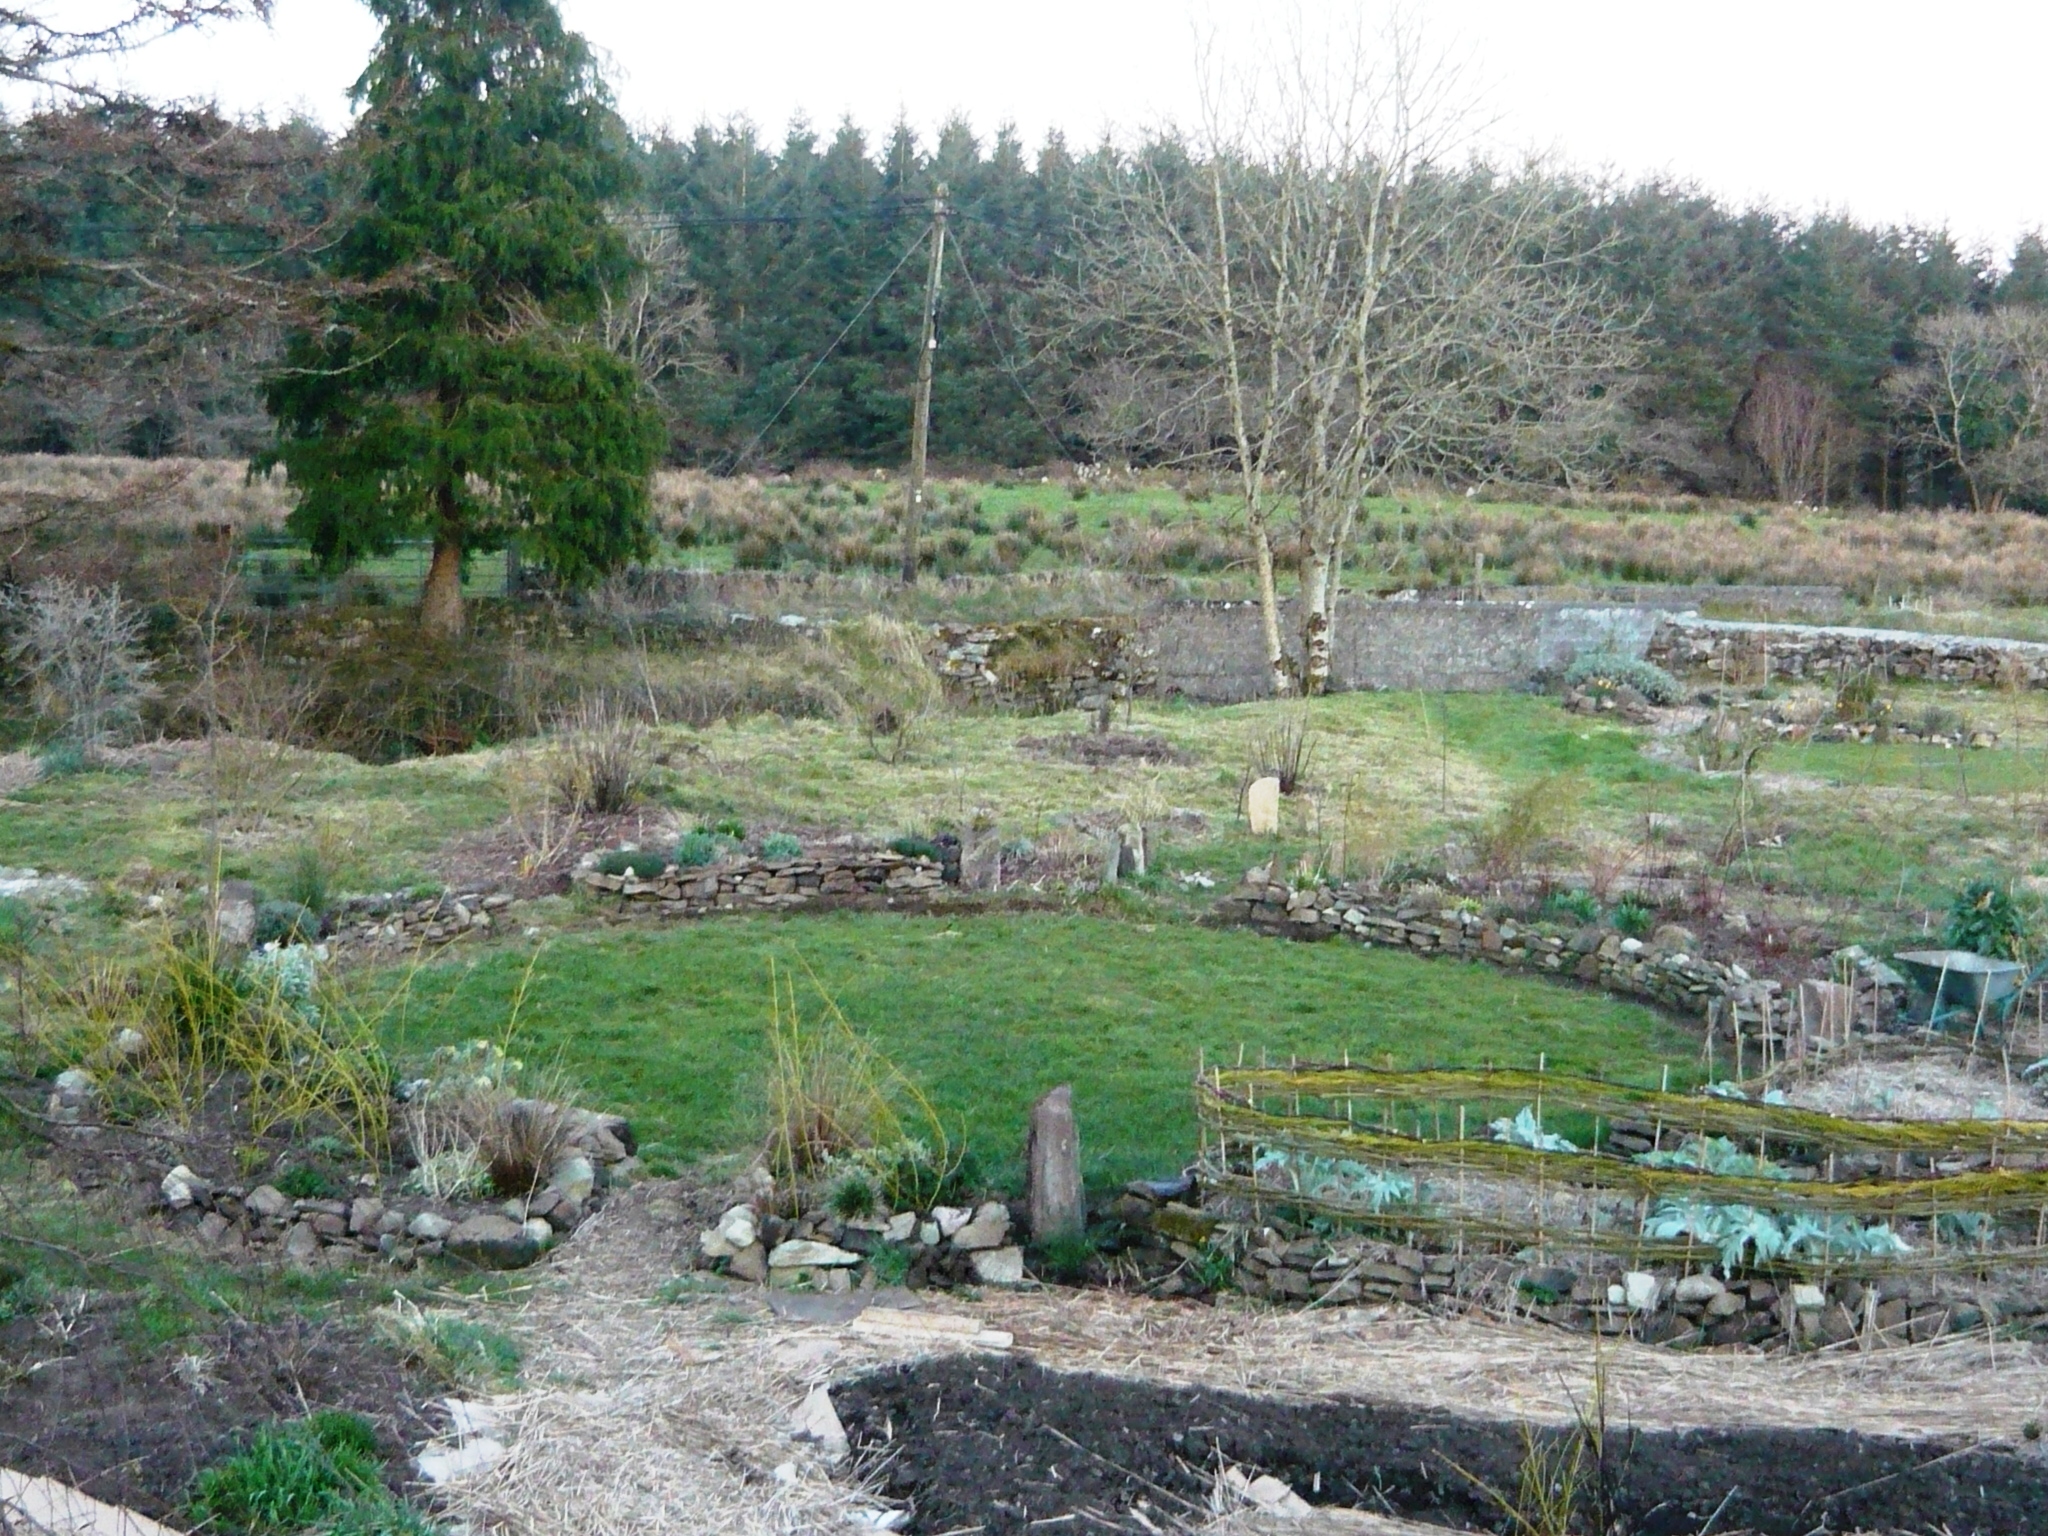
Here you can see the view across the circle to the East, South, West and North. We are planning to take the same pictures once a month so you can see how the garden changes in the course of the months and years ahead. All of these posts will be in the category called Elemental circle.

East

South

West

North

stonecircle from roof

One, two, three, SOW!

Seed packets

What better way to celebrate Saint Patrick’s Day than to plant potatoes? We have asked a few of the neighbours if it is a good time to plant them this time of year in our part of Ireland (the west) and they have all said we should be alright to put them in. For the last two weeks we have been keeping them in our porch, a cold and bright place and now the potatoes have good little shoots growing. We have not grown potatoes here before but we have opted for the tyre method where the potatoes are grown in a tyre and as they grow more tyres and soil are added to earth them up and produce a large crop. It will be interesting to see how it all turns out.

Potatoes and tyres

Planting potatoes

In between the tyres we put fluffed up sheeps wool to avoid creating a slug hotel where the slugs could hang out and go on nightly raids to the nearby just sown rows of carrots, radishes, parsnips and turnips. To avoid potato blight we are planning to make a strong nettle and comfrey tea that can be watered down and used at every watering. A friend told us about this method and he has grown healthy potatoes this way. As we are growing everything organically we would like to avoid chemicals and if anyone has other tips on how to avoid blight, please write about them in the comment section.

 Placing wool

Wool

 We also planted a lot of things today that need to be grown in pots to get off to a good start. As we have a tiny cottage and not much room inside, we invented a way last year to grow as much as possible under our circumstances. All through the year we save our toilet rolls and along with free newspapers, free plastic boxes from the supermarket and a bit of plastic wrap we create a practical, slug-proof and hygienic environment for our little seedlings. They can be planted straight in the ground in their rolls, or into a larger pot for growing on with no root disturbance.

 Seeds and boxes

We wanted to grow peas, beans, sunflowers and a variety of gourds and squashes so opted for a mix of multi-purpose and seed compost with added perlite as our growing medium. The toilet rolls can be stuffed quite full and placed on newspaper, tightly packed together for stability. We watered the full boxes and let them stand for a few hours to saturate the cardboard and let excess water run away.

 soil mx

a few rolls

full box

Planting all the seeds was great fun, with one person using the dibber to the correct depth, one person planting the seeds and one person writing down all the varieties for the different rows in the box. We then watered the boxes again to set the seeds in, let them drain off for a further couple of hours and wound the plastic wrap around the whole box a few times. Last year we let the seeds stay sealed up like this for about a month, with no water or air added. The box became a perfect micro climate and all the seedlings came out strong and healthy.

 dibber

boxes wrapped up

We keep the boxes in our gazebo and the seedlings do not seem to mind the frost, even when the ground is white and frozen in the mornings. The boxes and the gazebo keep them snug and they get enough light to not grow weak and straggly.

Plants for less.

grasses

 We, like most gardeners love to cram in a lot of shrubs, trees, perennials and grasses into our garden. Unfortunately we do not have the means to pay for full priced plants in the garden centre, but over the last couple of years we have found out that it is not so unfortunate after all. At certain times of the year we visit the sales at our local garden centre. Especially in spring, we have been very fortunate as they sell out a lot of last year’s perennials and grasses at as much as 75-80% off the original price. These plants may look a bit worse for wear, but when you get them out of the pot you almost always find that they have a great root system and are just perfect for planting out in the garden. We have bought almost all our plants in this way and have had very few casualties.

 root close up

sale label

A couple of weeks ago we picked up five potted grasses at a sale and we only paid €15 for the lot instead of the full €75. Today we finally had a bit of time to plant them. We started by forking the ground over lightly to remove all the couch grass that unfortunately has a tendency to creep across and root on any bare piece of land in our garden. We had some shrubs and grasses from last spring’s sale growing in this area and just wanted to add some more grasses to make for a beautiful and hopefully easily maintained part of the garden.

bed with cardboard

wheel barrow

bed half done

We planted all the grasses, adding a lot of well rotted manure to the planting holes and put down a double layer of cardboard boxes, to suppress the weeds and help with moisture retention if we get a warm and dry summer. We always put down cardboard and mulch on top of it around all small trees and shrubs as without the competition from weeds, they grow up to twice as fast. Our local supermarket is happy for any boxes we take away as they have to pay to recycle them. We have picked up many thousands over the last couple of years. We use them on all our paths as well, under the wood-chip mulch. As mulch for our newly planted grass area we put on a 15 cm layer of shredded Laylandii and we hope this will be enough to work as a weed suppressant for this year and hopefully by next year our ornamental grasses will have taken off and can handle the competition better.

 grass from circle

We do think it looks pretty, as the dark colour of the mulch contrasts beautifully with the golden and variegated grasses. We are so much looking forward to see how it will turn out in the summer.

Natural plant supports.

Fence for Artichokes

It is that time of year again when a lot of Willows and Dogwoods need pruning. As we like to use as many natural and local materials as possible, we decided to use the prunings to make plant-supports. Our Artichokes and Cardoons grew very big last year and some of them blew over on a windy day. So a low, strong fence to go around the bed was on our wish list.  As we wanted it to last for more than one year, we used Bamboo canes as the uprights. Last year we made a few supports and used willow for the uprights, but even turned upside down, they rooted and had to be moved in the autumn. We put the uprights in quite close, about 20 centimeters apart. You need an uneven number of uprights. We then wove long straight Willow rods round and round for about 8 centimeters, left a space and wove another section higher up.

Willow fence

Fence.

To finish off the top and make it extra strong, we used a slightly different technique, using two rods at a time and twisting them together as many times as possible between each upright. The Dogwood has very pretty colours so we used them as both a decorative and practical edge.

 Fence detail

For our perennial flower borders we decided to use some bushier prunings of Dogwood as natural plant-supports. If they root, we will end up with a lot of new plants in the autumn, ready to give away to friends or plant elsewhere in the garden. If they don’t root they will still have served us well as supports and can go on the compost heap at the end of the season.

planting and willow

planting and willow 014

We also planted some evergreen spring flowering Clematis recently, that we picked up in a sale. As clematis love sun but like to have their roots in shade we made a small basket like willow structure to go around the base of each one.

Clematis support.

 One of our cats was adamant to be included in today’s photographs so here goes…

Tea at fence.

Whole bed and Tea.

Tea in action.

Beautiful edible perennials.

We have a lot of slugs in our garden. It is a problem as annual vegetables and flowers tend to be attacked when they are small. We still like to grow them, but we also decided early on to go down the perennial route as well. We do have a lot of Nettles, Dandelions and Chickweed growing wild in the garden and like to cook with all of them. Good King Henry, Turkish Rocket and Wild garlic have been added to our collection of perennial vegetables.

Perennial vegetables.

They are reliable and tasty and because they grow in abundance, very hard for the slugs to eradicate. We also like pretty flowers and sometimes they go hand in hand with food production. The Daylily, Hemerocallis is a popular perennial that grows in gardens everywhere. Many Daylilies are edible and have been used throughout China and other parts of Asia for a very long time. We love to eat them, both in salads and stir fries.

daylily

Another reliable salad plant is the Ice Plant, Sedum Spectabile, that has succulent leaves, very tasty in a mixed salad. This is a purple variety along with some Nasturtiums.

Iceplant and Nasturtiums.

Cardoons and Artichokes bring great beauty as well as taste to the vegetable garden.

Artichokes and cardoons.

Cardoon

We can not exclude the Sunflowers, Nasturtiums and Borage, although they are annuals, they like to seed themselves around the place and can all be eaten as well as provide floral beauty and food for beneficial insects.

nasturtiums and borage.

It is in fact easy to create a vegetable garden full of edible flowers. We like to incorporate as many flowers as possible in our annual vegetable patch as it confuses some pests and add a lot of joy as well as taste. It is a lot of fun but please make sure you know exactly what you are growing and eating to avoid any toxic plants.

For further reading we highly recommend:

James Wong’s Homegrown Revolution

and

Creating a Forest Garden: Working with nature to grow edible crops. By Martin Crawford.

Building a wild life pond.

FA pond adds beauty, biodiversity and a great feeling of tranquillity to any garden. We always knew we wanted one. Our work commenced in the spring of 2013, with digging. It is good to site a pond away from trees as the leaves will fall into it, fouling the water. We made the mistake and had to cut down an Ash tree. It was sad but we have planted a couple of hundred trees now so we have somewhat made up for the damage caused.Some shade is good at least for part of the day. It is also good to make the pond as large as possible as it will help in creating a clear healthy environment. For a wildlife pond you need at least one side of it to be a gentle slope, where wildlife can have easy access in and out of the water. It is also good to have some different shelves and levels under the water for plants and animals.

Digging the pond.

Digging the pond 2

The pond-liner we used is made from Polyex and comes from Bradshaws Direct in the UK. When used with an underlay it is guaranteed for 35 years. We also wanted a bog garden and you can see it here in this photo, as the lighter shallower part.

Pondliner in place

To prevent the soil in the bog garden part from entering the pond we built a small stone wall, separating the two. We filled the bog garden part with a mix of moss peat, manure, compost and garden soil and planted it up with water-loving marginal plants. We built up the edges under the liner all the way around the pond and bog garden with small stones and soil to give it an even edge. It is important to check your levels before you start digging as the ground needs to be relatively flat for the water to stay in. We then covered the edge of the liner with a small stone wall and in one part a pebbled beach, great for small creatures and larger ones too, like hedgehogs, coming for a drink.

Bog garden planted up.

We filled the pond in June 2013 partly with water from a stream in our garden and partly with rain water. It was to late for frogs, toads and newts to spawn that year but some of them moved in to the area surrounding the pond.

summer 2013

In 2014 we had hundreds of little frogs hatching as well as a good number of newts. We hope they will be a great help in keeping the number of snails and slugs in the garden under control. Water beetles, whirligig beetles and many other creatures now inhabit our pond and it is a very beautiful place to sit and observe all the wild life. The first picture below is from Winter 2014 and the following from Summer 2014. You can see how much these plants love having their roots in water. 

winter 2014

summer 2014

summer 2014 2