The last day of June.

Today we took some time to drink in the beauty of the season. Walking slowly around the land and snapping a few photographs here and there. This video is the result. We hope you enjoy it!

It has been a very busy year with third level studies, house and garden maintenance and an abundance of creative projects. We miss updating the blog on a regular basis but sometimes we need to slow down and just be in the here and now. Hopefully there will be some more in depth posts in the not too distant future…

Open Garden for Amnesty 2018

amnesty open day 029

Following on from last year’s very successful event we have decided to open our garden for two days this summer. On Saturday the 14th and Sunday the 15th of July, from noon to 5pm, you are welcome to stroll through our garden, peek inside our eco-buildings and enjoy some refreshments in our pop up Amnestea café. We are situated close to Ballaghaderreen, in the northwest part of County Roscommon. The weekend is in aid of Amnesty International Ireland and all proceeds will go towards their work.

Read more

Walls and floor.

Following on from this earlier post about the groundwork, here comes a post about the foundation and main wood frame construction on our reciprocal roofed roundhouse. We put down a layer of builders sand all over the floor area and raked it out until it was even. On top of this we placed a waterproof membrane. At the eight posts we added extra pieces of membrane between the concrete foundations and the posts.

Read more

A bottle-wall of many colours.

August bottle wall

August bottle wall

It was finally time to finish off work on our bottle wall sections this week. We have written a few posts about bottle wall construction over the last few months, and now it was time to add the finishing touches to our largest project. We found a lovely arched sash window as a second in a local joinery and decided to add a bottle wall arch to each side of it for a beautiful composition and also to add more light into our extension.

Read more

Woodland management on a small scale.

 woodland 044

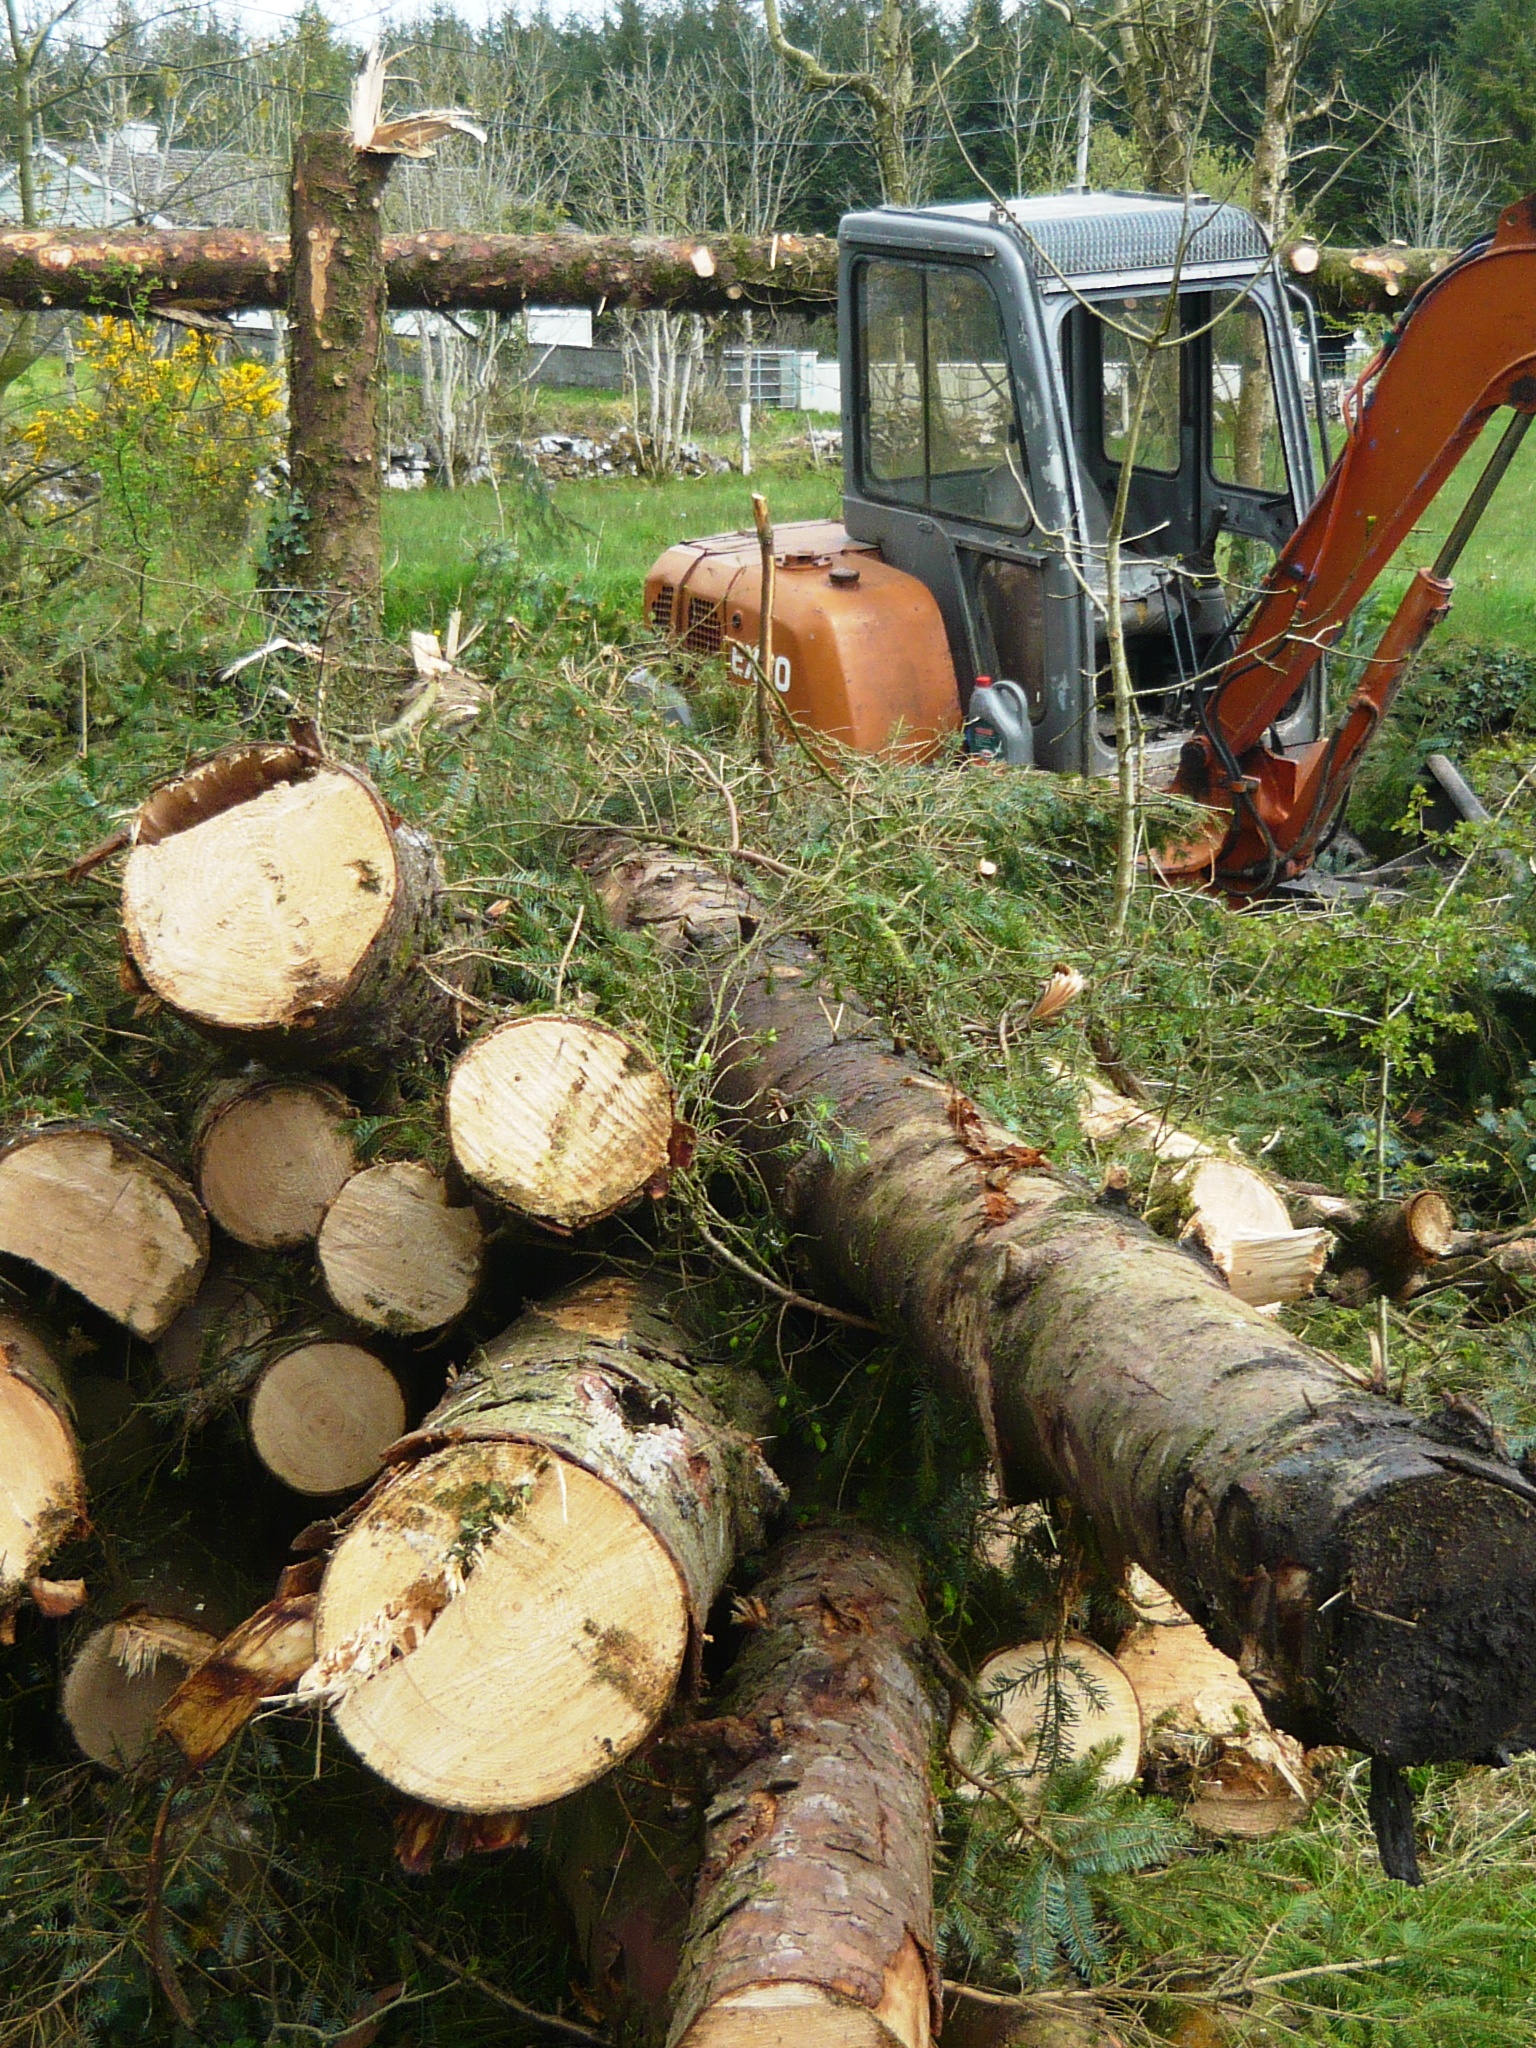
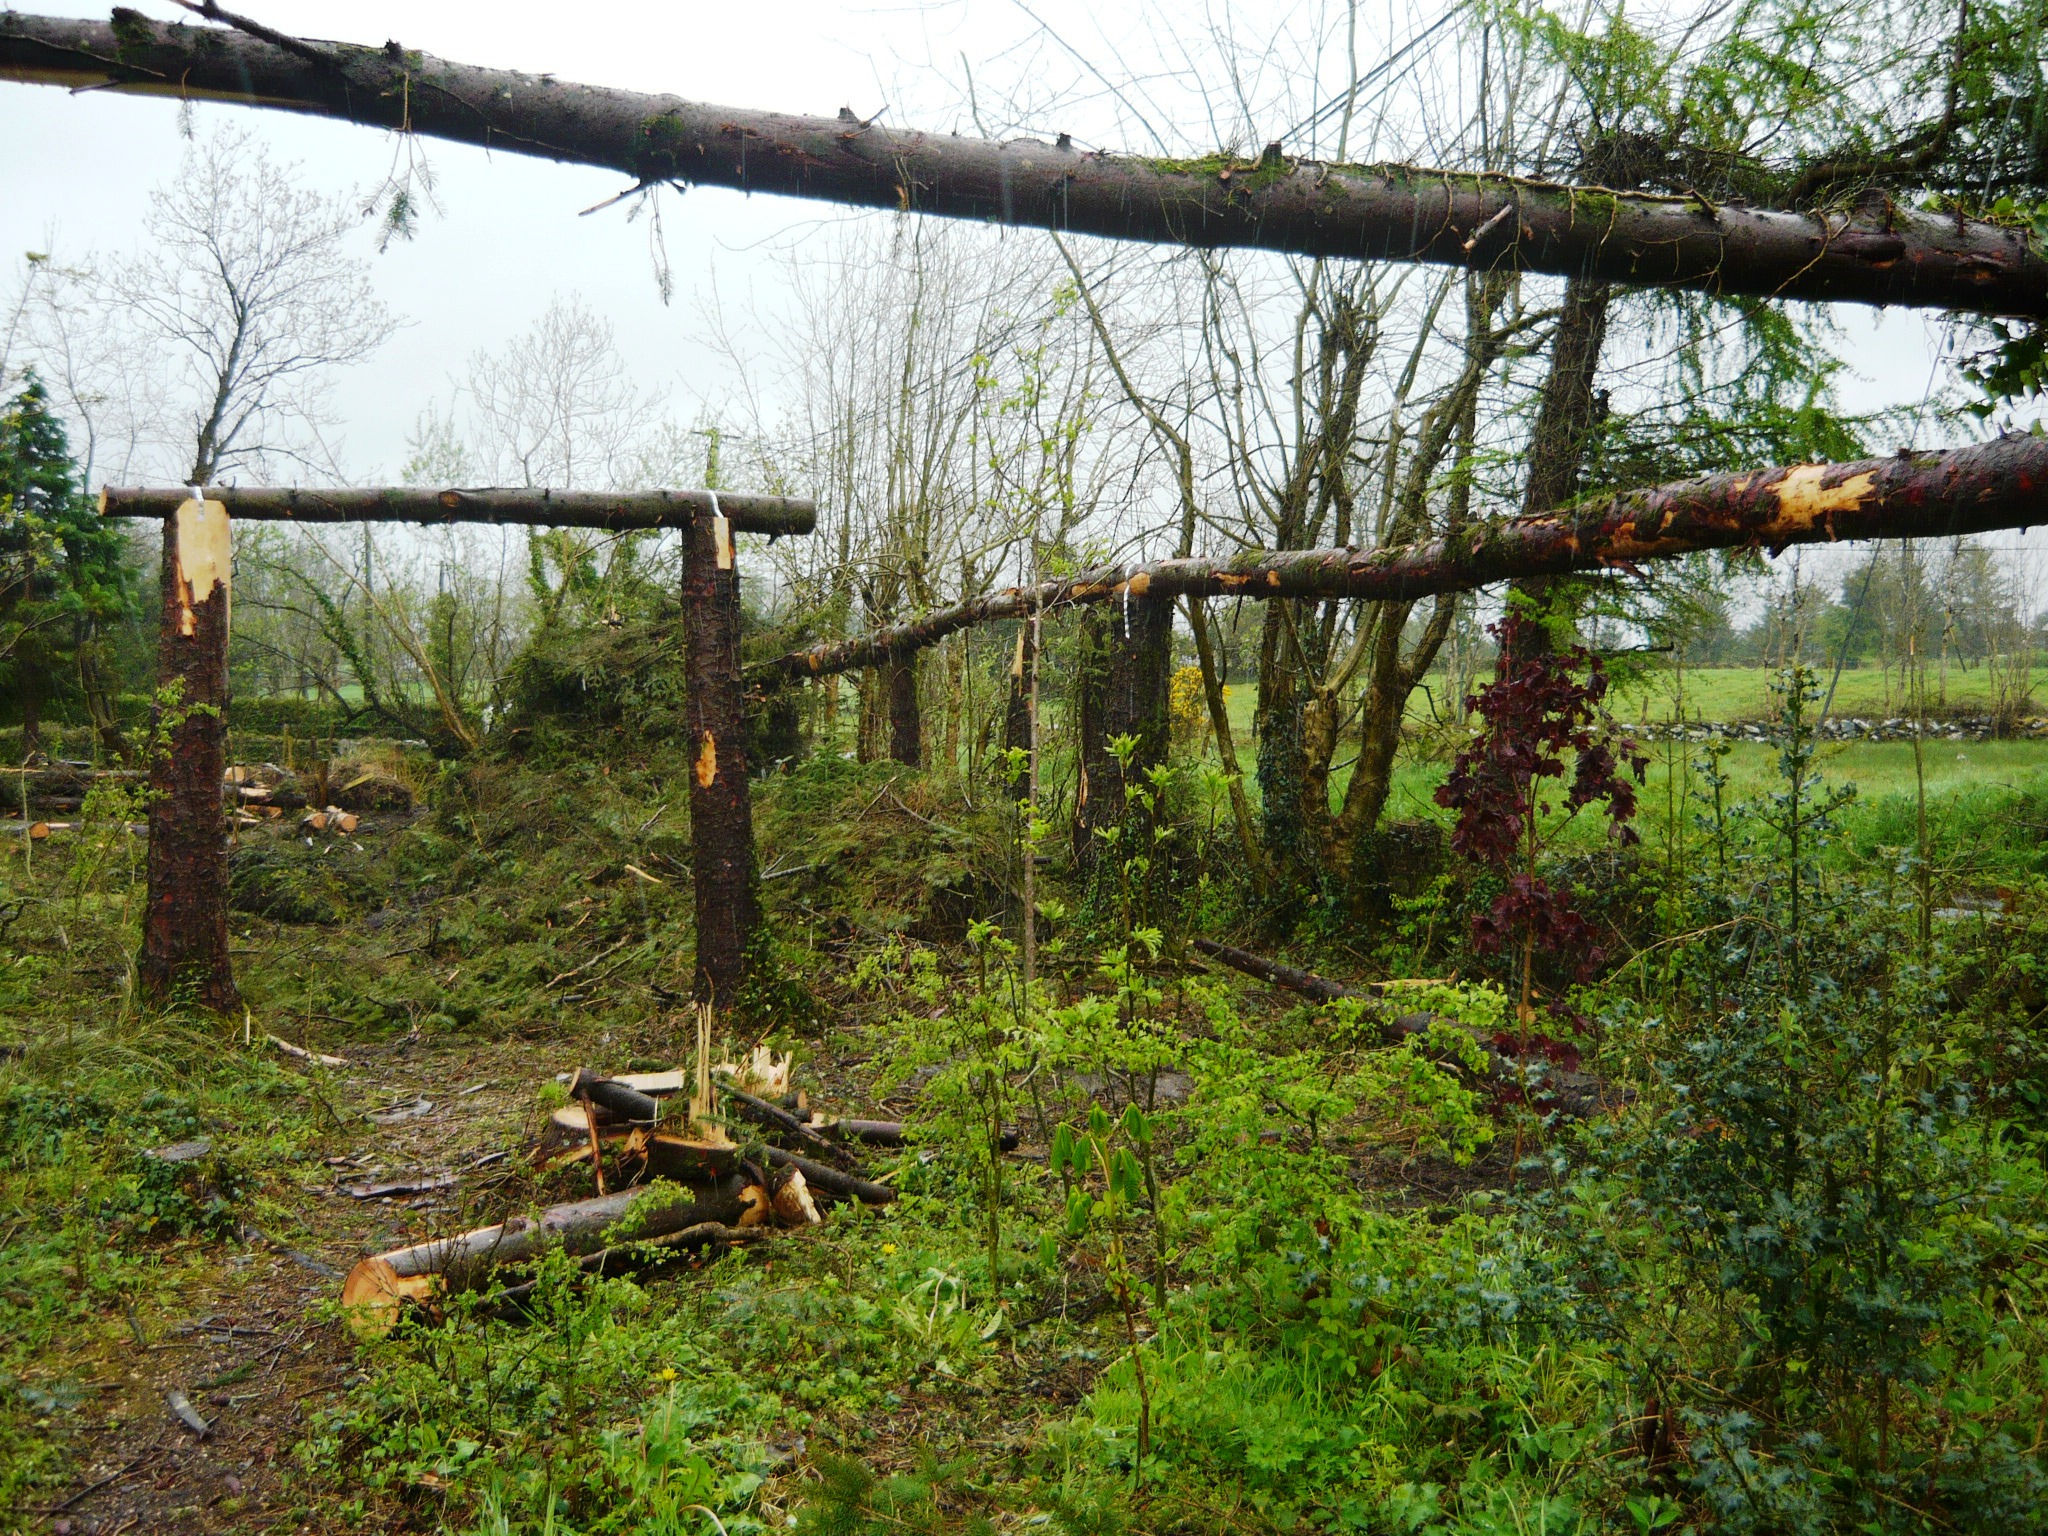
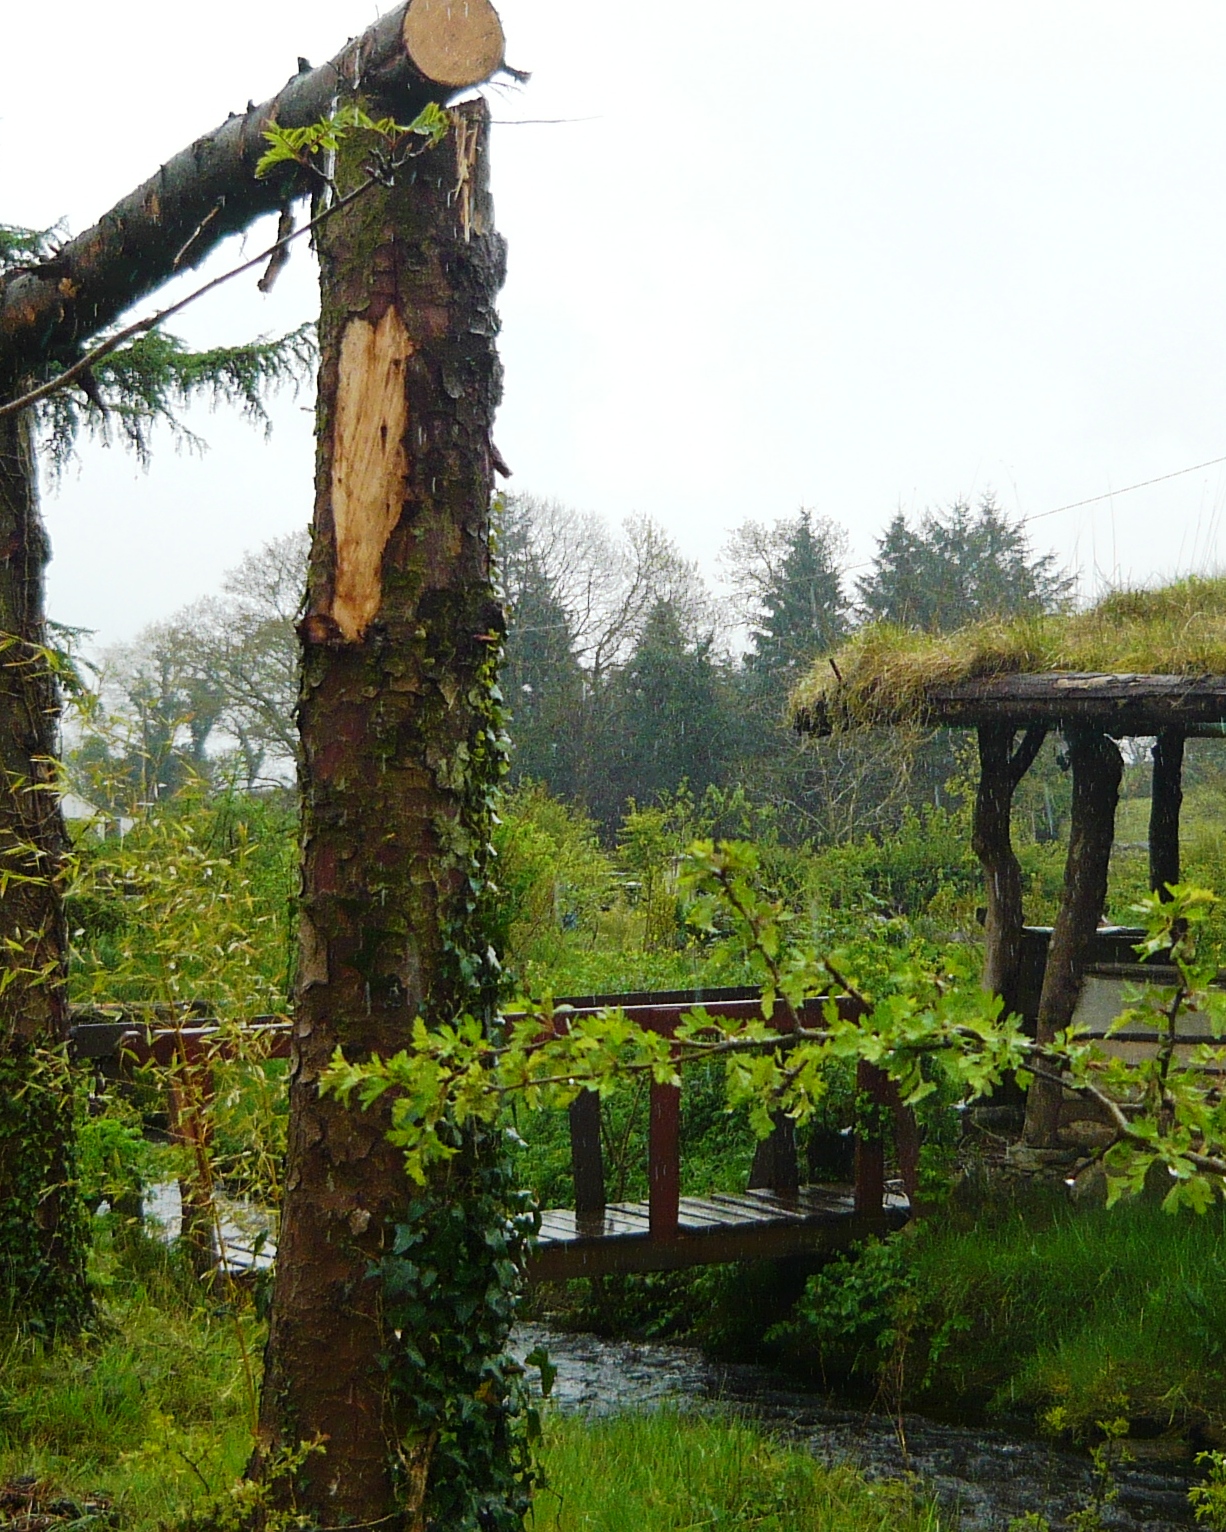
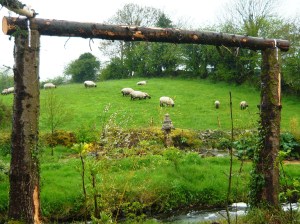
Our little woodland has had a complete makeover in the last few days. We had about 22 spruce that were planted in 1972. They were quite close together thus thin, tall and leggy. As the ground is boggy the wind had started to rock the roots and it was time for a change. We cut a lot of them quite high and used some of the cut trunks for crosspieces, creating supports for climbers. A lot of the logs will be used for firewood, some of the big thick ones will be supports in our conservatory and a few have been given to friends for their house renovation project.

woodland before

woodland gate

woodland logs

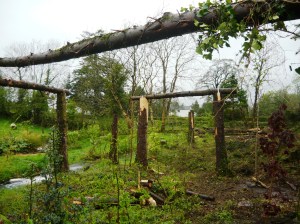
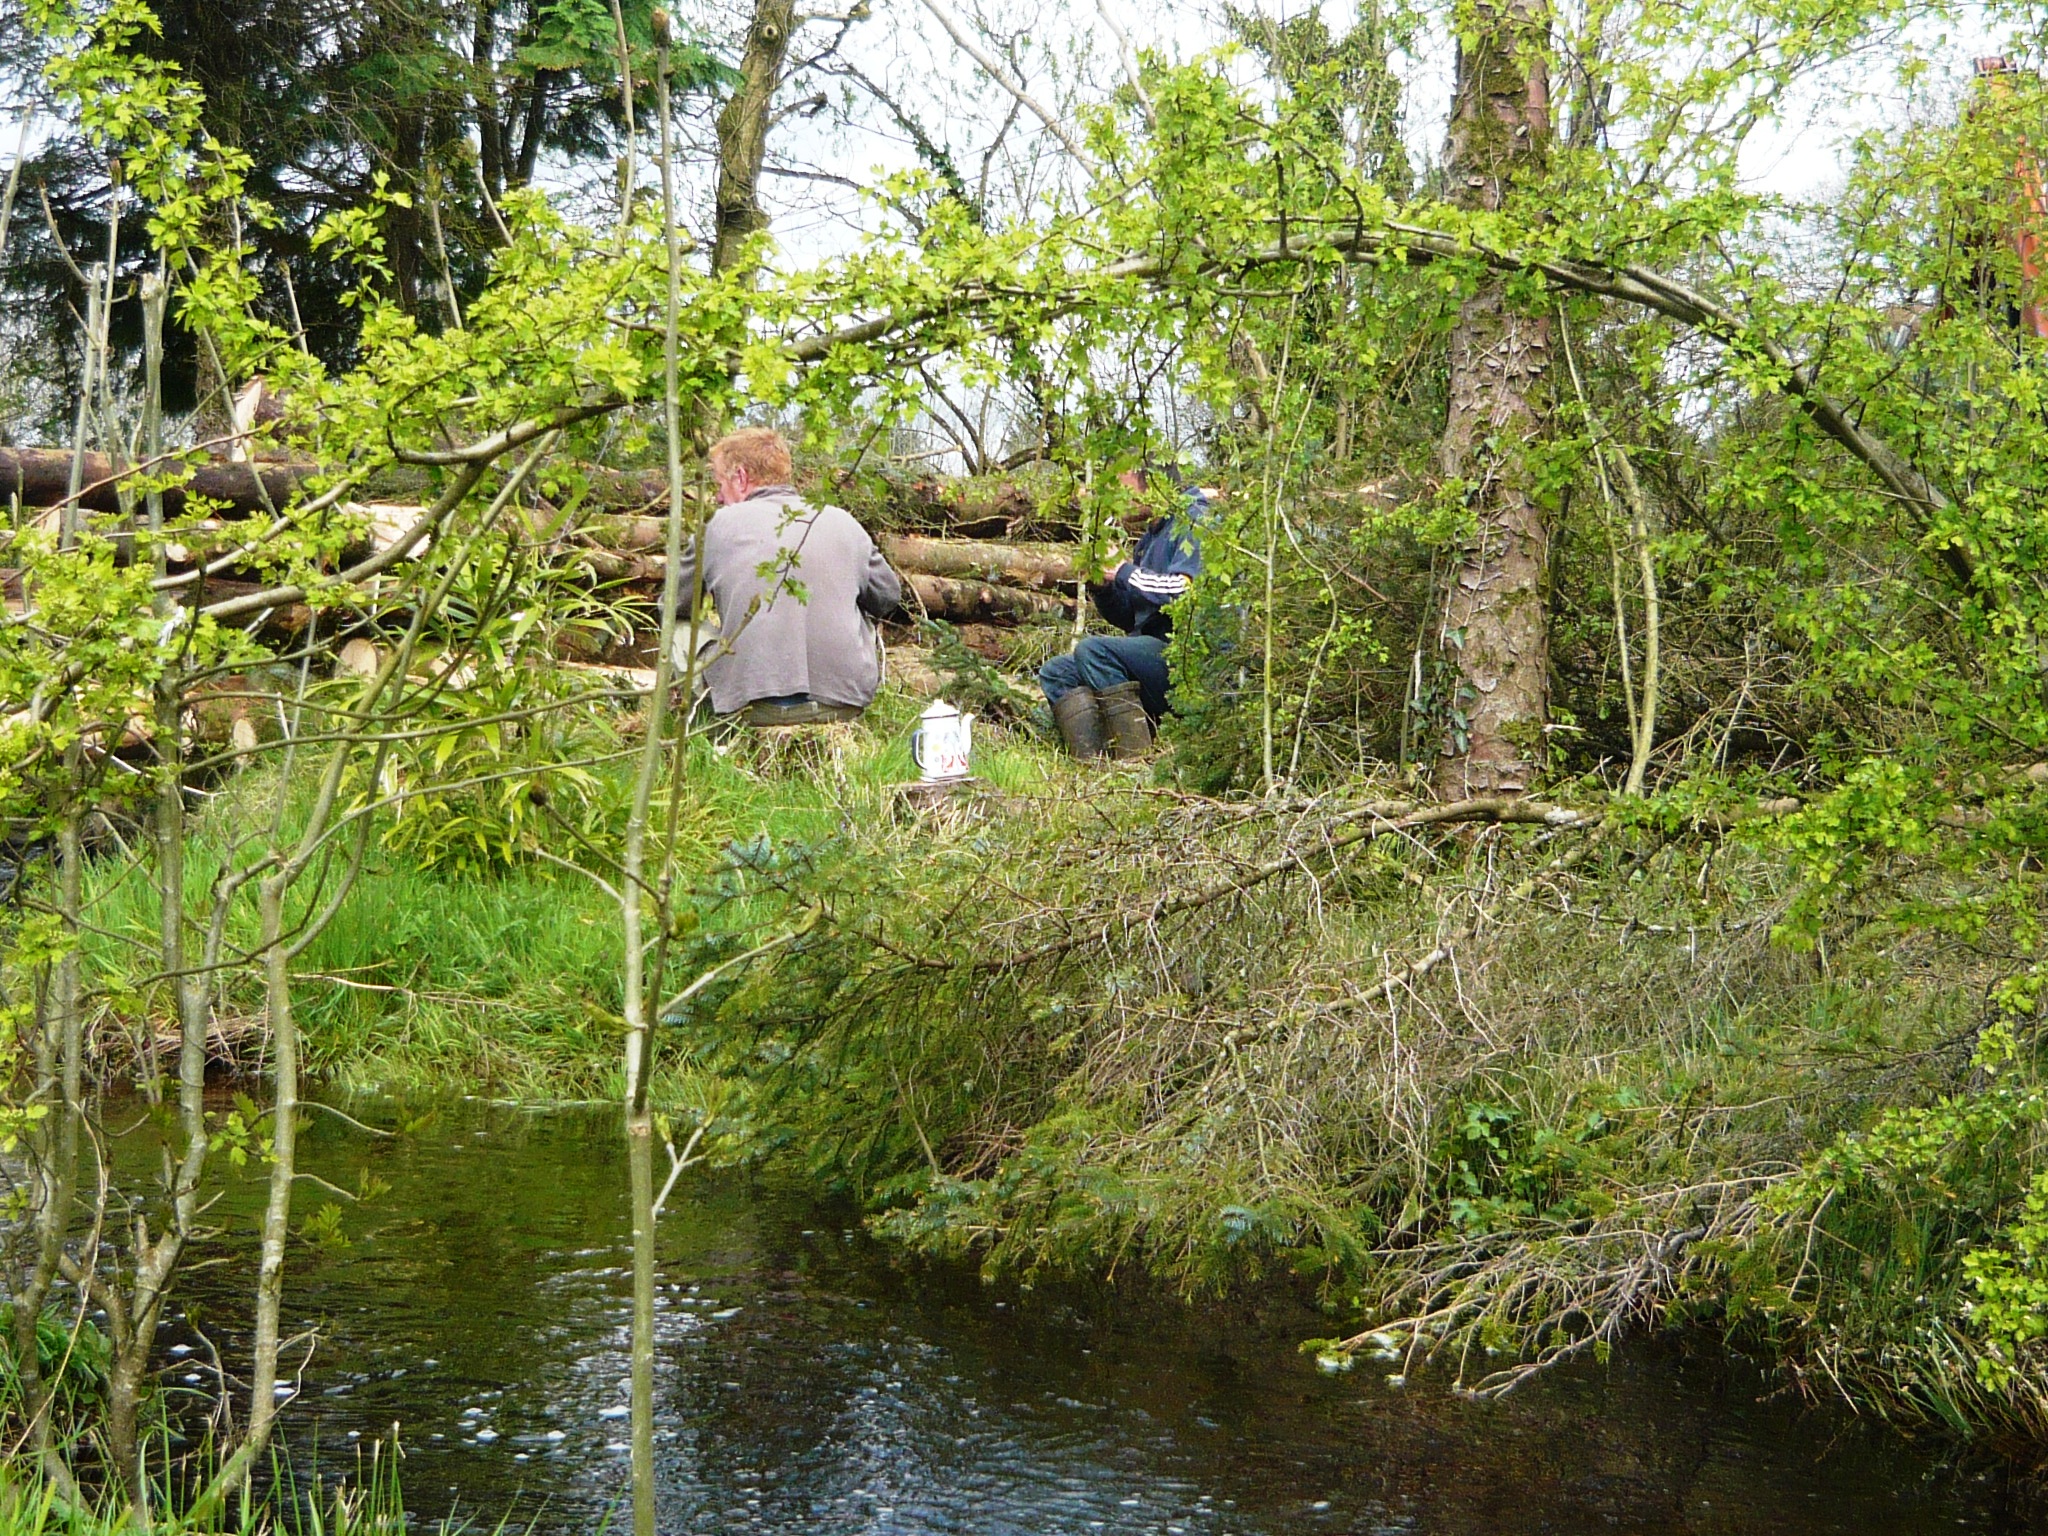
As we have electric cables right next to our woodland we got a friend with a digger to come around and make sure no trees went on the wires or on the road. We had a lot of willow and other tree saplings in the woods and we moved them to a temporary safe location, out of reach of falling logs. Here you can see the two tree fellers hard at work.

 woodland workers

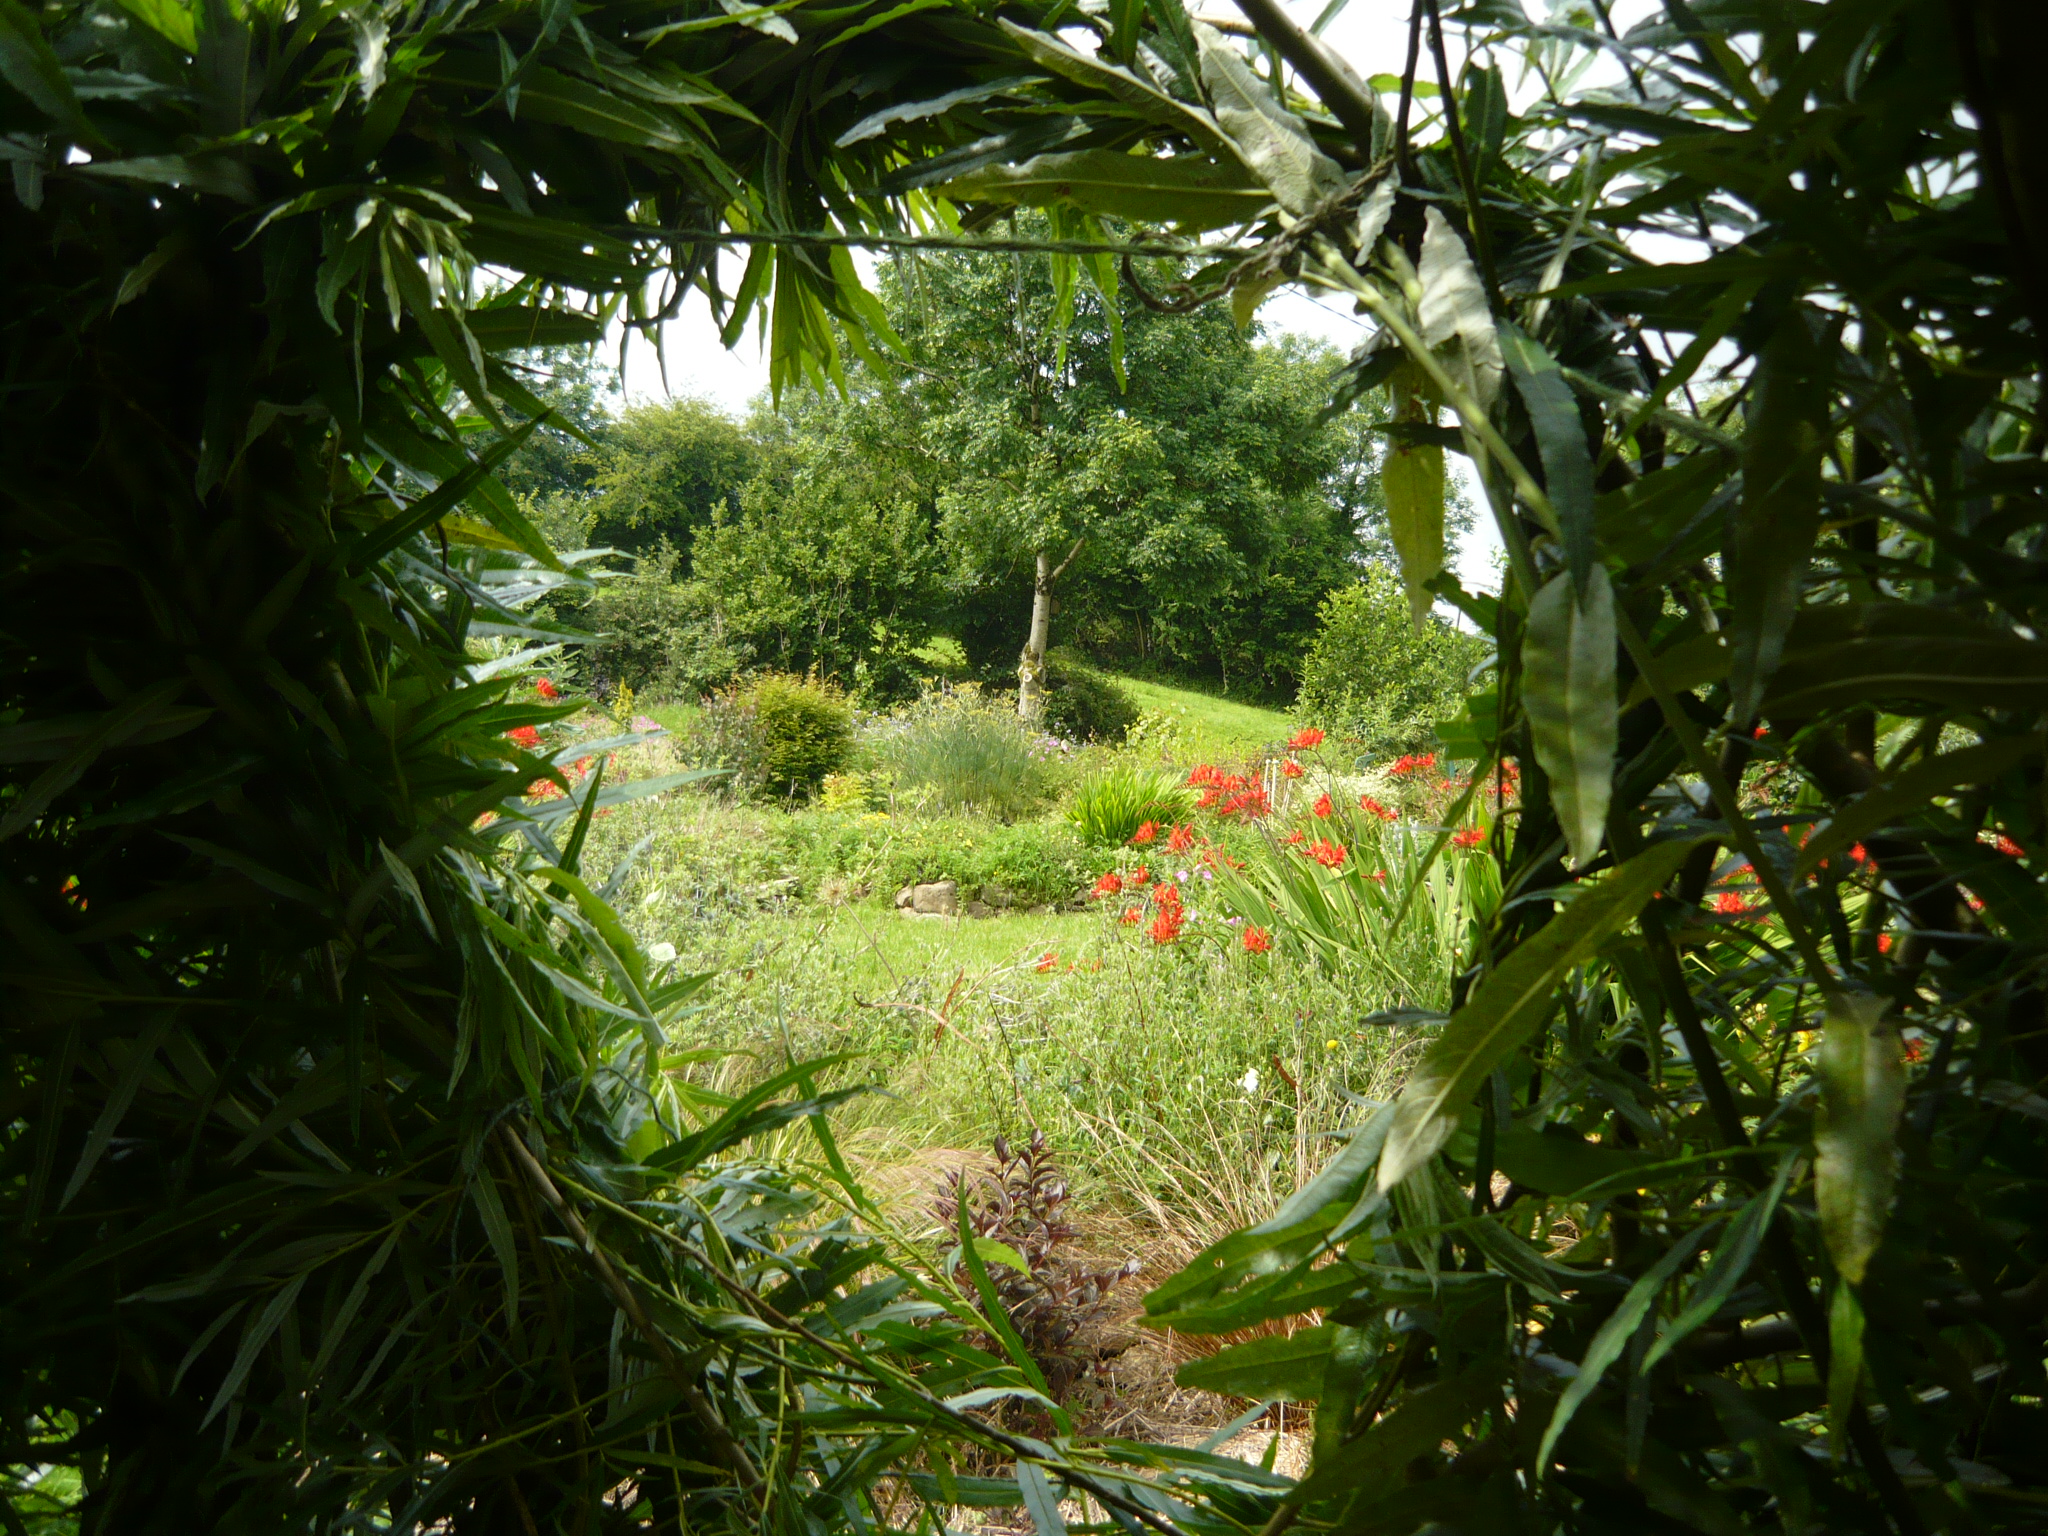
After the felling was complete we were left with a lovely bright space ready to replant with trees, shrubs and ground-covers more beneficial to us. Our whole garden is based on the principals of forest gardening, where all plants have a purpose other than just aesthetics or fashion. They are planted in a way as to mimic young woodland with a canopy, shrub and ground cover layer. Plants are chosen for food production, wildlife, pollination, soil-improvement, firewood, medicinal purposes, basketry materials etc. Did you know that lime, hawthorn and beech trees all have lovely leaves for spring salads? A lot of perennial vegetables are included as they are more reliable, often more nutritious and less susceptible to slug damage.

woodland maple

woodland whitebeam

Waiting to be planted out.

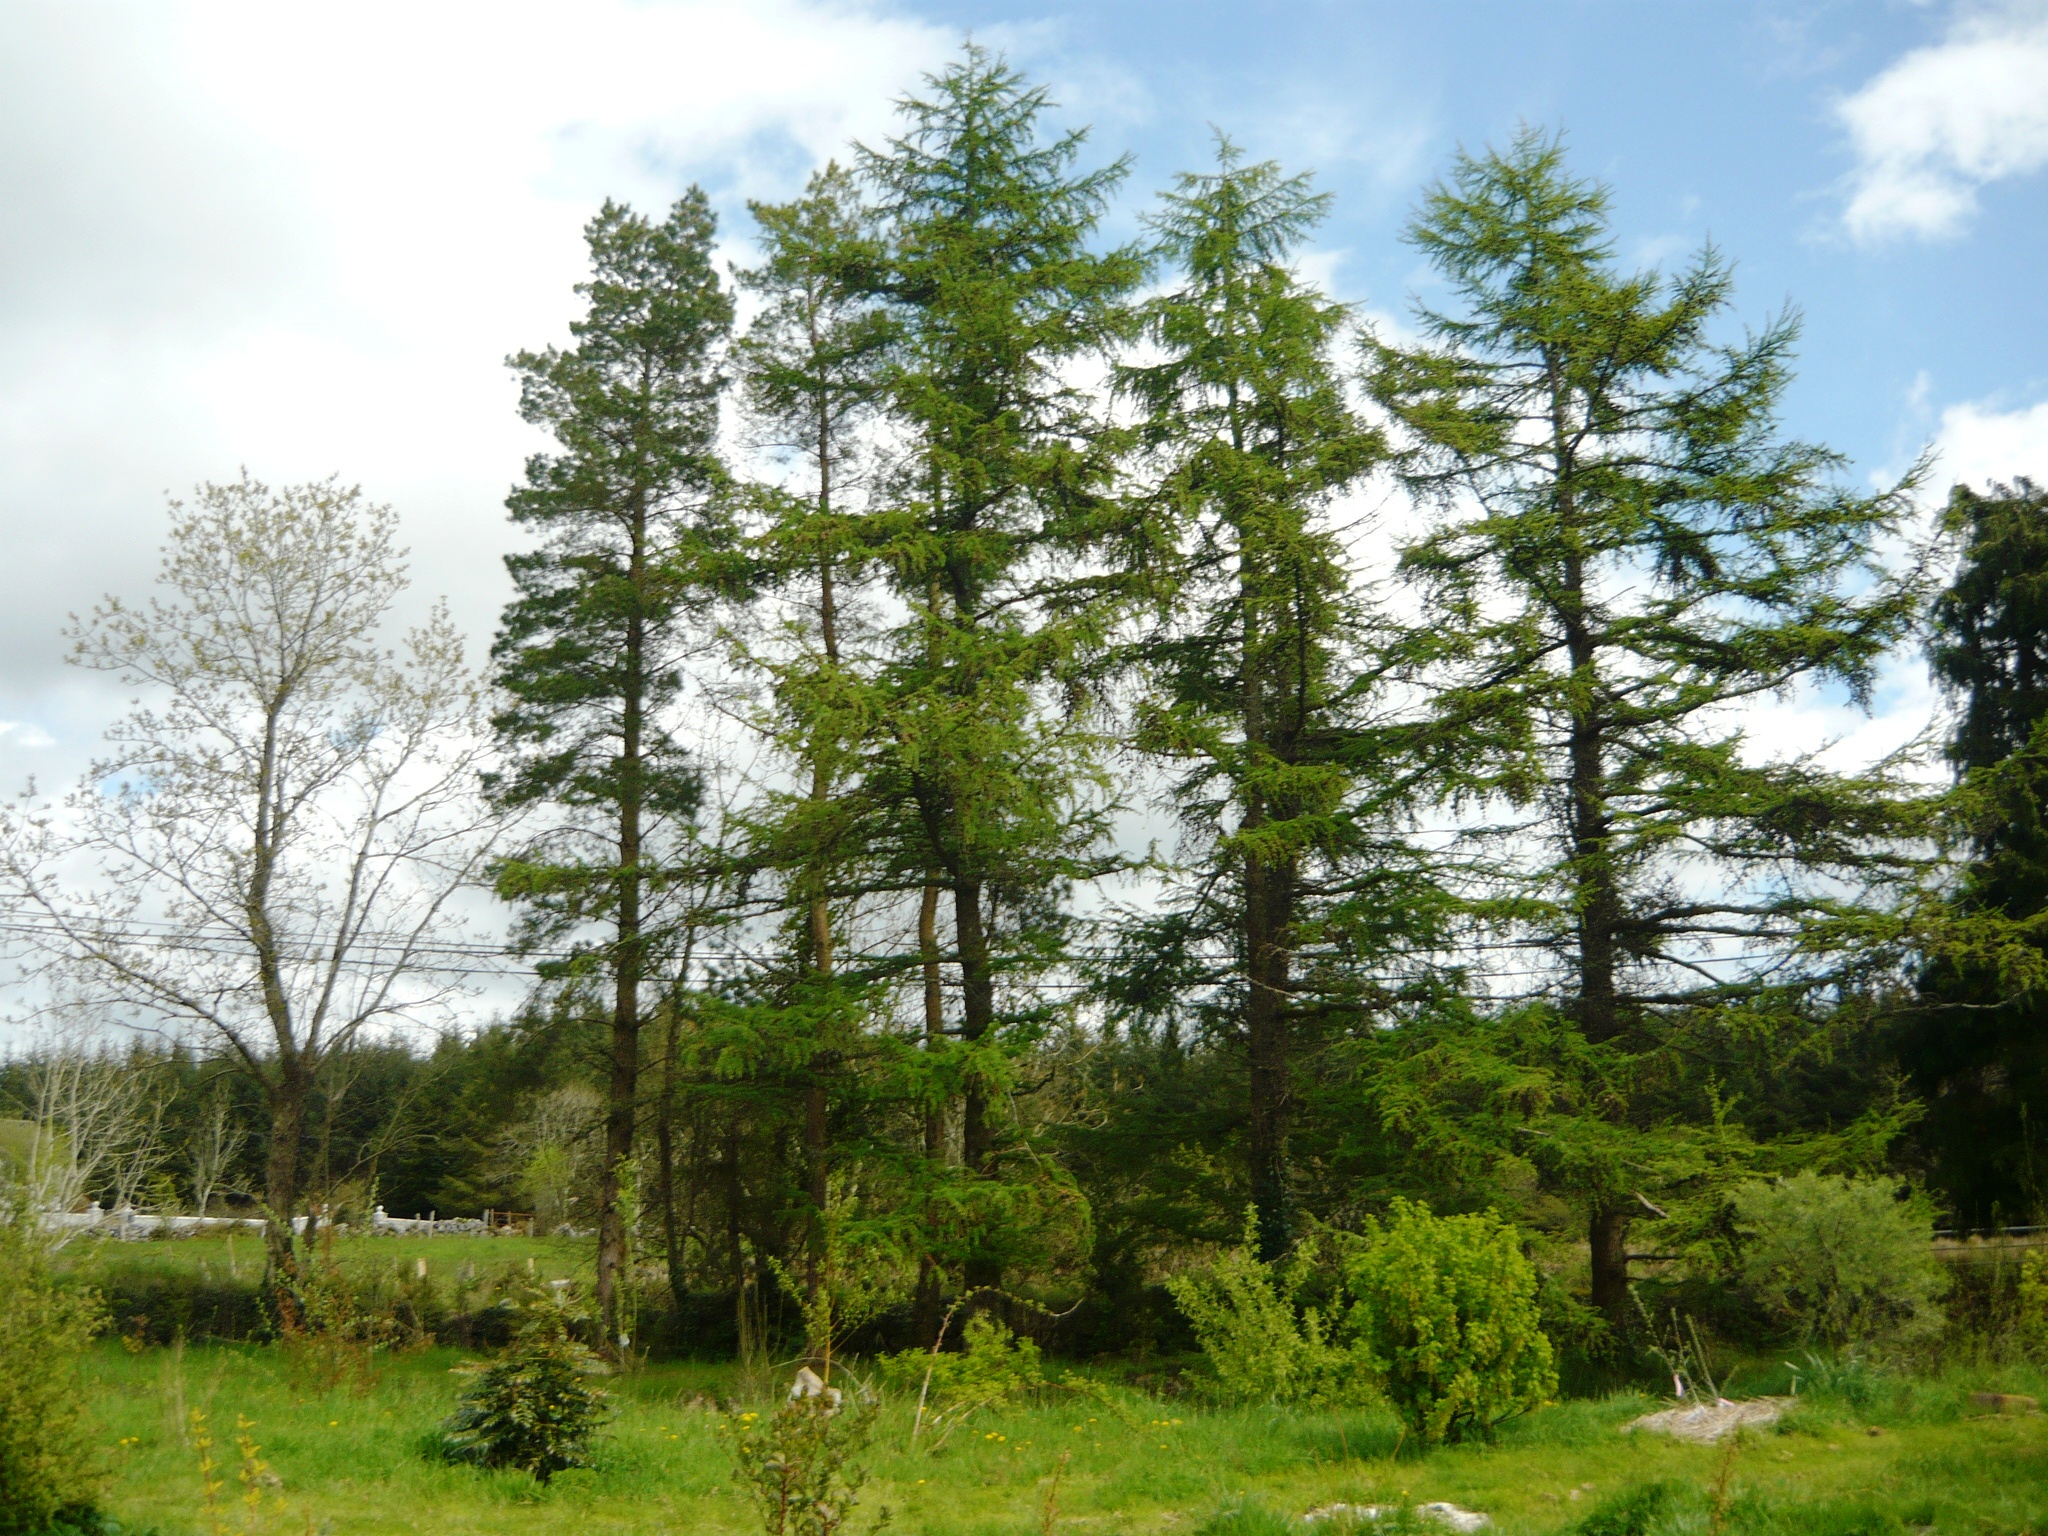
We have kept our beautiful big Scots pine and larch trees as they still have decades of life left in them. We are in the process of adding rowan, lime, beech, oak, willow, hawthorn, maple, birch and hazel trees to the woodland. A lot of these trees will be kept pollarded or coppiced and we will use the off-cuts for fuel, plant-supports and basketry.  We already have some mature ash trees along the boundary.

woodland 026

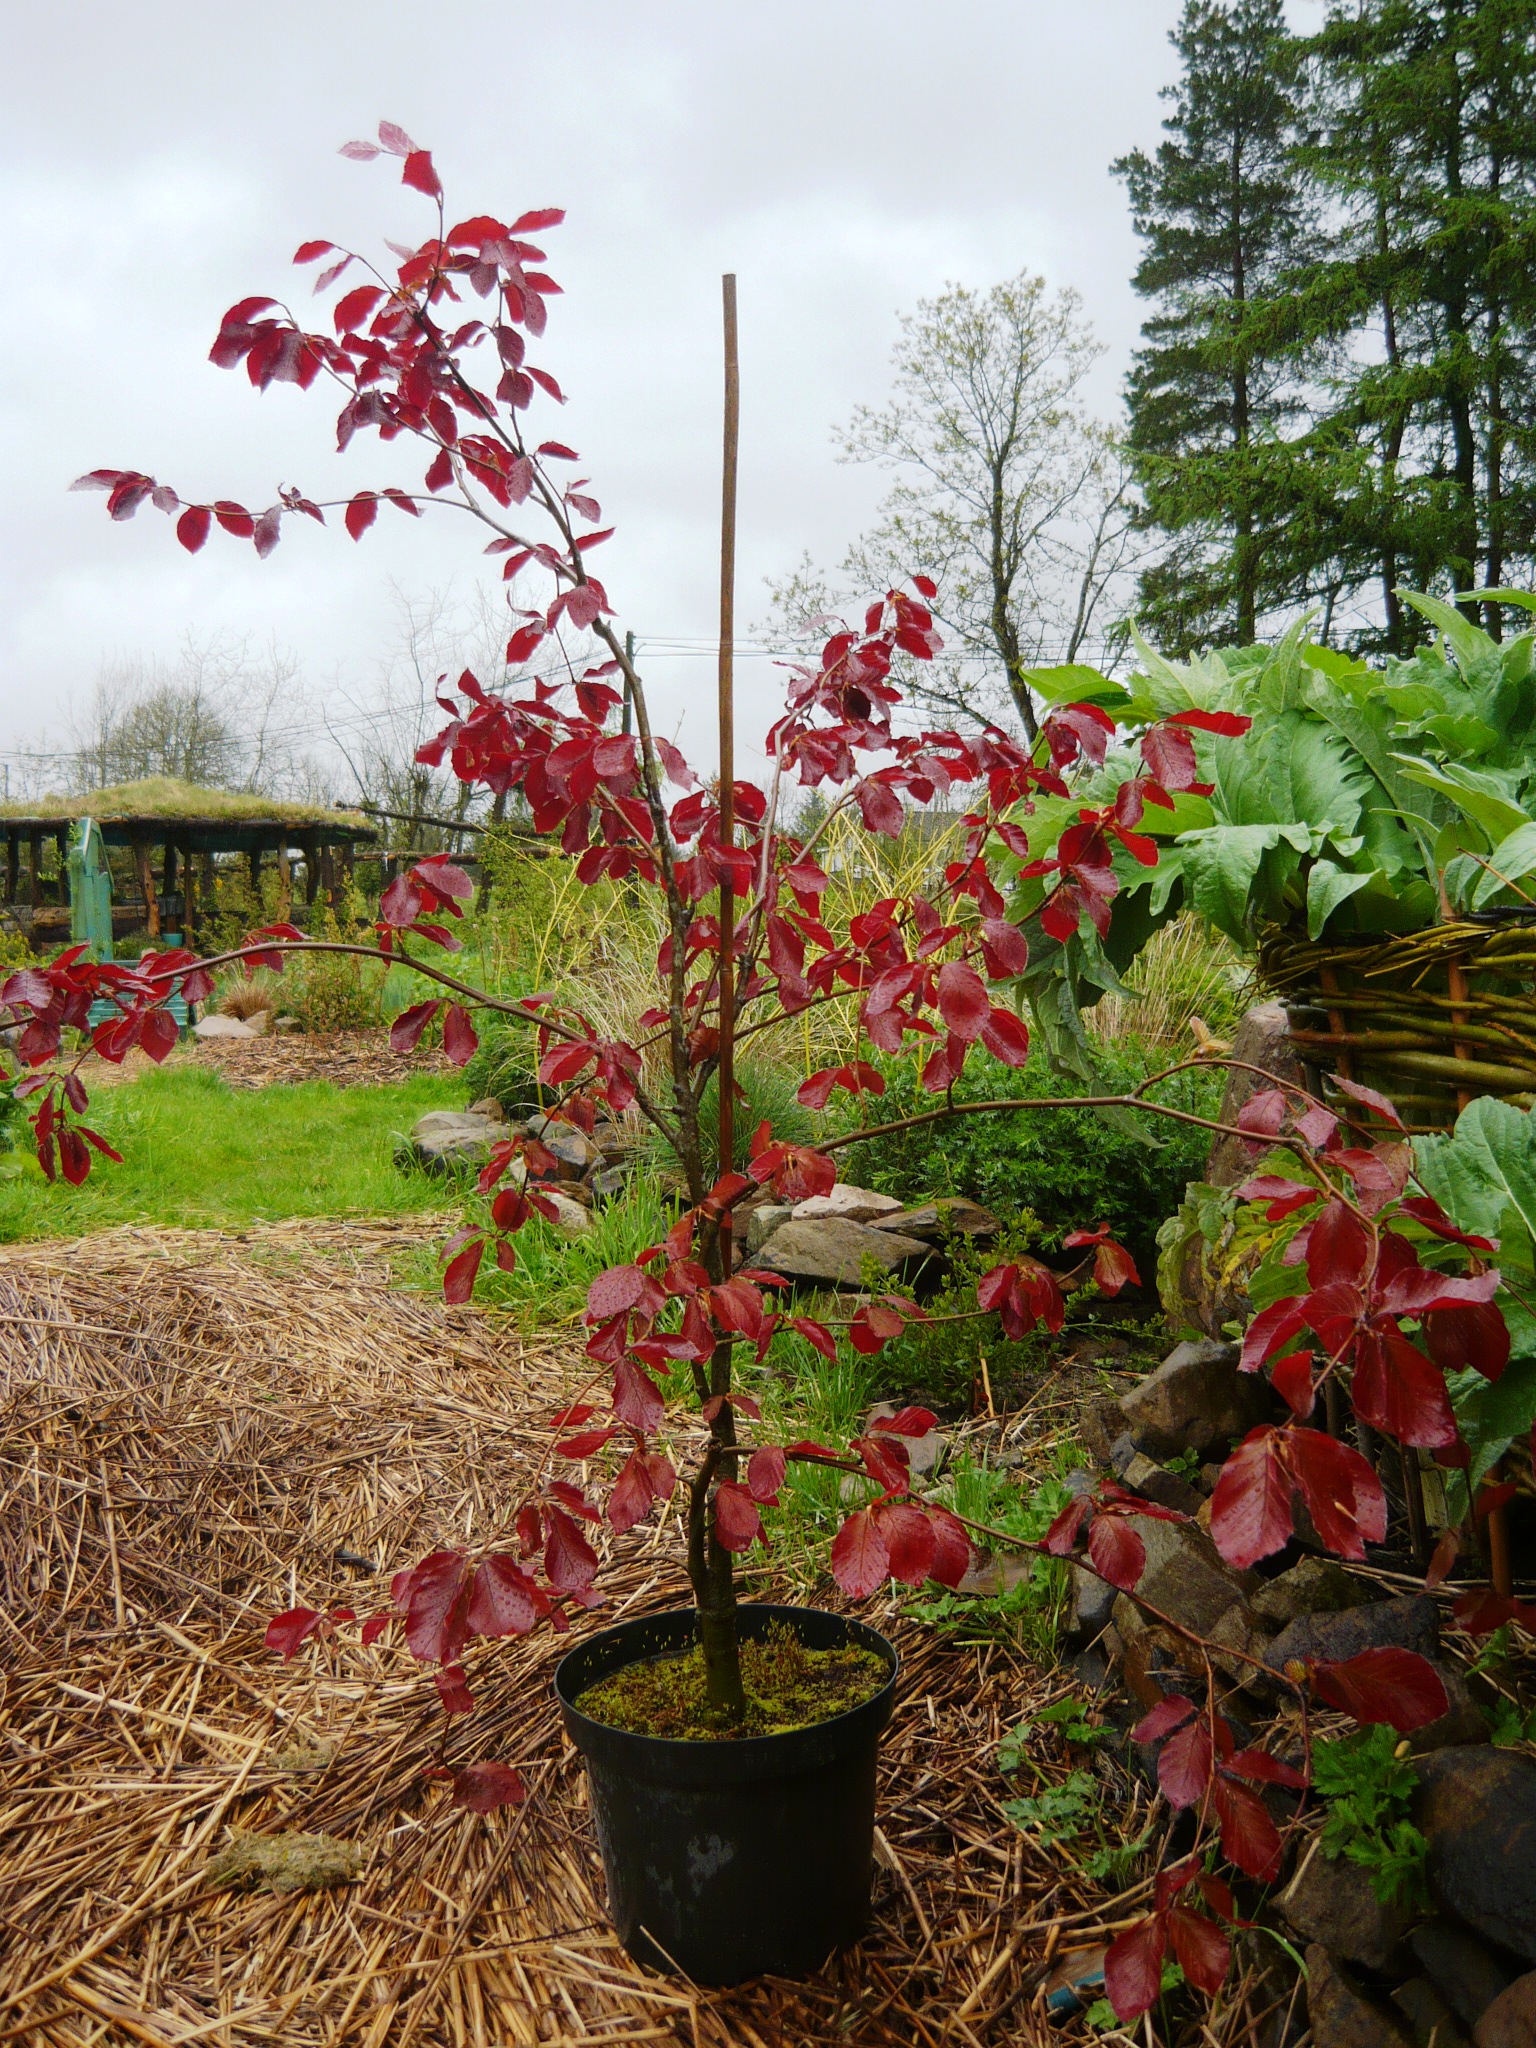
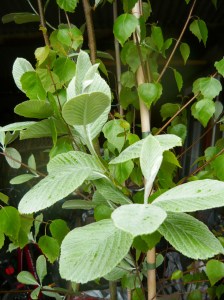
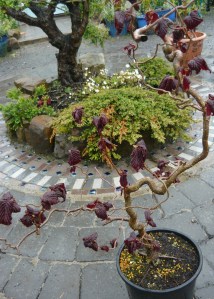
 It was love at first sight when we spotted this copper beech at the tree nursery. It had to be included in our new woodland as well as the stunning purple contorted hazel.

woodland beech

woodland 060

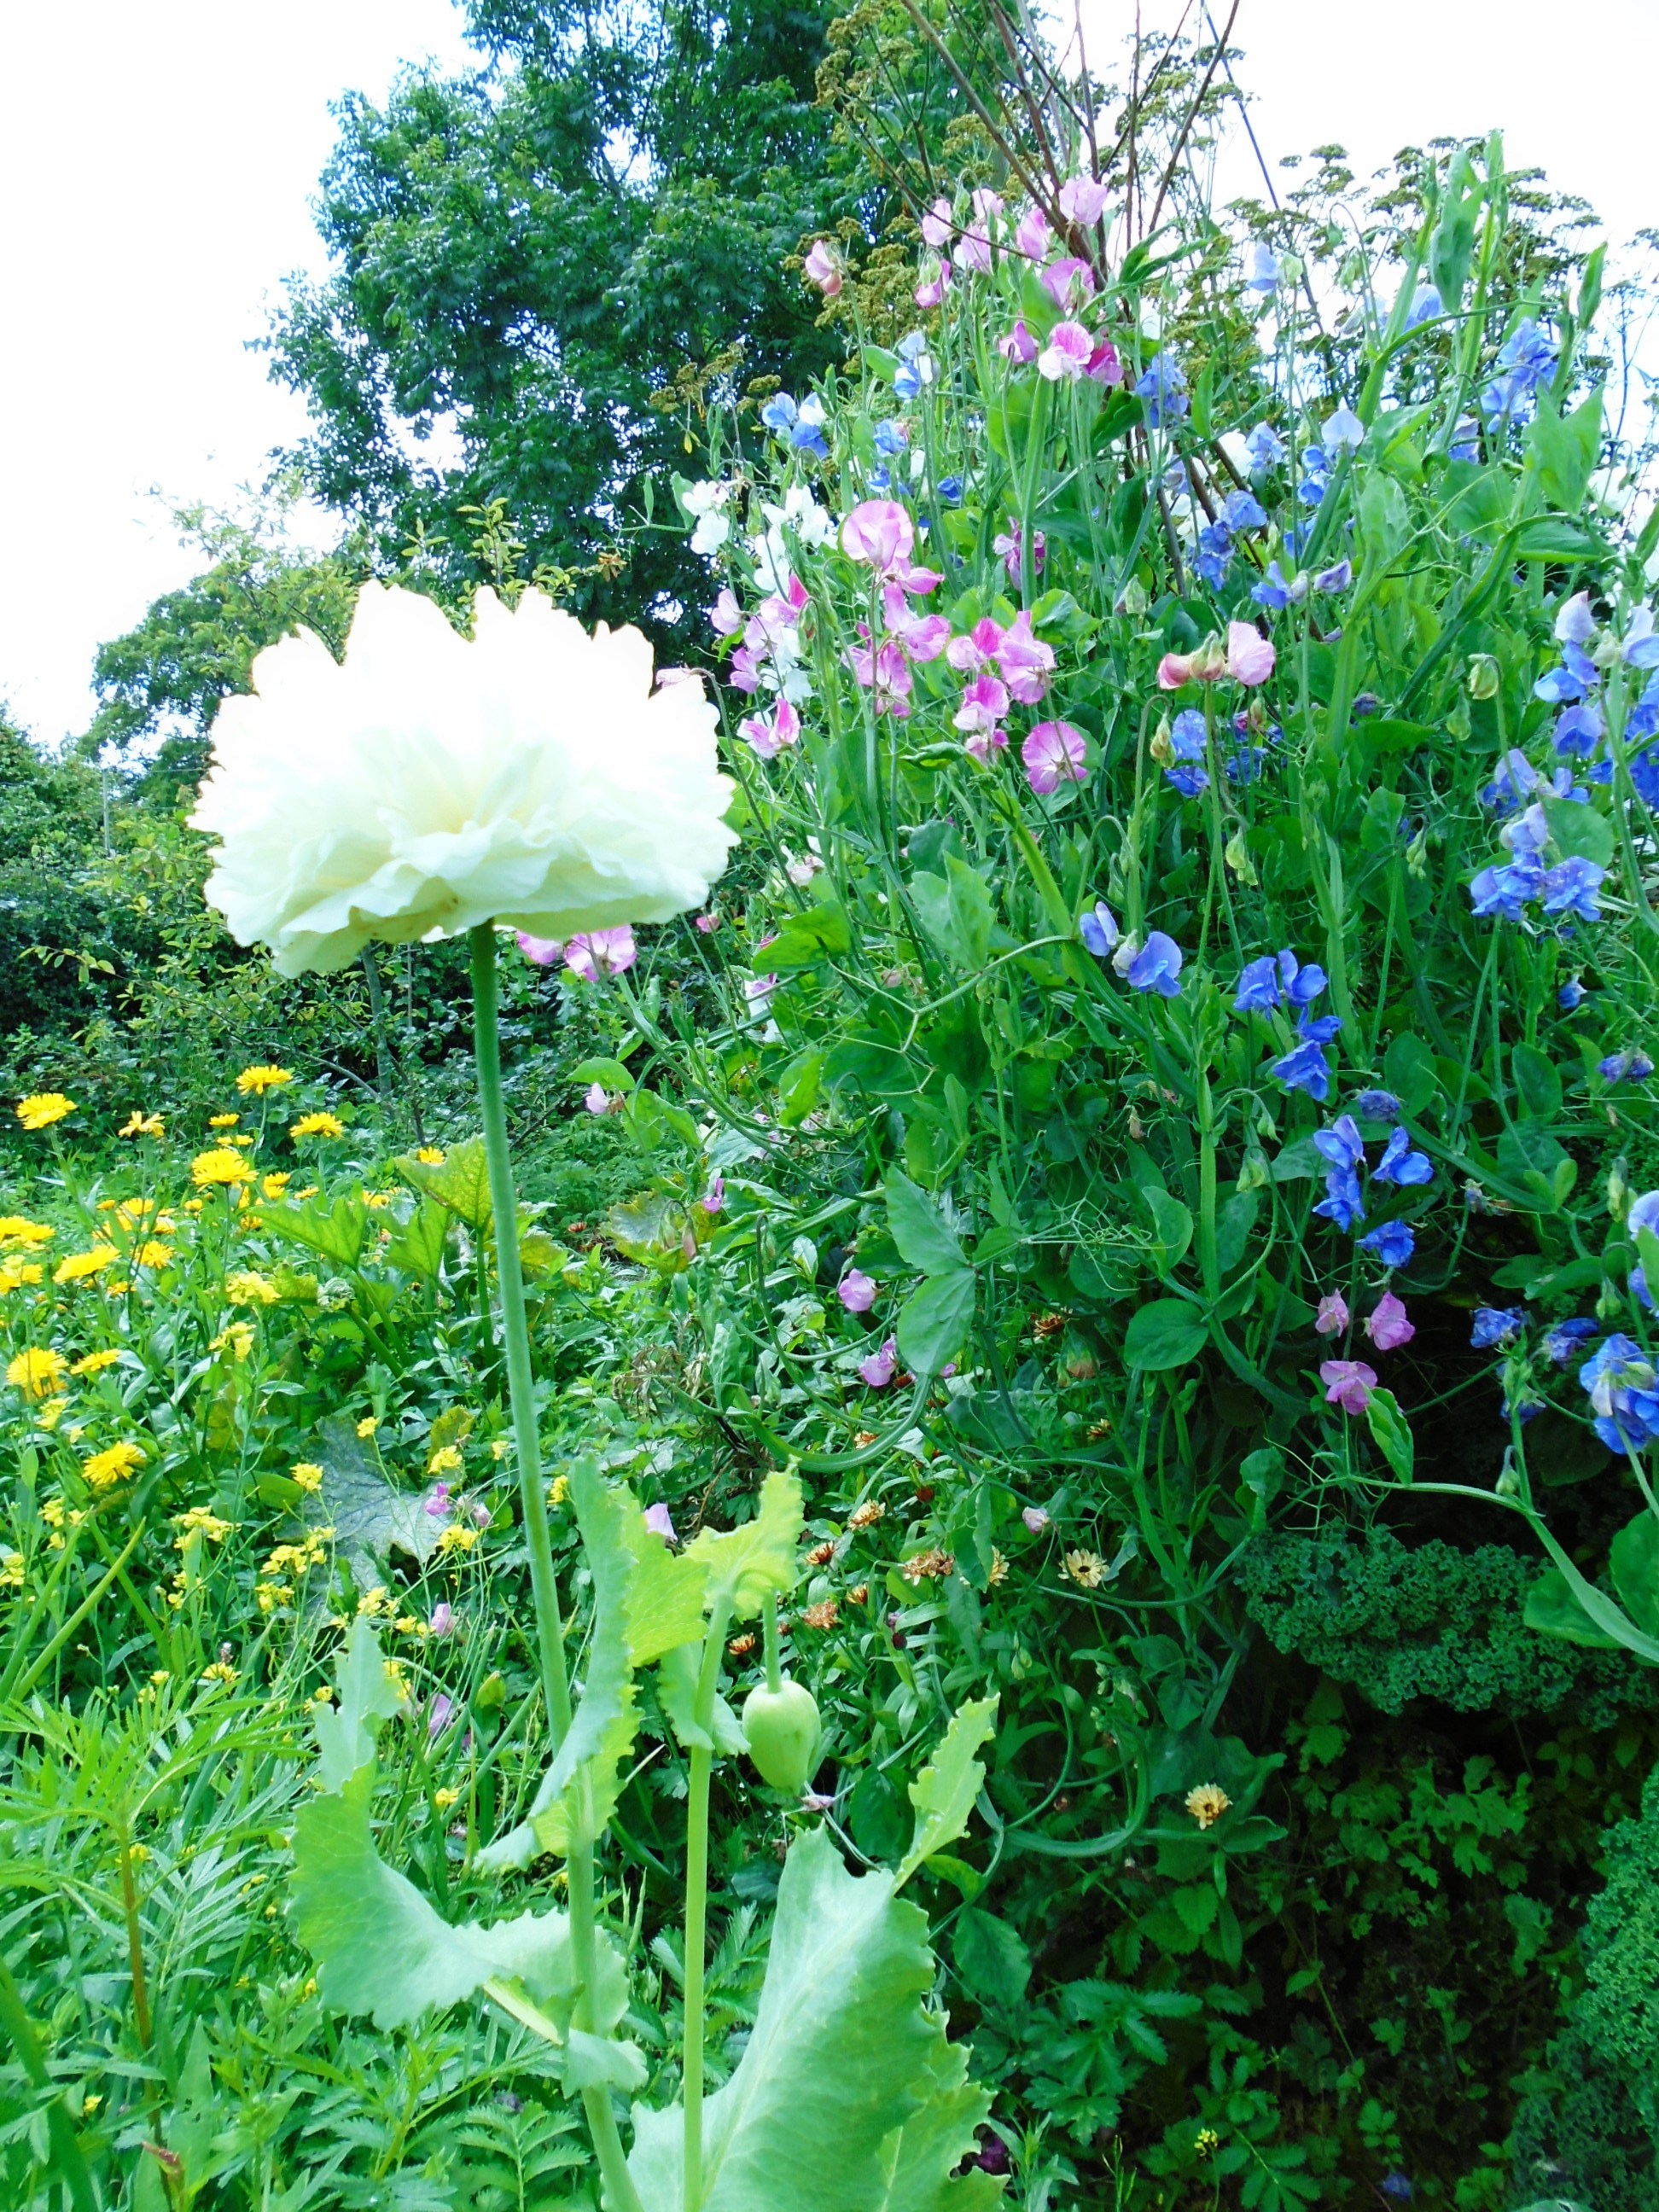
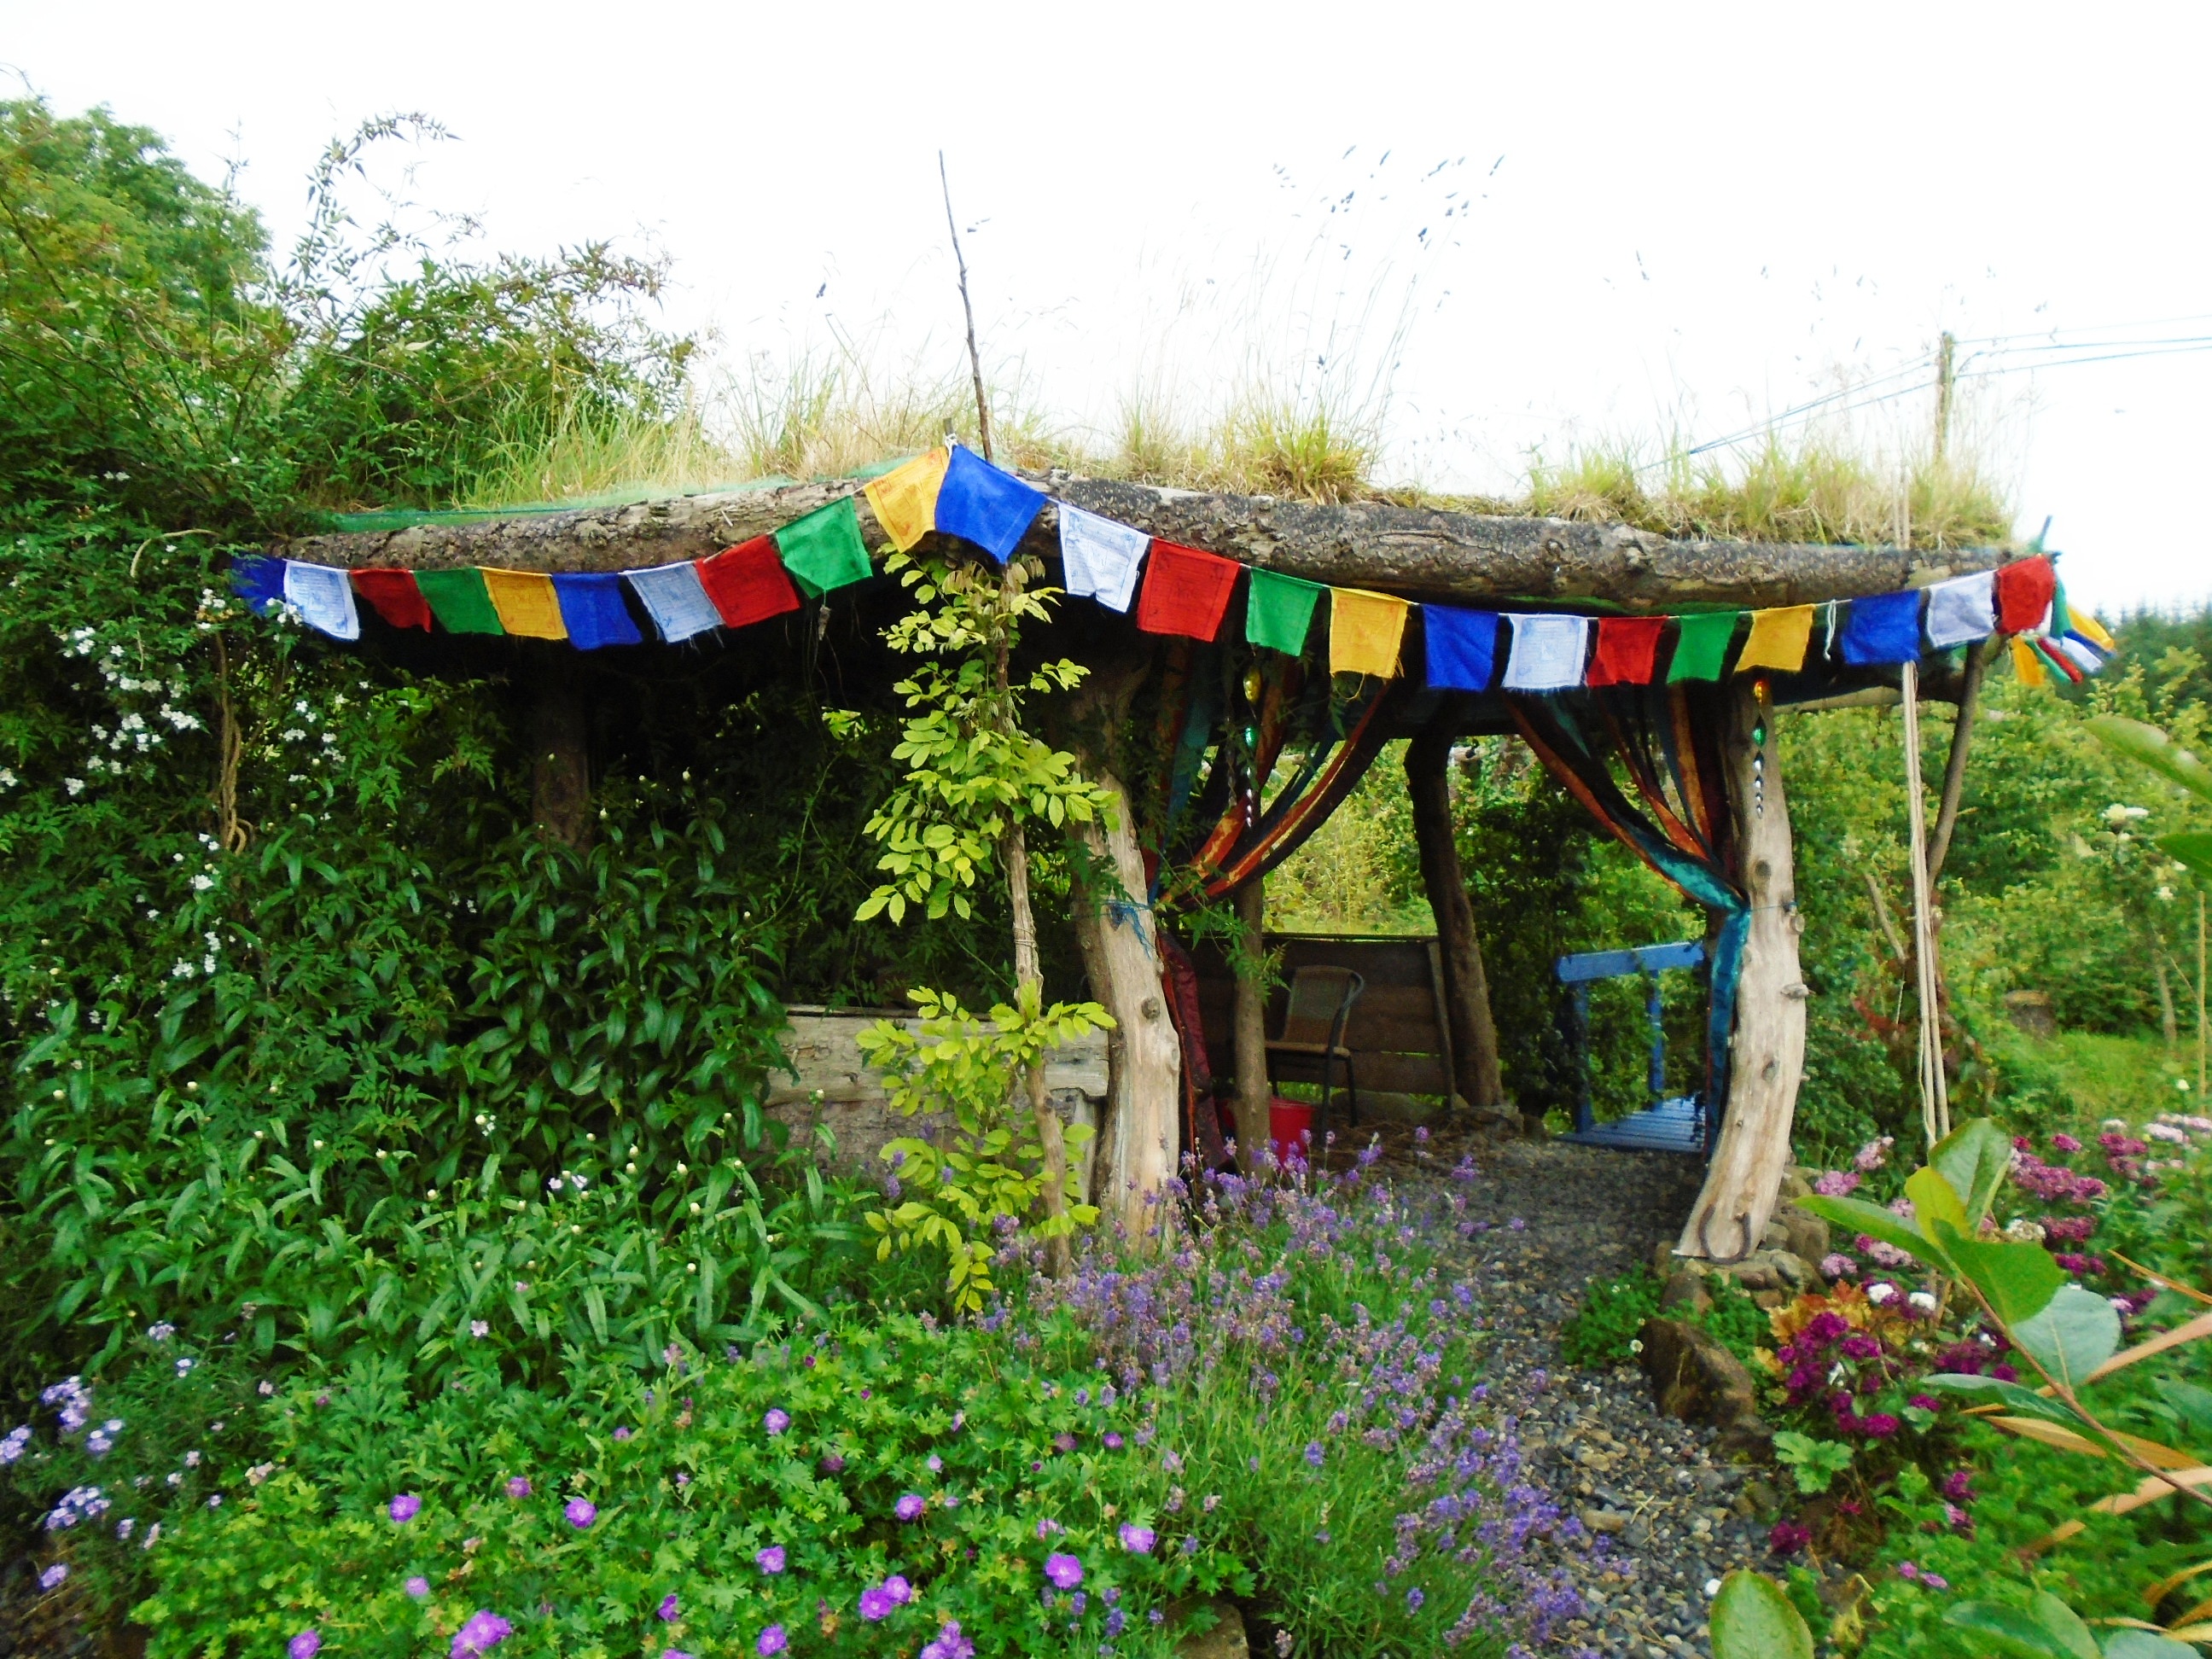
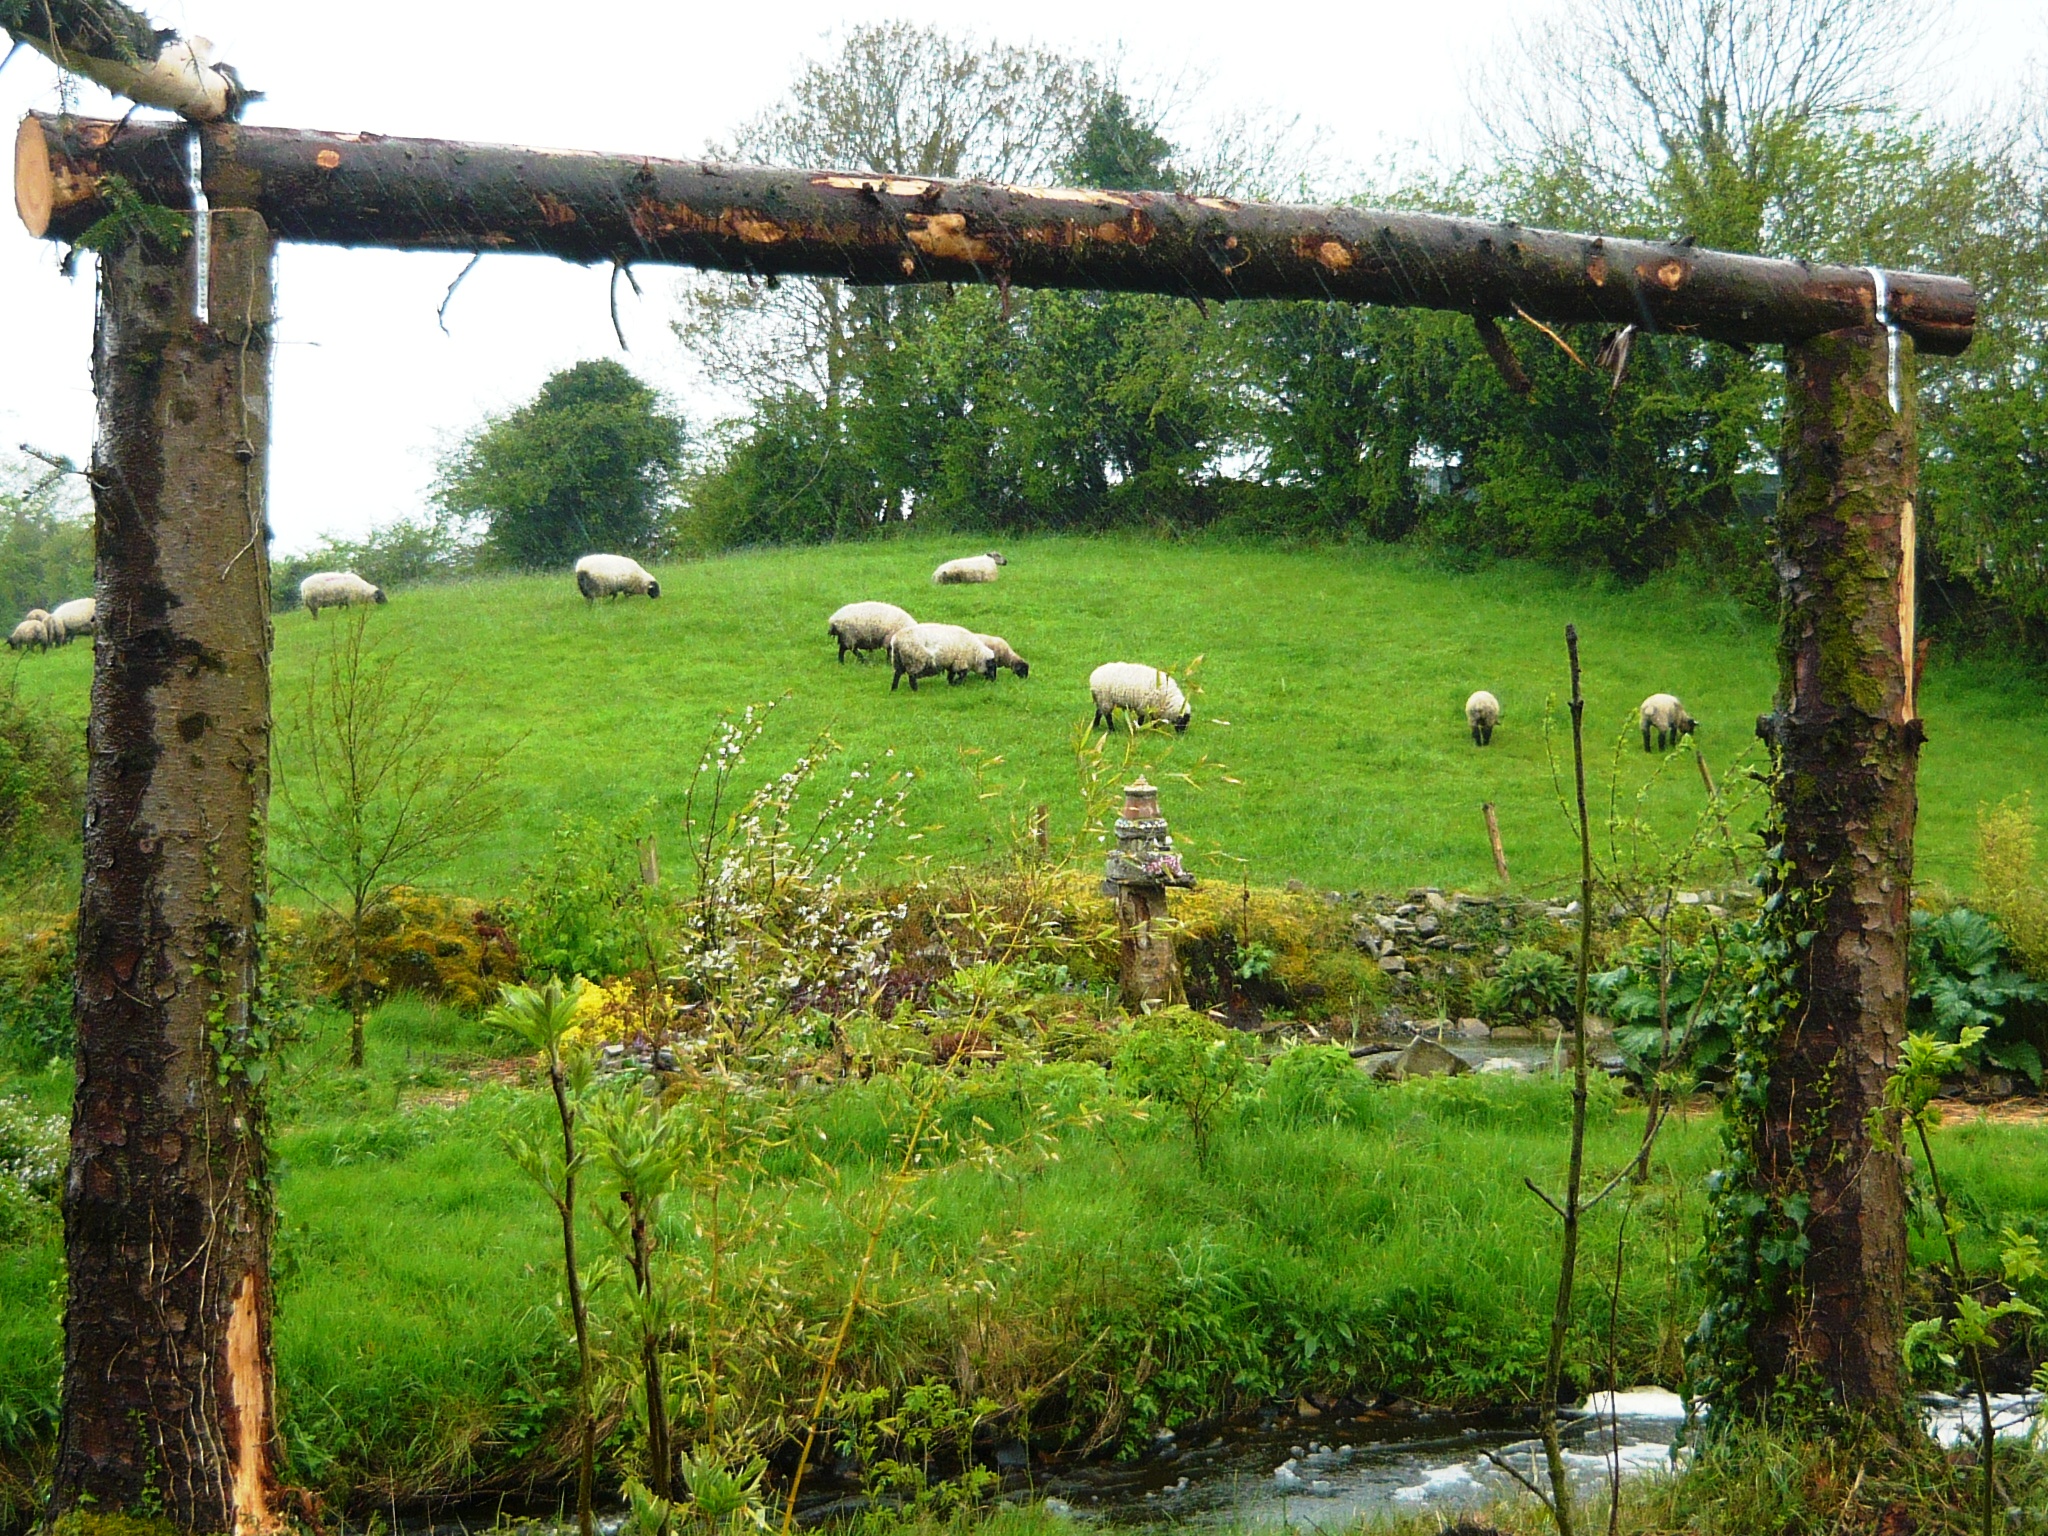
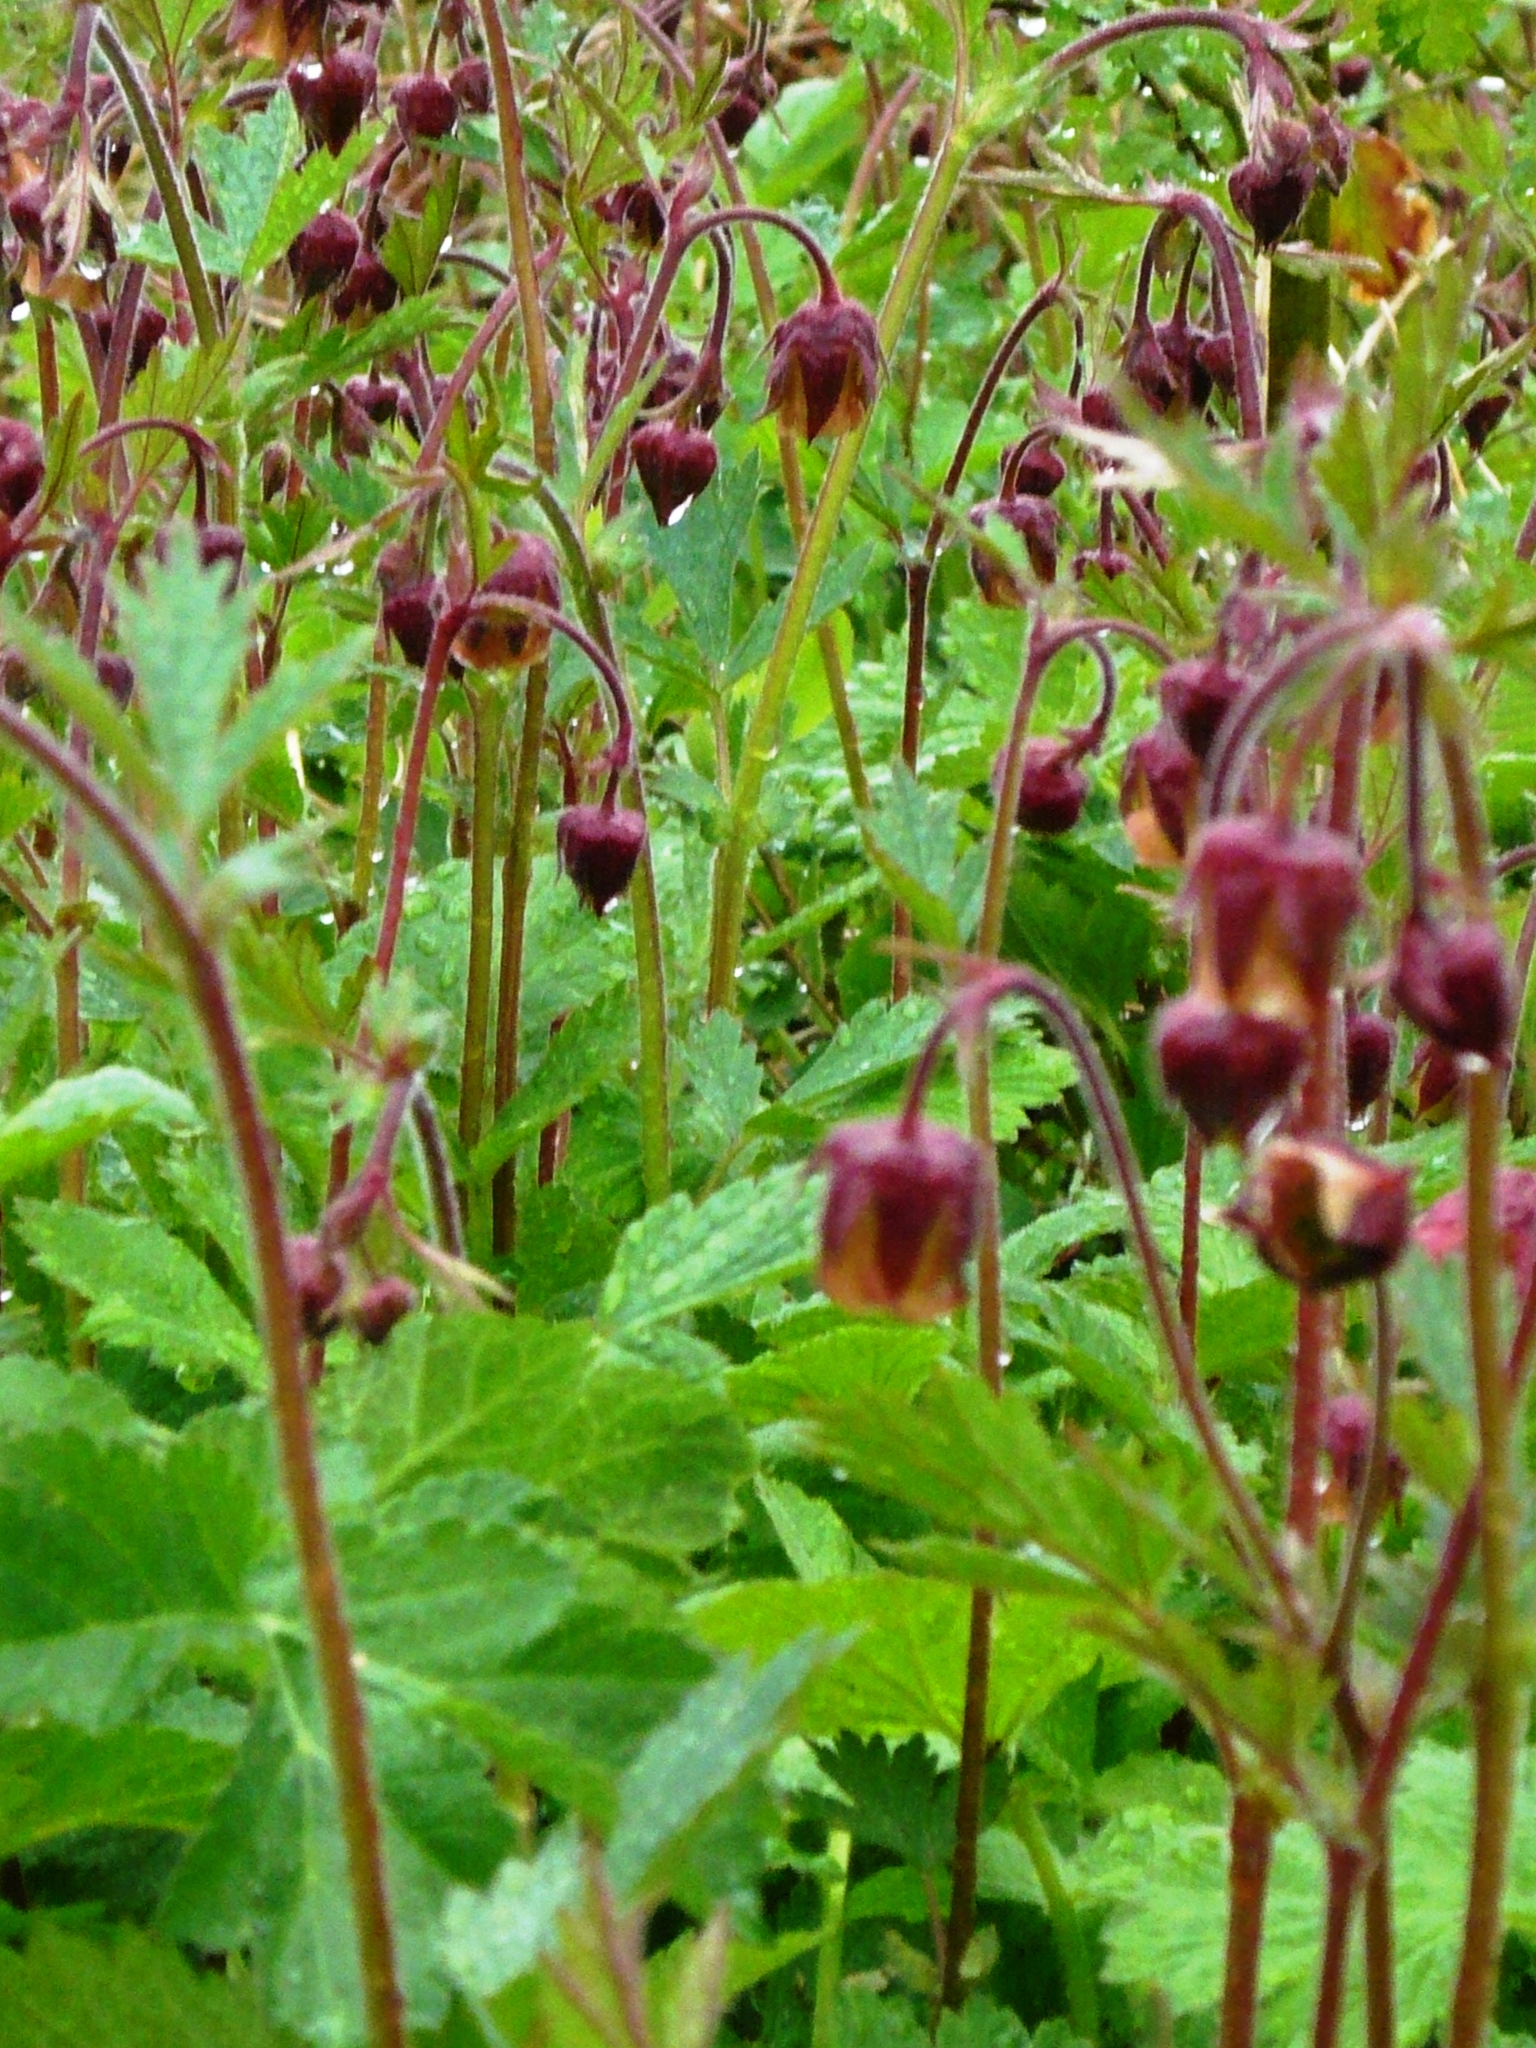
You will have to imagine climbers growing up and across all of these structures. Old fashioned roses, honeysuckle, ivy, virginia creeper and clematis. All of these will bring more wildlife and pollinators into our garden. As the ground is boggy, we will use the brushwood from the felled trees to build it up and some trees will be planted on raised mounds so as to save them from water logging. We will add water loving mints and wait for all of the marsh marigolds, wood angelicas, wood anemones and meadowsweets to come back. We have some beautiful native geums, which the bees just love. In Swedish they go by the name of humleblomster, which translates as bumblebee flower.

woodland 036

woodland 043

woodland geum

We are very much looking forward to seeing this part of our land transforming from a dark, boring plantation into a beautiful diverse habitat for us and all our visitors to enjoy. People and animals alike. We will show you the progress here over the months and years ahead.

woodland 049

One, two, three, SOW!

Seed packets

What better way to celebrate Saint Patrick’s Day than to plant potatoes? We have asked a few of the neighbours if it is a good time to plant them this time of year in our part of Ireland (the west) and they have all said we should be alright to put them in. For the last two weeks we have been keeping them in our porch, a cold and bright place and now the potatoes have good little shoots growing. We have not grown potatoes here before but we have opted for the tyre method where the potatoes are grown in a tyre and as they grow more tyres and soil are added to earth them up and produce a large crop. It will be interesting to see how it all turns out.

Potatoes and tyres

Planting potatoes

In between the tyres we put fluffed up sheeps wool to avoid creating a slug hotel where the slugs could hang out and go on nightly raids to the nearby just sown rows of carrots, radishes, parsnips and turnips. To avoid potato blight we are planning to make a strong nettle and comfrey tea that can be watered down and used at every watering. A friend told us about this method and he has grown healthy potatoes this way. As we are growing everything organically we would like to avoid chemicals and if anyone has other tips on how to avoid blight, please write about them in the comment section.

 Placing wool

Wool

 We also planted a lot of things today that need to be grown in pots to get off to a good start. As we have a tiny cottage and not much room inside, we invented a way last year to grow as much as possible under our circumstances. All through the year we save our toilet rolls and along with free newspapers, free plastic boxes from the supermarket and a bit of plastic wrap we create a practical, slug-proof and hygienic environment for our little seedlings. They can be planted straight in the ground in their rolls, or into a larger pot for growing on with no root disturbance.

 Seeds and boxes

We wanted to grow peas, beans, sunflowers and a variety of gourds and squashes so opted for a mix of multi-purpose and seed compost with added perlite as our growing medium. The toilet rolls can be stuffed quite full and placed on newspaper, tightly packed together for stability. We watered the full boxes and let them stand for a few hours to saturate the cardboard and let excess water run away.

 soil mx

a few rolls

full box

Planting all the seeds was great fun, with one person using the dibber to the correct depth, one person planting the seeds and one person writing down all the varieties for the different rows in the box. We then watered the boxes again to set the seeds in, let them drain off for a further couple of hours and wound the plastic wrap around the whole box a few times. Last year we let the seeds stay sealed up like this for about a month, with no water or air added. The box became a perfect micro climate and all the seedlings came out strong and healthy.

 dibber

boxes wrapped up

We keep the boxes in our gazebo and the seedlings do not seem to mind the frost, even when the ground is white and frozen in the mornings. The boxes and the gazebo keep them snug and they get enough light to not grow weak and straggly.

A bottle wall with a difference.

 glass wall

We have always been fascinated by all the beautiful pictures of glass bottle walls on the internet, and have known for a long time that we wanted to incorporate some into our home. In fact, we started collecting bottles and jars and making up bottle bricks years before we had the chance to purchase our house.  When planning our extension, we went to a local joinery and looked at window seconds. There were a lot of PVC- windows and we were measuring away, considering how we might be able to fit them into our design, when the owner said; ‘Those sash windows are for sale as well’.

glass wall with cat

We were delighted as we had not even dreamt about coming across solid wood, double glazed sash windows, complete with traditional weights. We were able to buy the windows for less than a tenth of the original price, as they had been ordered to measure, but it turned out the measurements given had been wrong and they did not fit. One of the windows had a lovely arch at the top and we decided to complement the design with two arches of bottle walling.

 glass wall arches

We built frames out of 4” by 2” timber as you can see in the picture. We added crosspieces ever so often to stabilize the wall and make each bottle wall section into a manageable size. The construction was easy, we started by putting on two rows of cement mortar, with some insulation in the middle and put down our first row of bottles.  Any old jars, small bottles and glasses can be used. If you want to use wine bottles, you need to score and cut them first with a glass cutter.  Sometime it works to put a jar on top of a bottle and sometimes you need to put two jars together. We made up a bottle brick out of two cut wine bottles, and used it as a measure when we constructed all our bricks. For sealing the bottle bricks we used brown parcel tape and duct tape. When our first row was down, we put on more cement mortar, some insulation in the middle and more bricks, staggered in relation to the first row. It is very important to add small nails into the timber on the sides and into all the cross pieces to hold the cement mortar. We kept building in this manner, filling each section with  bottle bricks.

wall base

first layer

nails

wall half way

To give the wall a beautiful finish on the inside, we added blue glass mosaic tiles in between all the bottle bricks and across the spaces where the crosspieces are. We smoothed out the cement mortar and all that is needed now is a final layer of grout on the inside walls and a good clean of all the bricks.

 glass wall detail

We wanted lots of light so decided to incorporate some old cut glass bowls into our walls. When the sun light hits the bowls it refracts in the cut glass. We have never seen this done before but we are very happy with the sparkling, bright result. We made these bricks by taping two similar size bowls together. They end up not as deep as the others, but this adds textural interest to the wall.

 glass wall bowl

On the outside we still need to finish up, by adding some more cement mortar and smooth out the wall. We are thinking about tiling the spaces in between the bottles and grout, for a durable, maintenance free wall.

glass wall outside