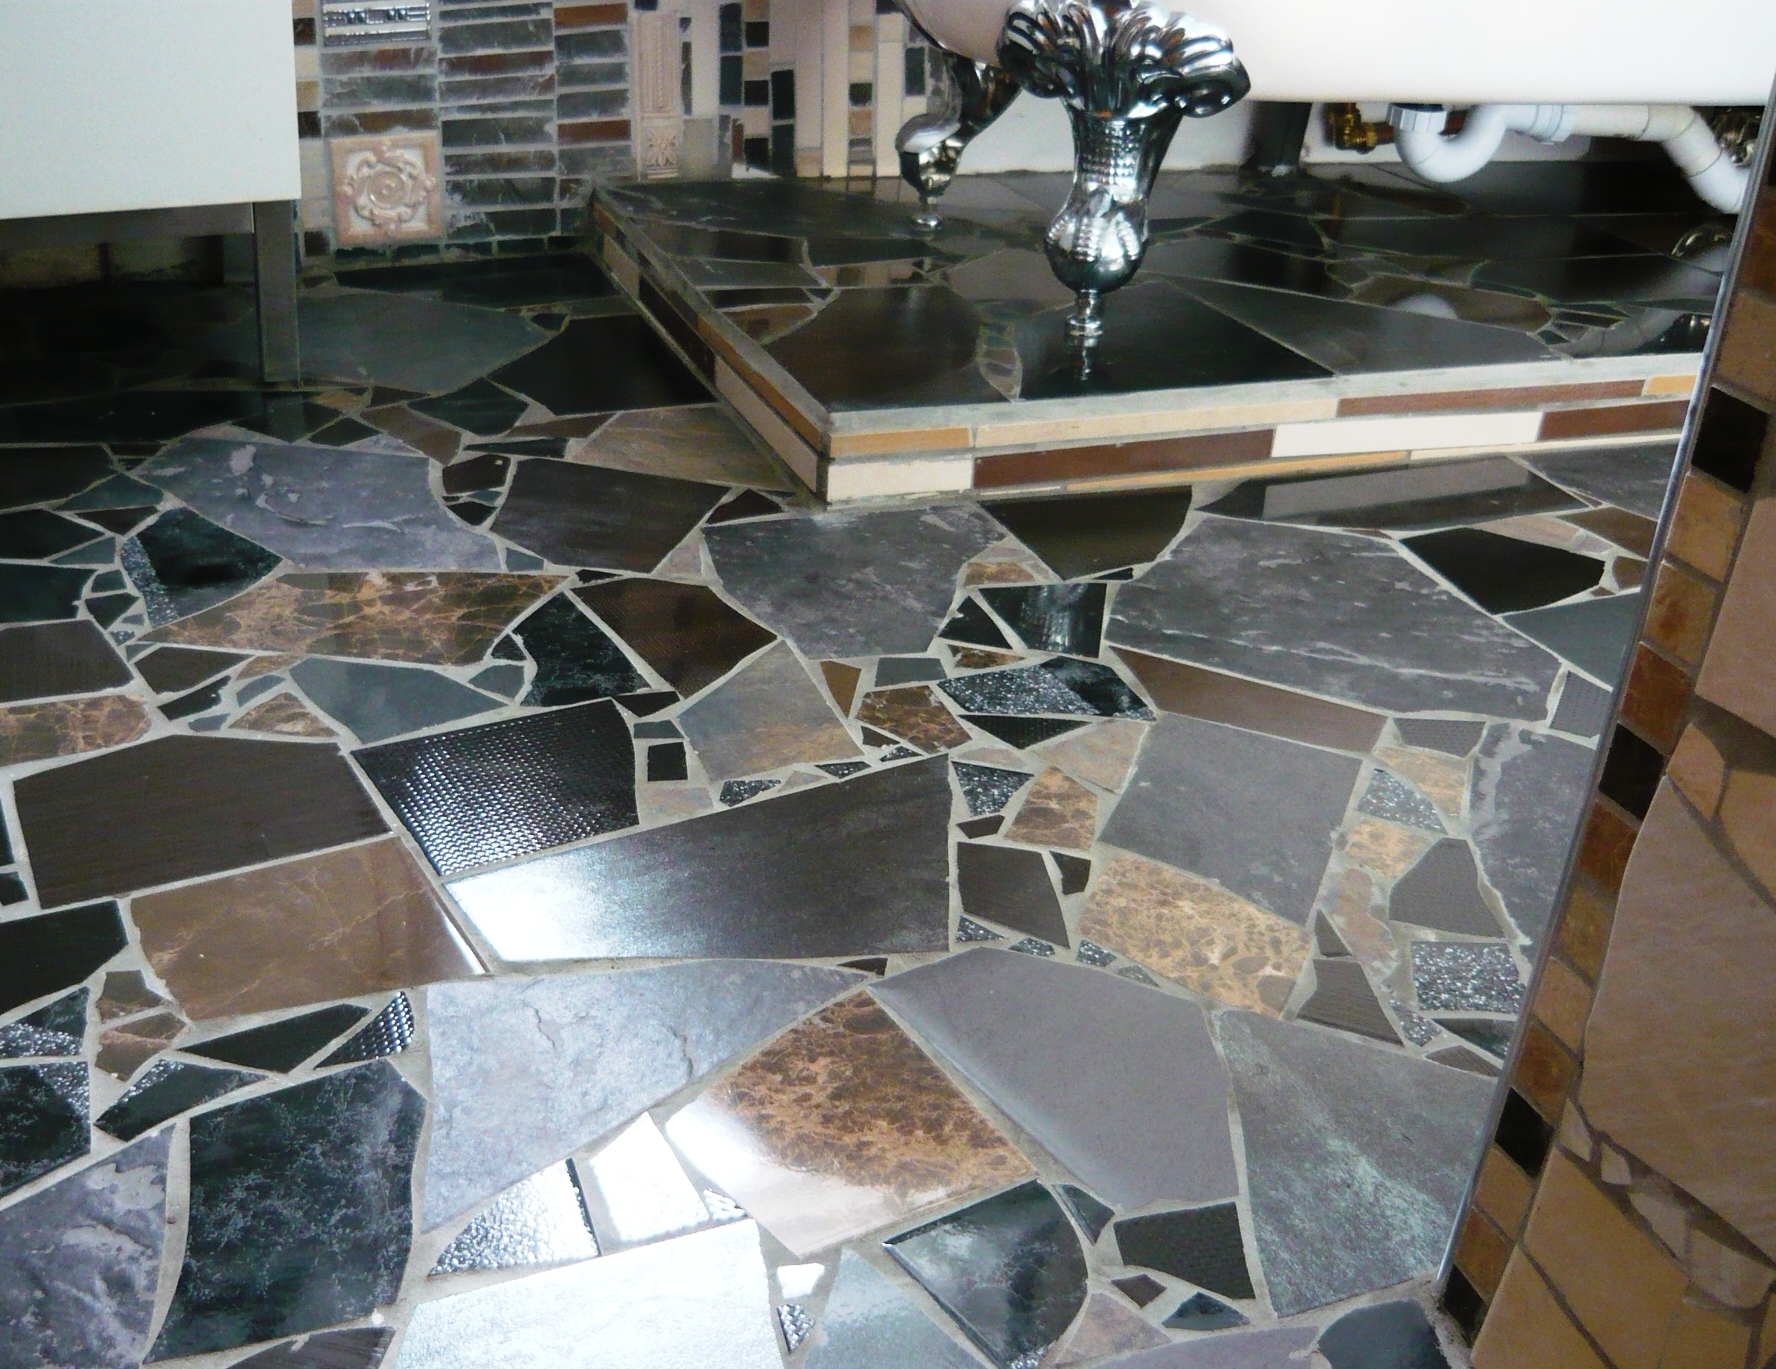
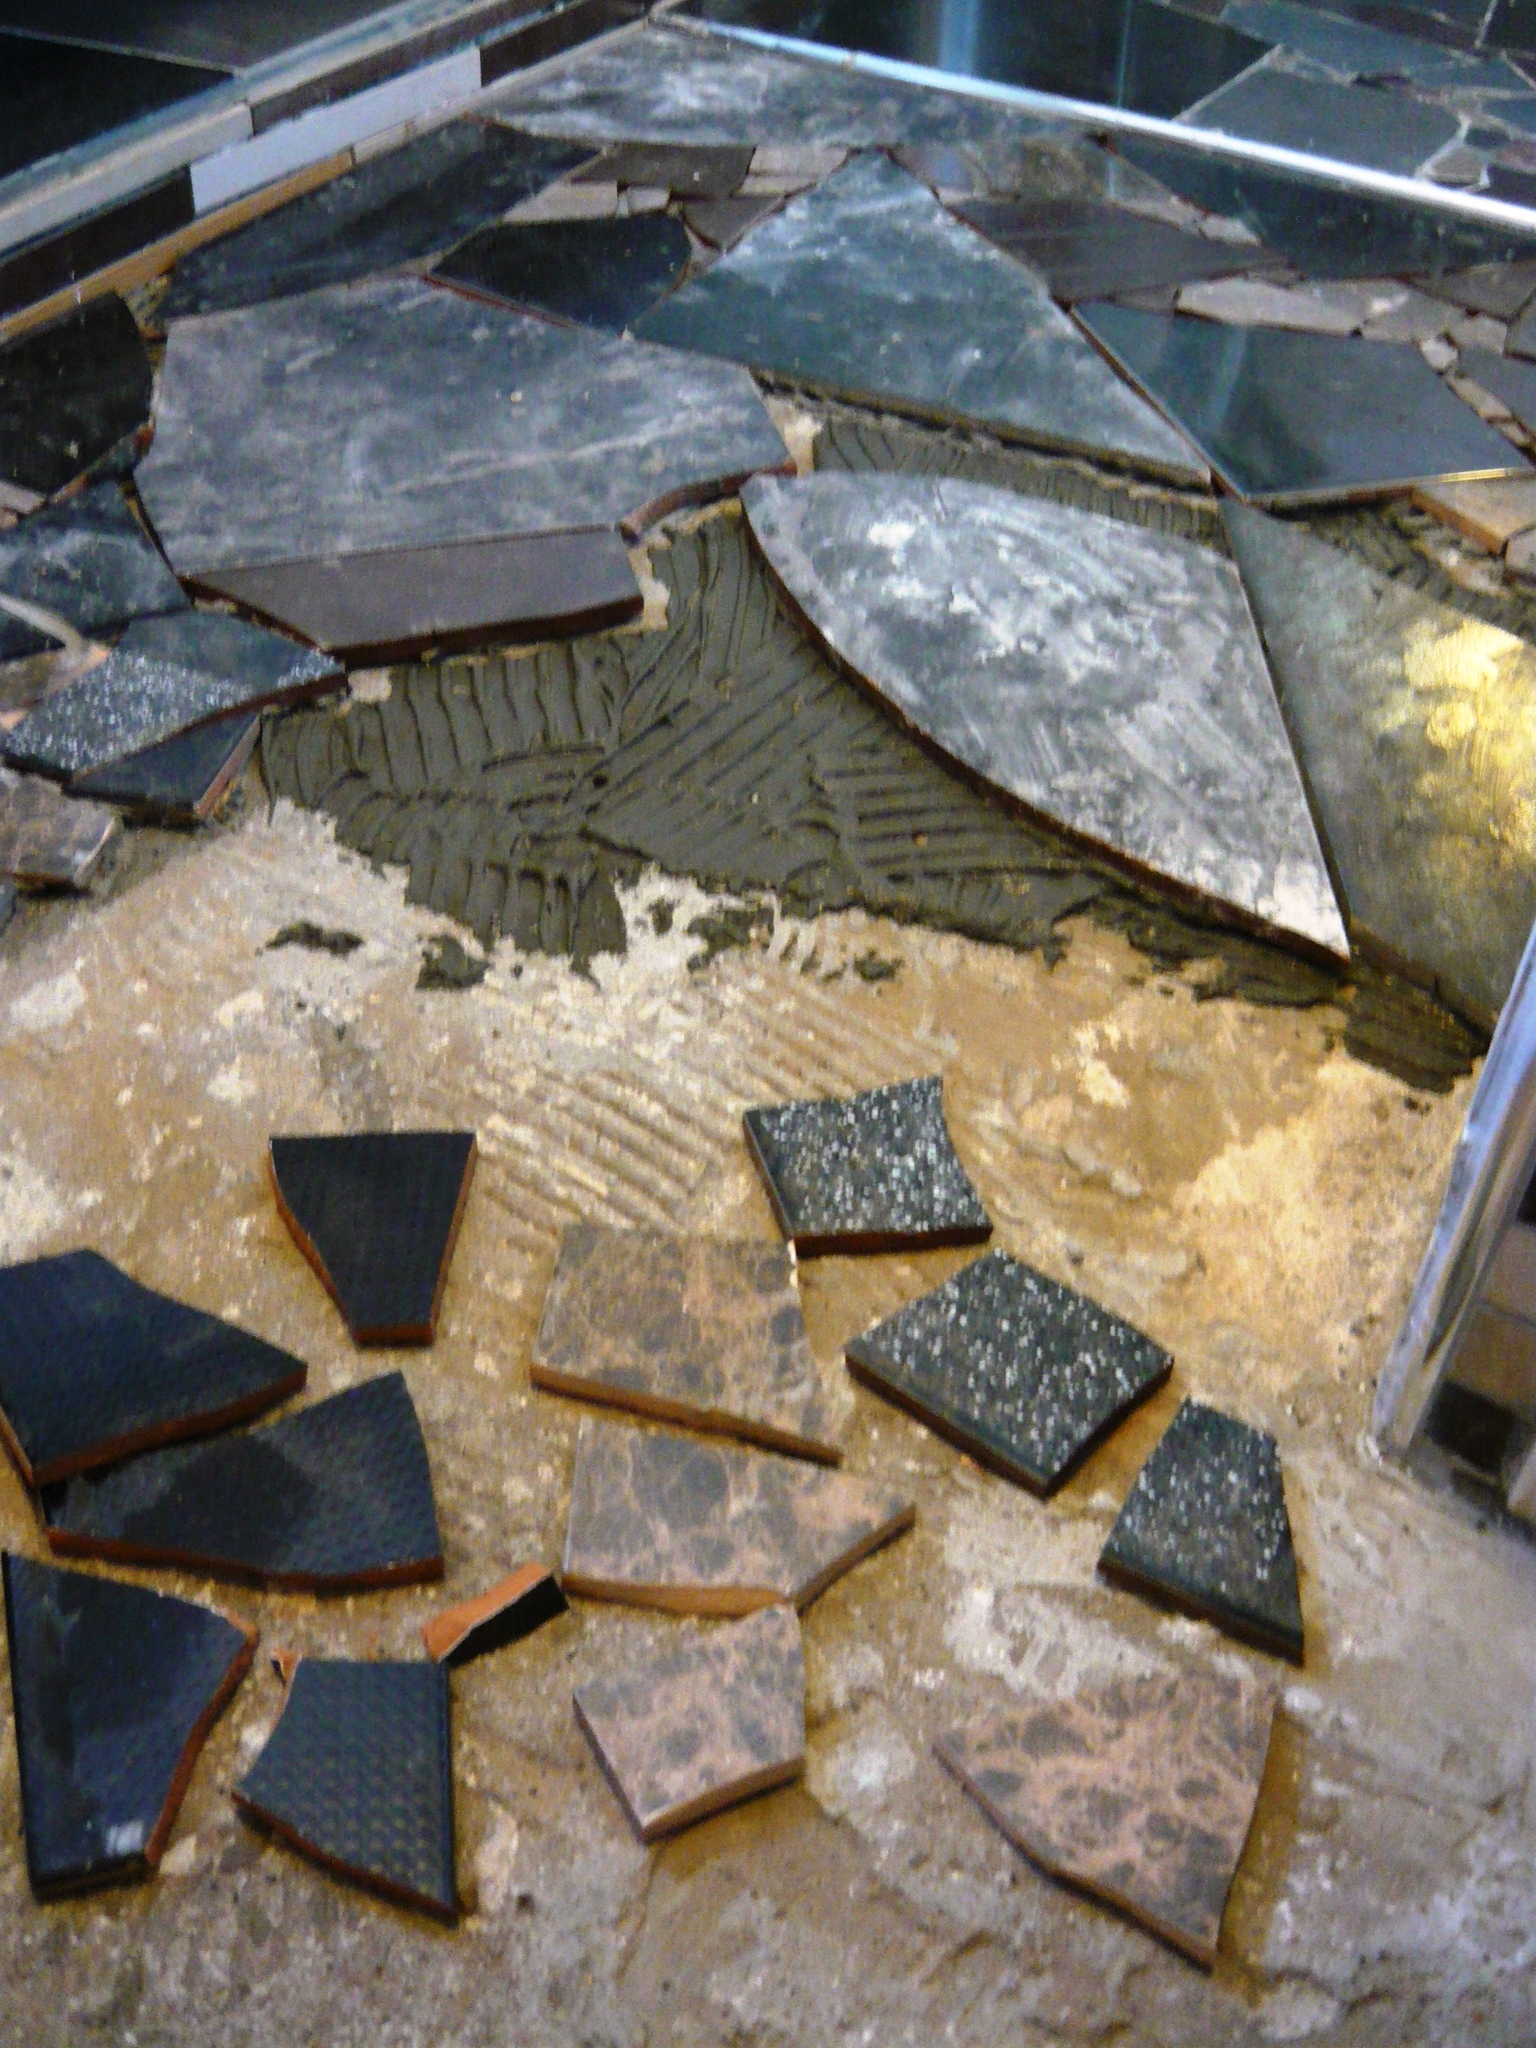
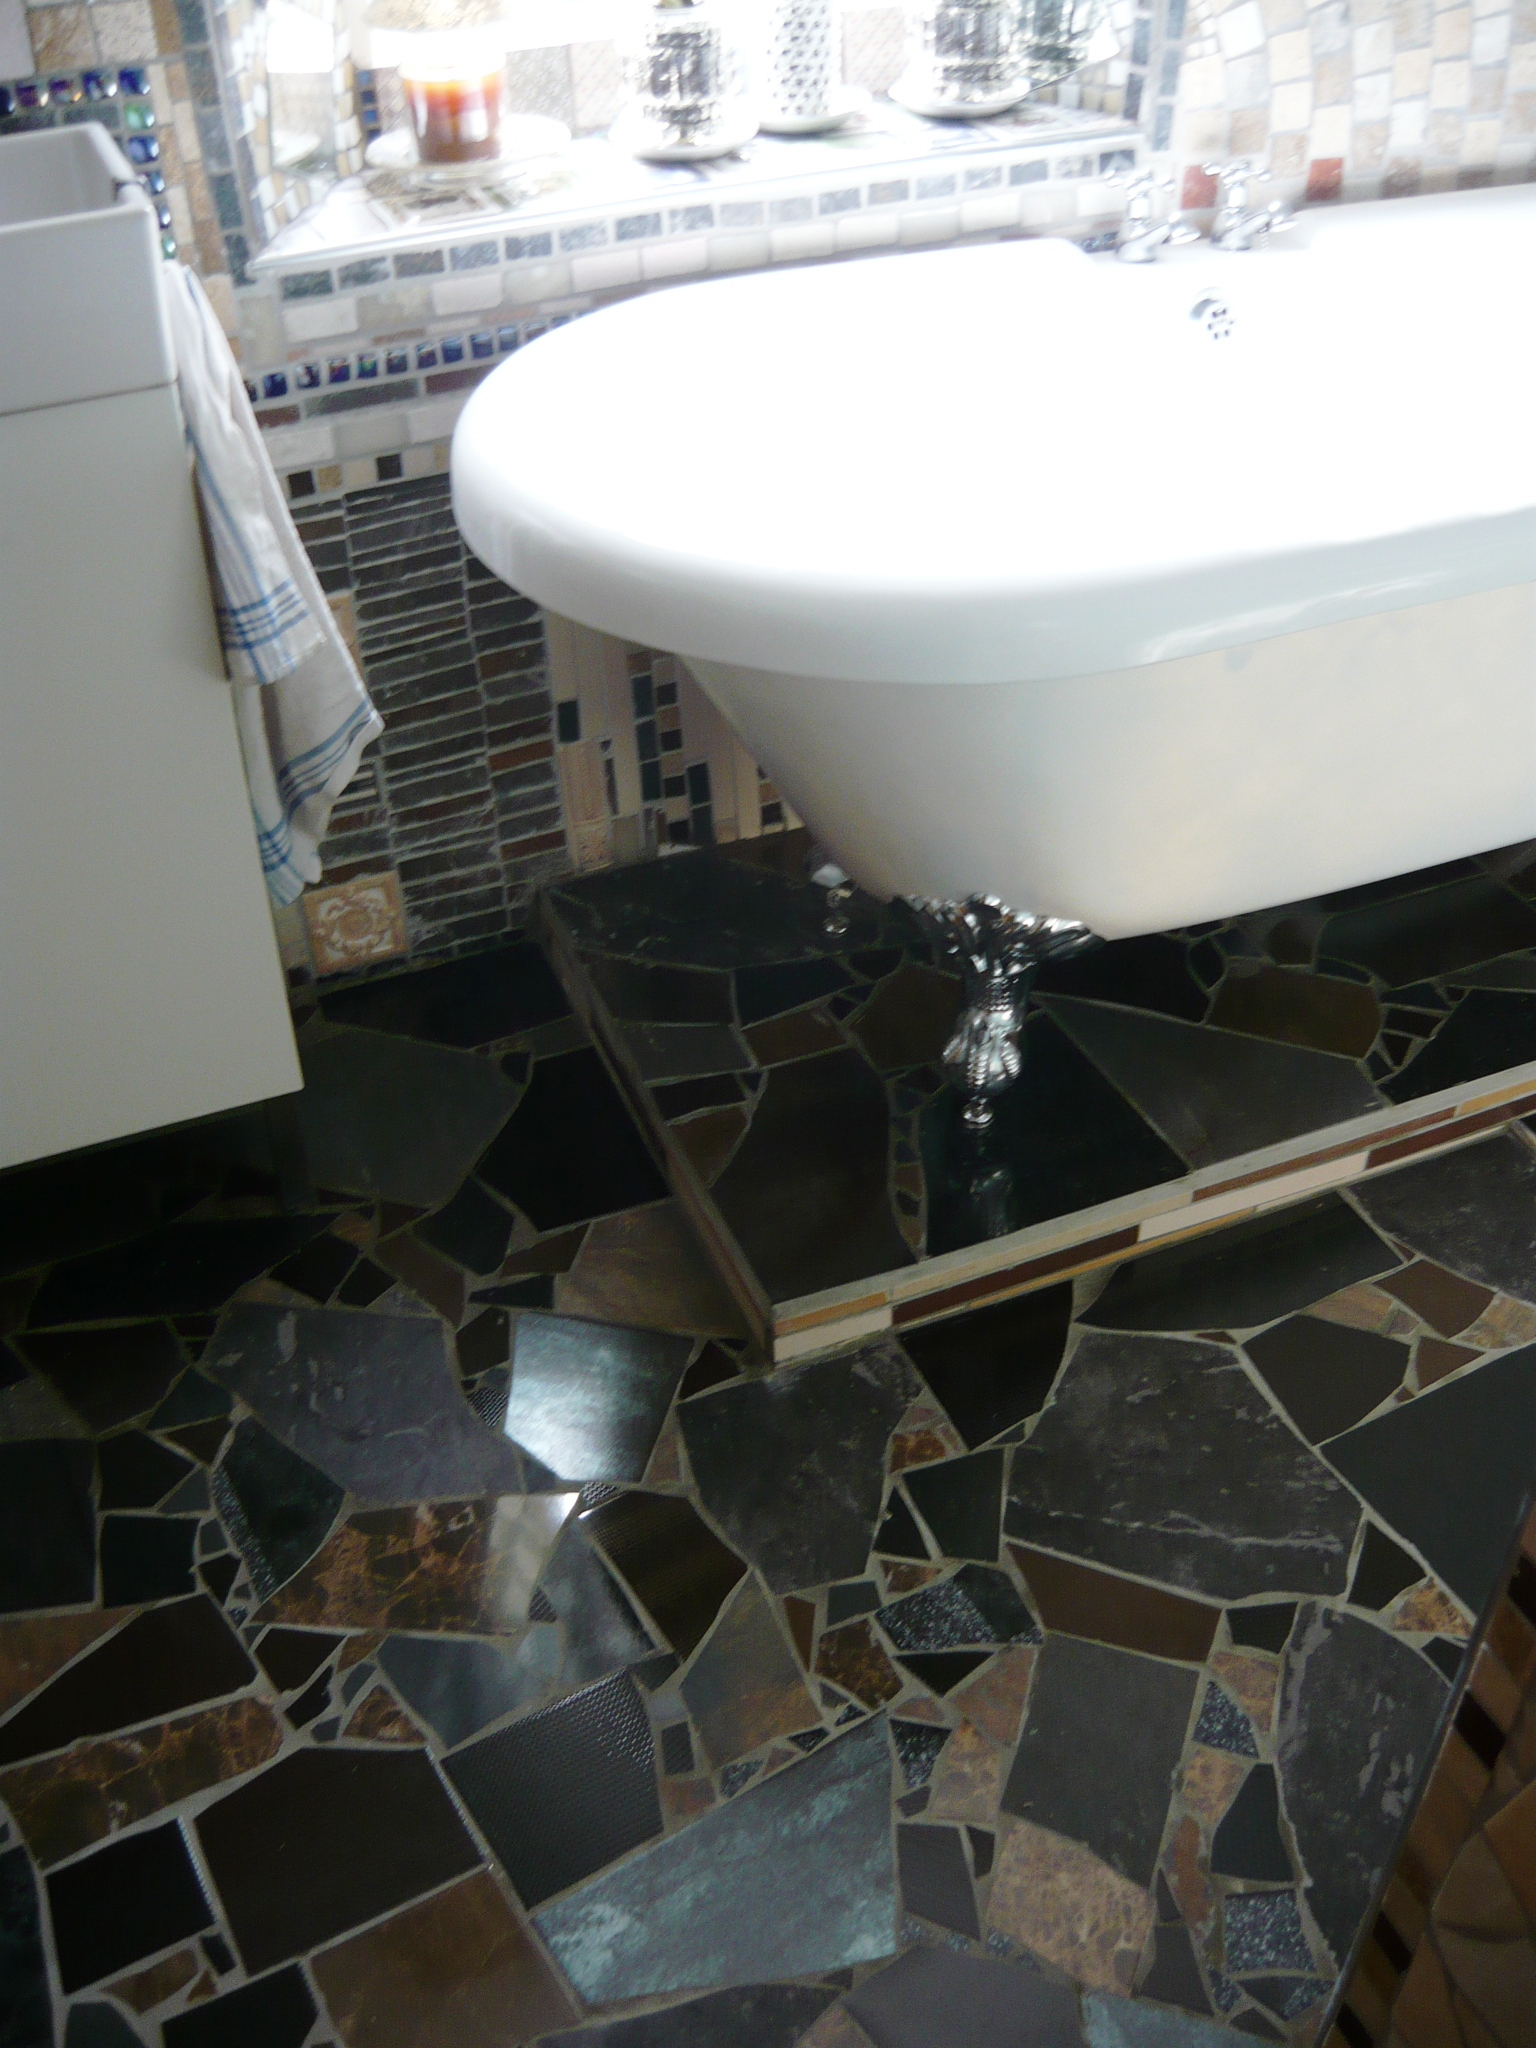
We have had a busy first few days of May, finishing off two projects. In the bathroom we finally got to the last stage of the renovations, laying the mosaic floor. We got all the tiles for the floor free from a skip outside our local tile shop. Because the walls are light and include some subtle colour we wanted the floor to be quite dark and neutral as a contrast. For the wall mosaics we used ready-mixed tile adhesive as it is easy to use for precise applications of small tiles but for the floor we opted for a heavy duty cement based floor adhesive that we mixed up ourselves. This is more economical and we believe stronger for walking on. It is important to only mix up what you can use in about 45 minutes as it starts to set after that.
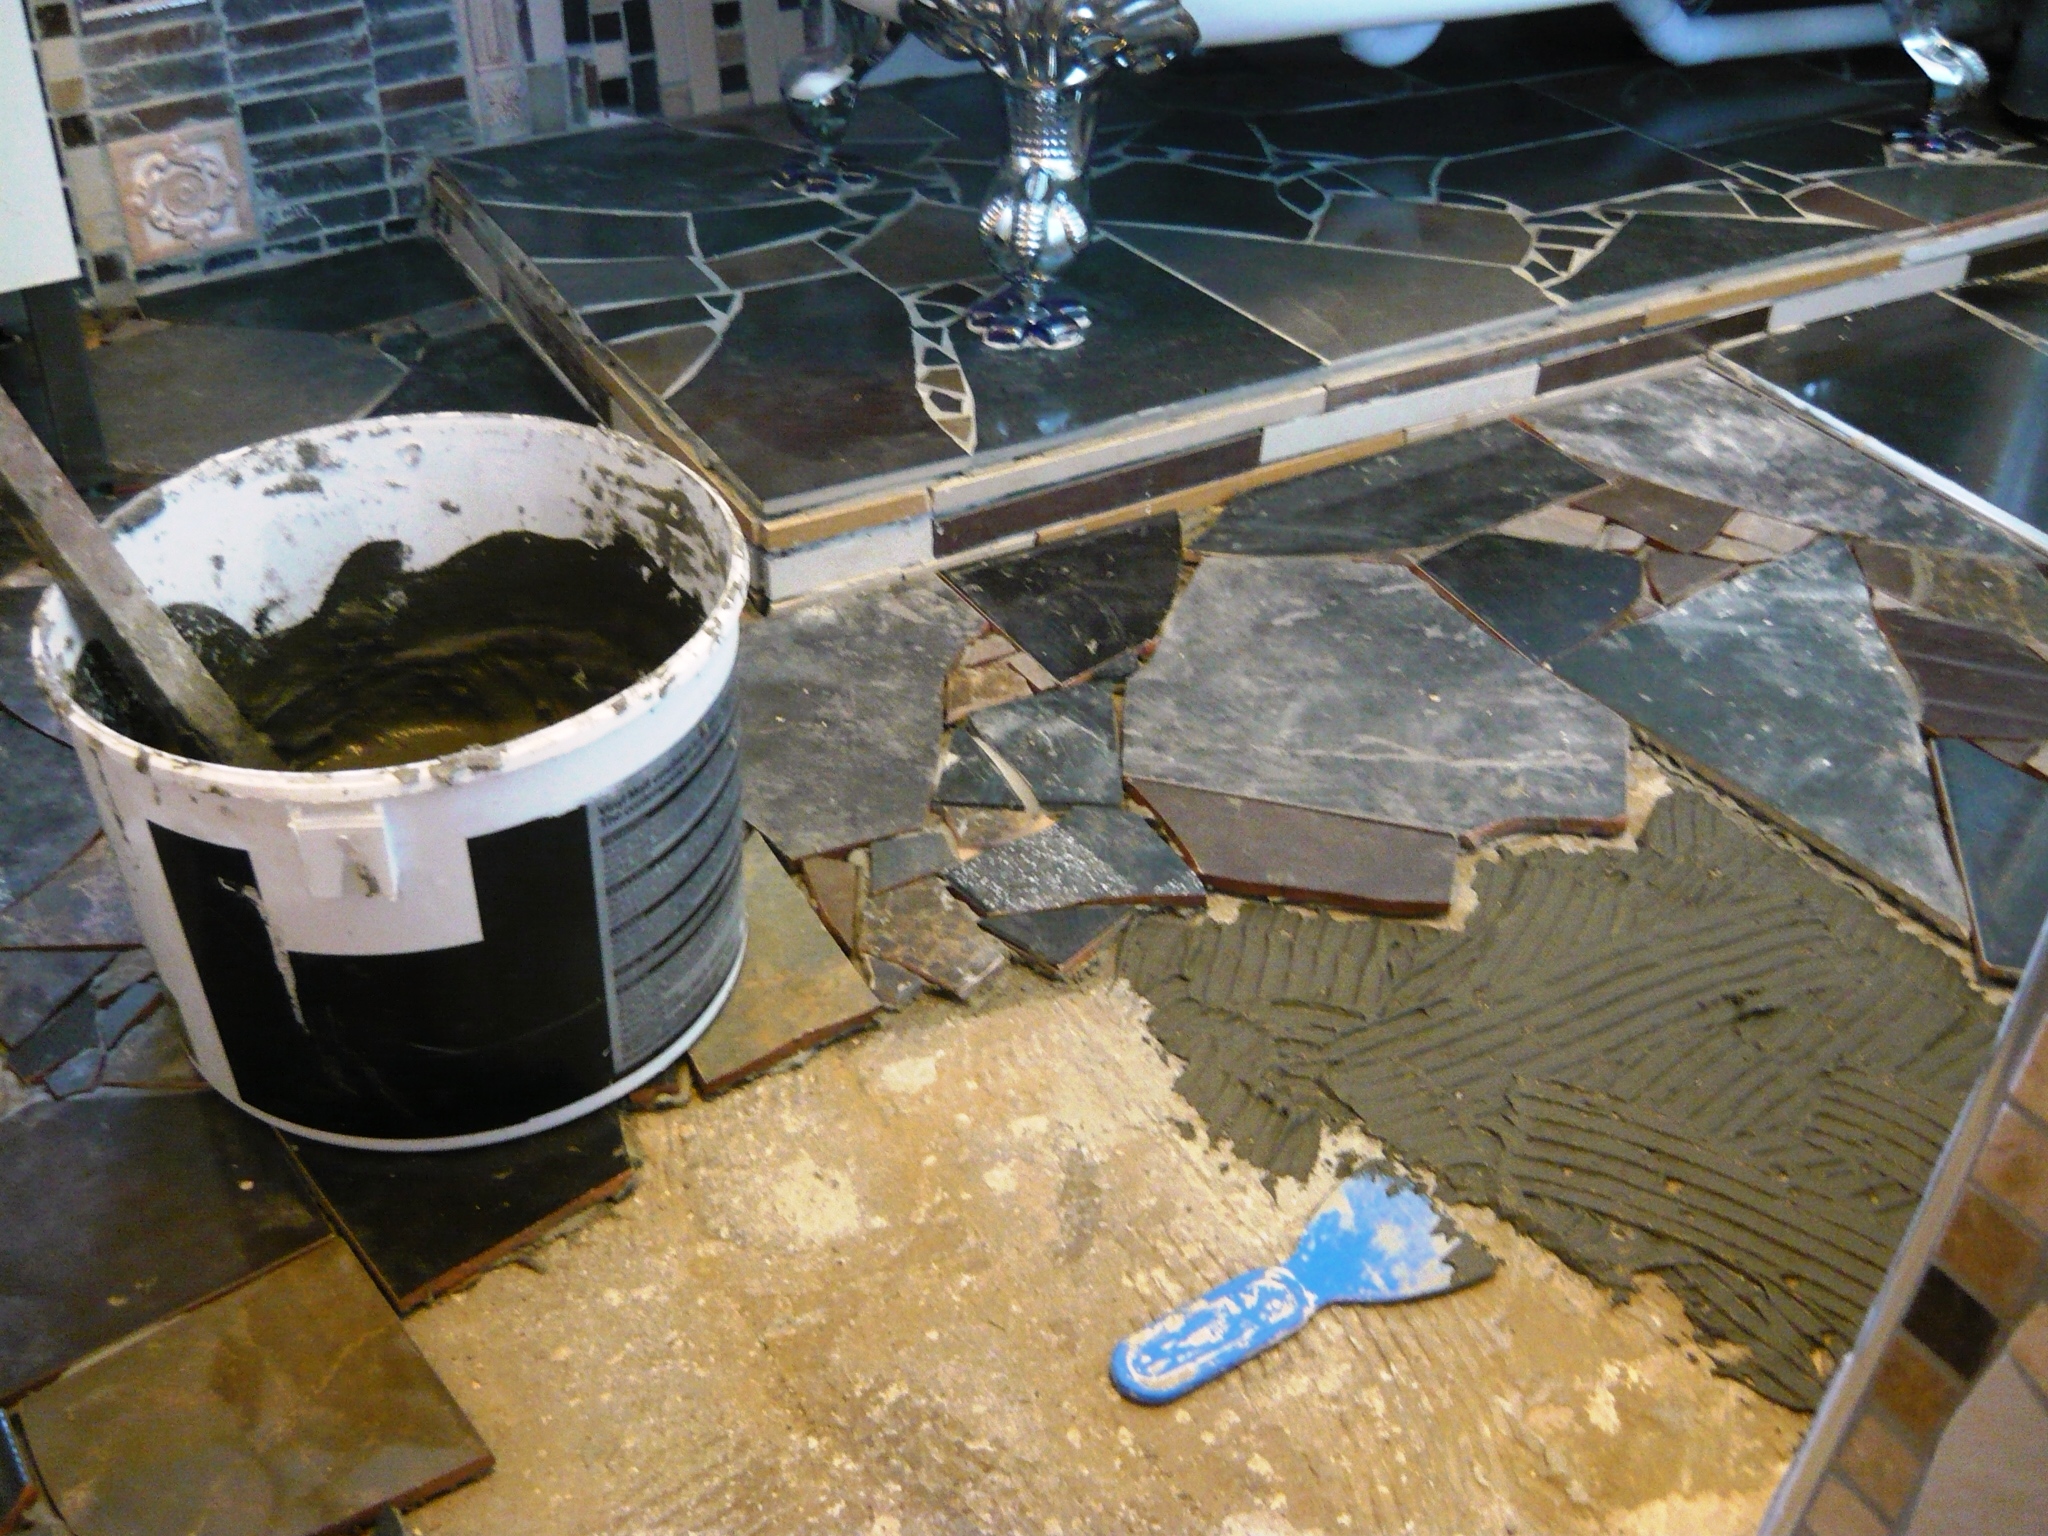
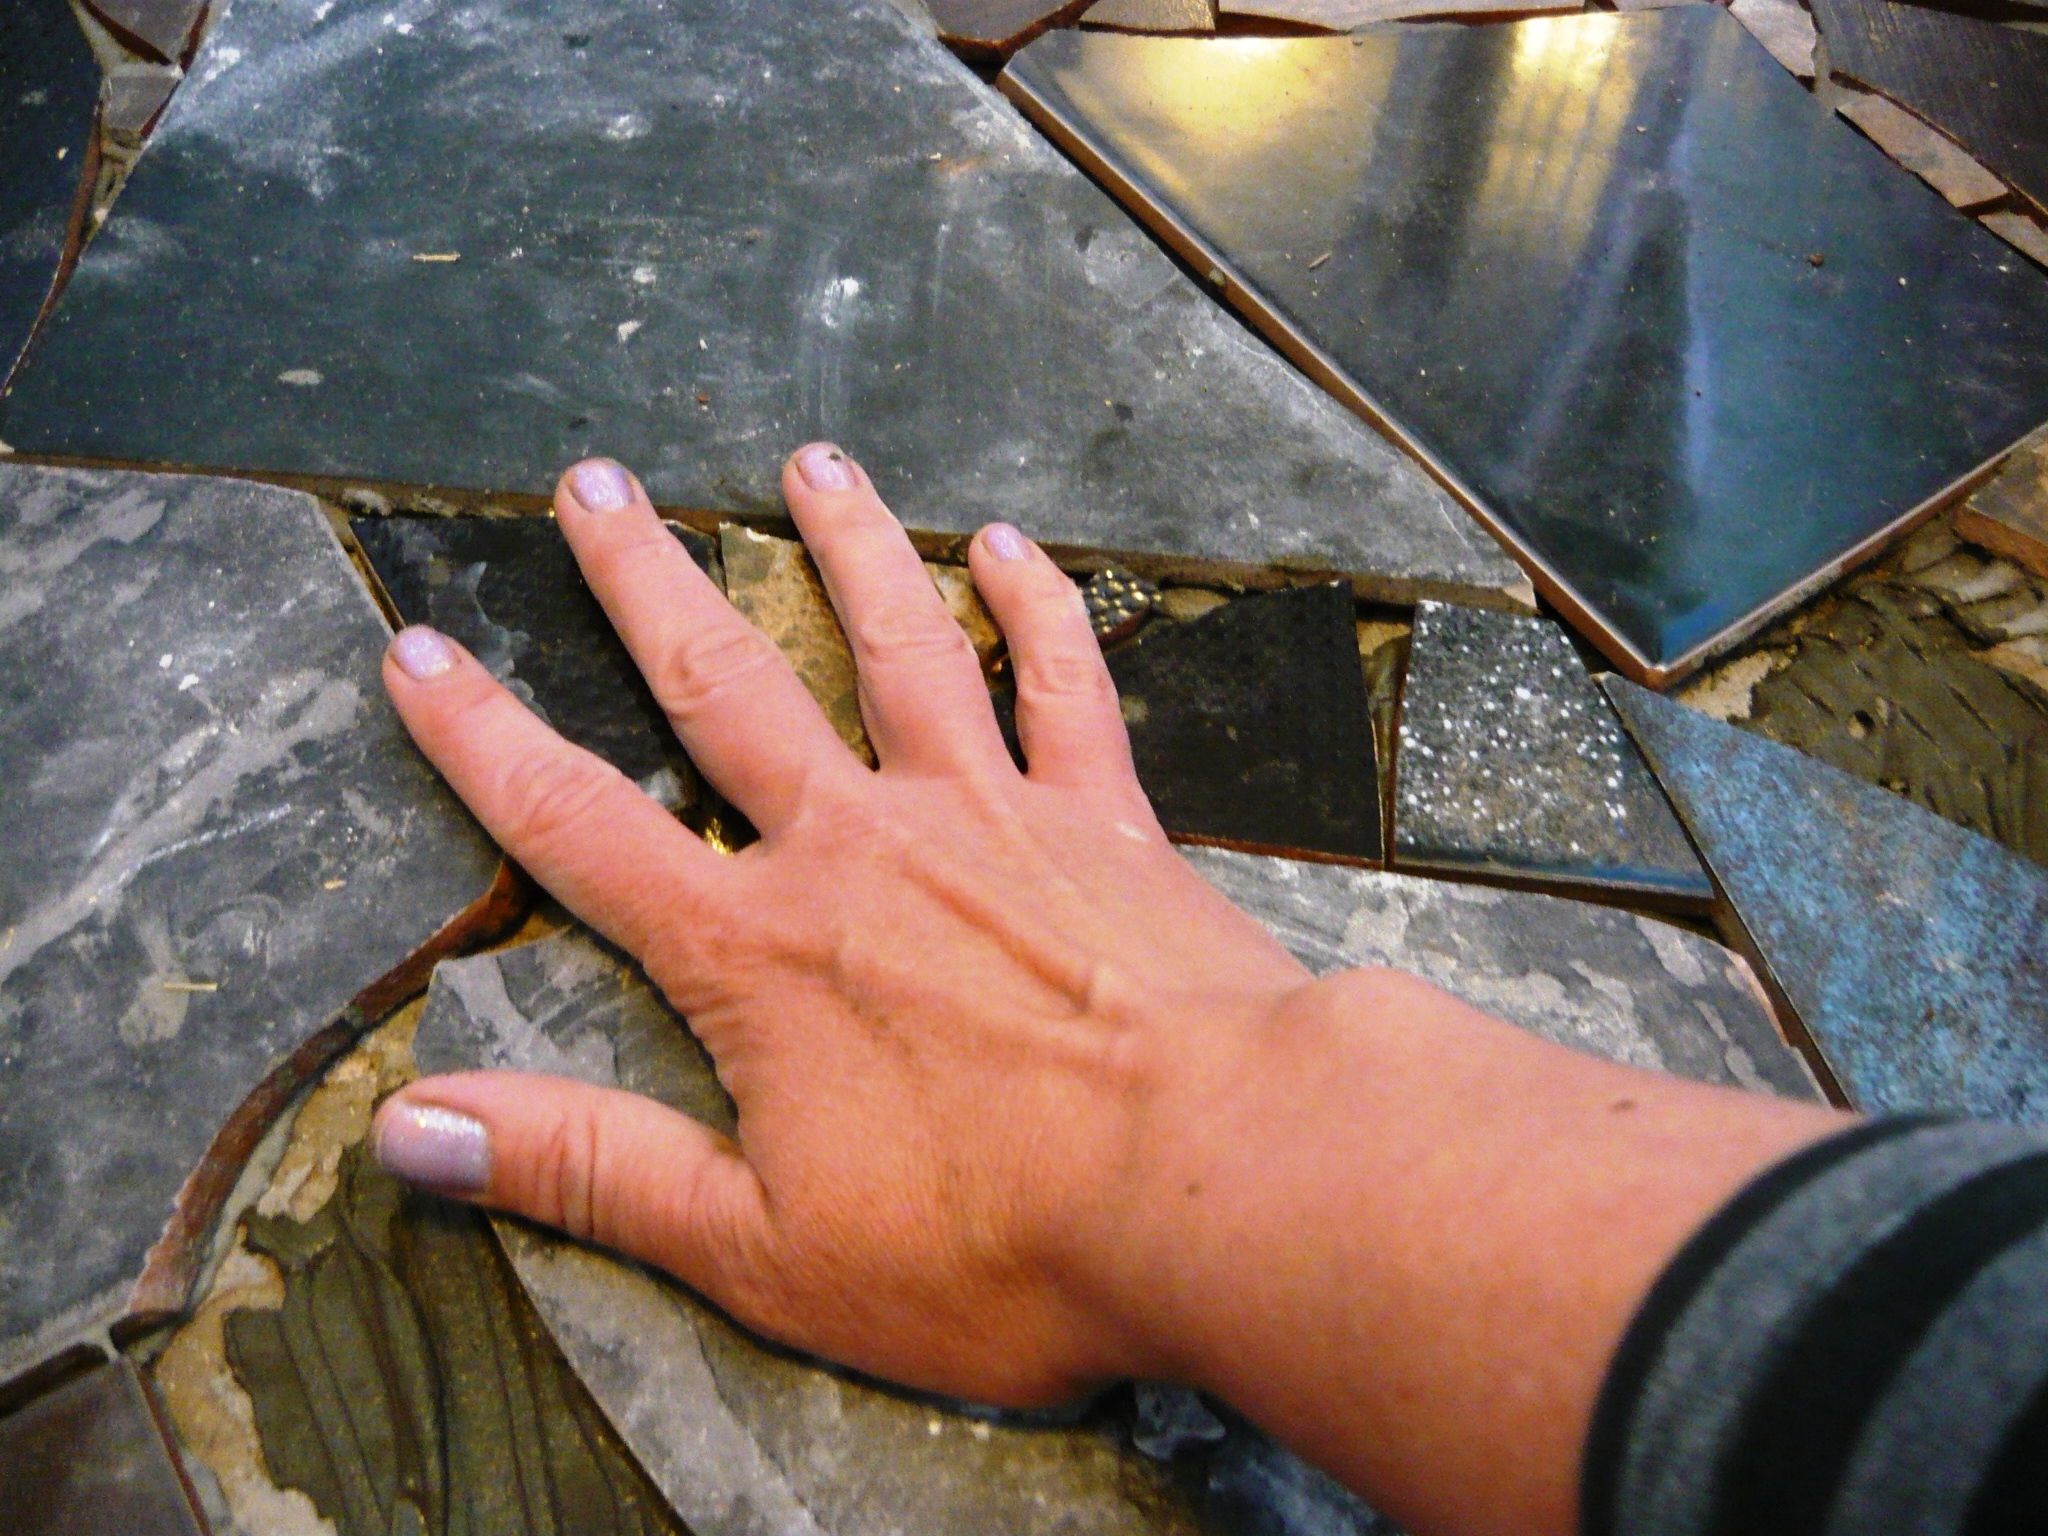
Spread it on a small area and put down your bigger pieces first and adding smaller pieces where they are needed as you go. Some tiles are thinner and need a bit of adhesive added to the back as well. Use your fingers and the palm of your hand to check that all the tiles are level and you end up with a smooth, kind to bare feet floor.

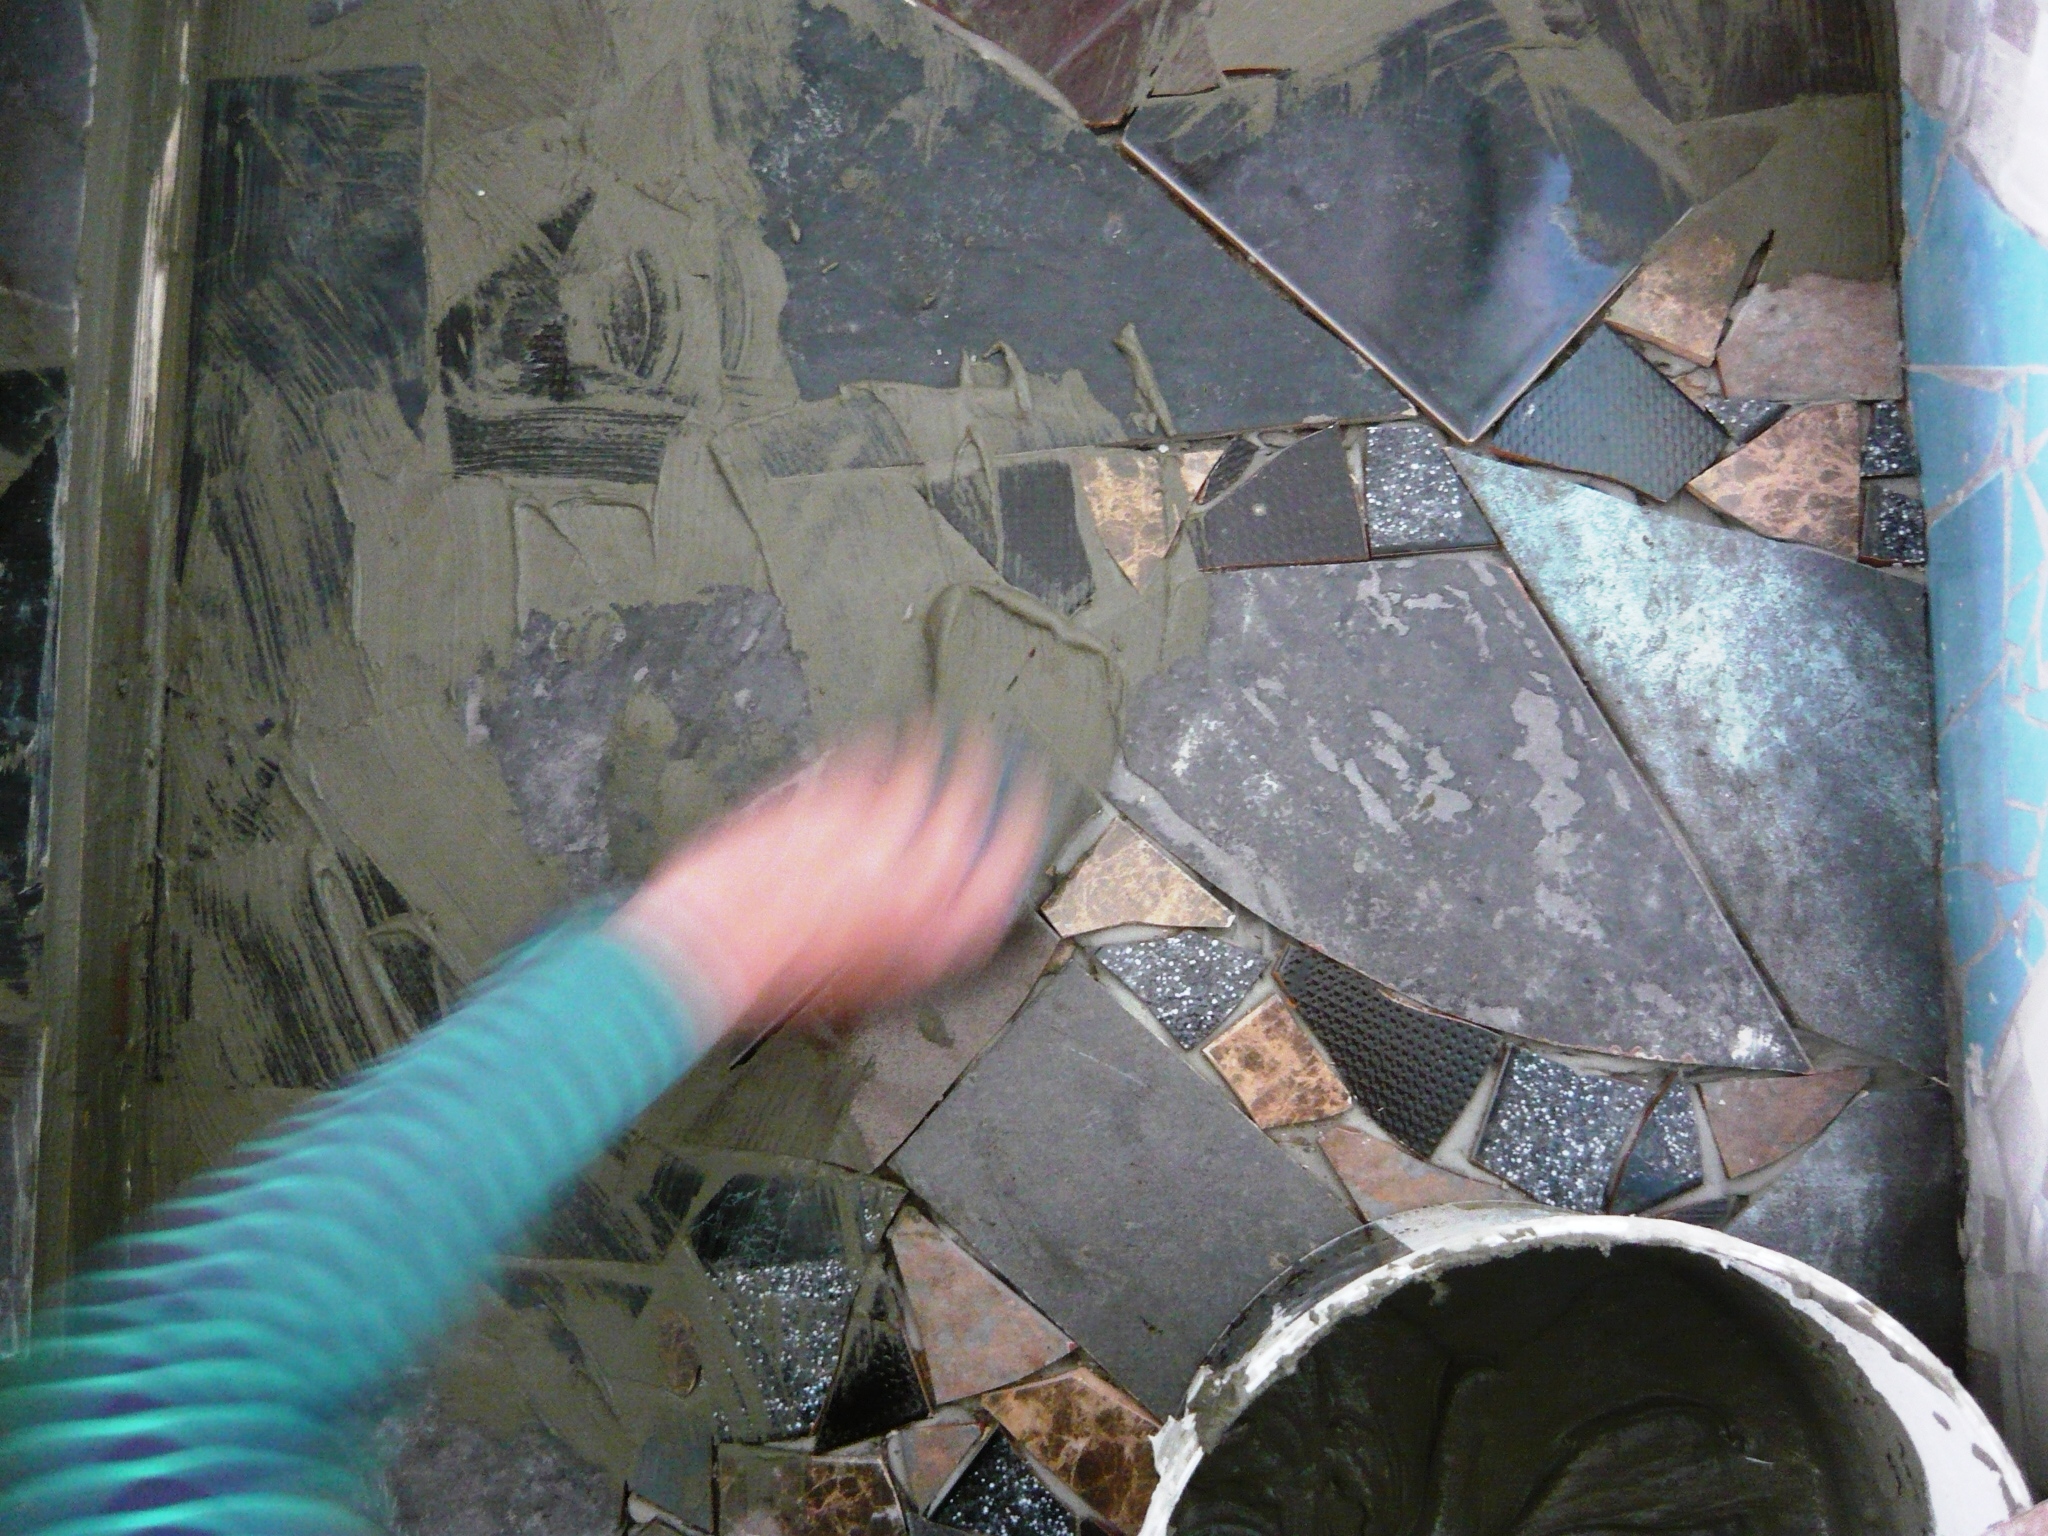
Let the adhesive set for a few hours or overnight before grouting. It is important to add the grout and keep smoothing it down, pressing it into all the gaps and crevices. When you are happy with the results let it set for a couple of hours before carefully wiping it with a damp cloth. You want to remove the excess grout but be careful enough not to rub too hard and take away too much grout from the joints. If you have never grouted anything before it might be good to start in a not so visible place of the floor to get the hang of it. Let the floor grout go off and do another wipe or two to get rid of all the excess grout. After that all you need to do is polish it with a dry cloth until it shines and admire your handiwork. We are happy to have made a beautiful strong floor that should last our lifetime, for next to no money, mostly with materials aimed for landfill.
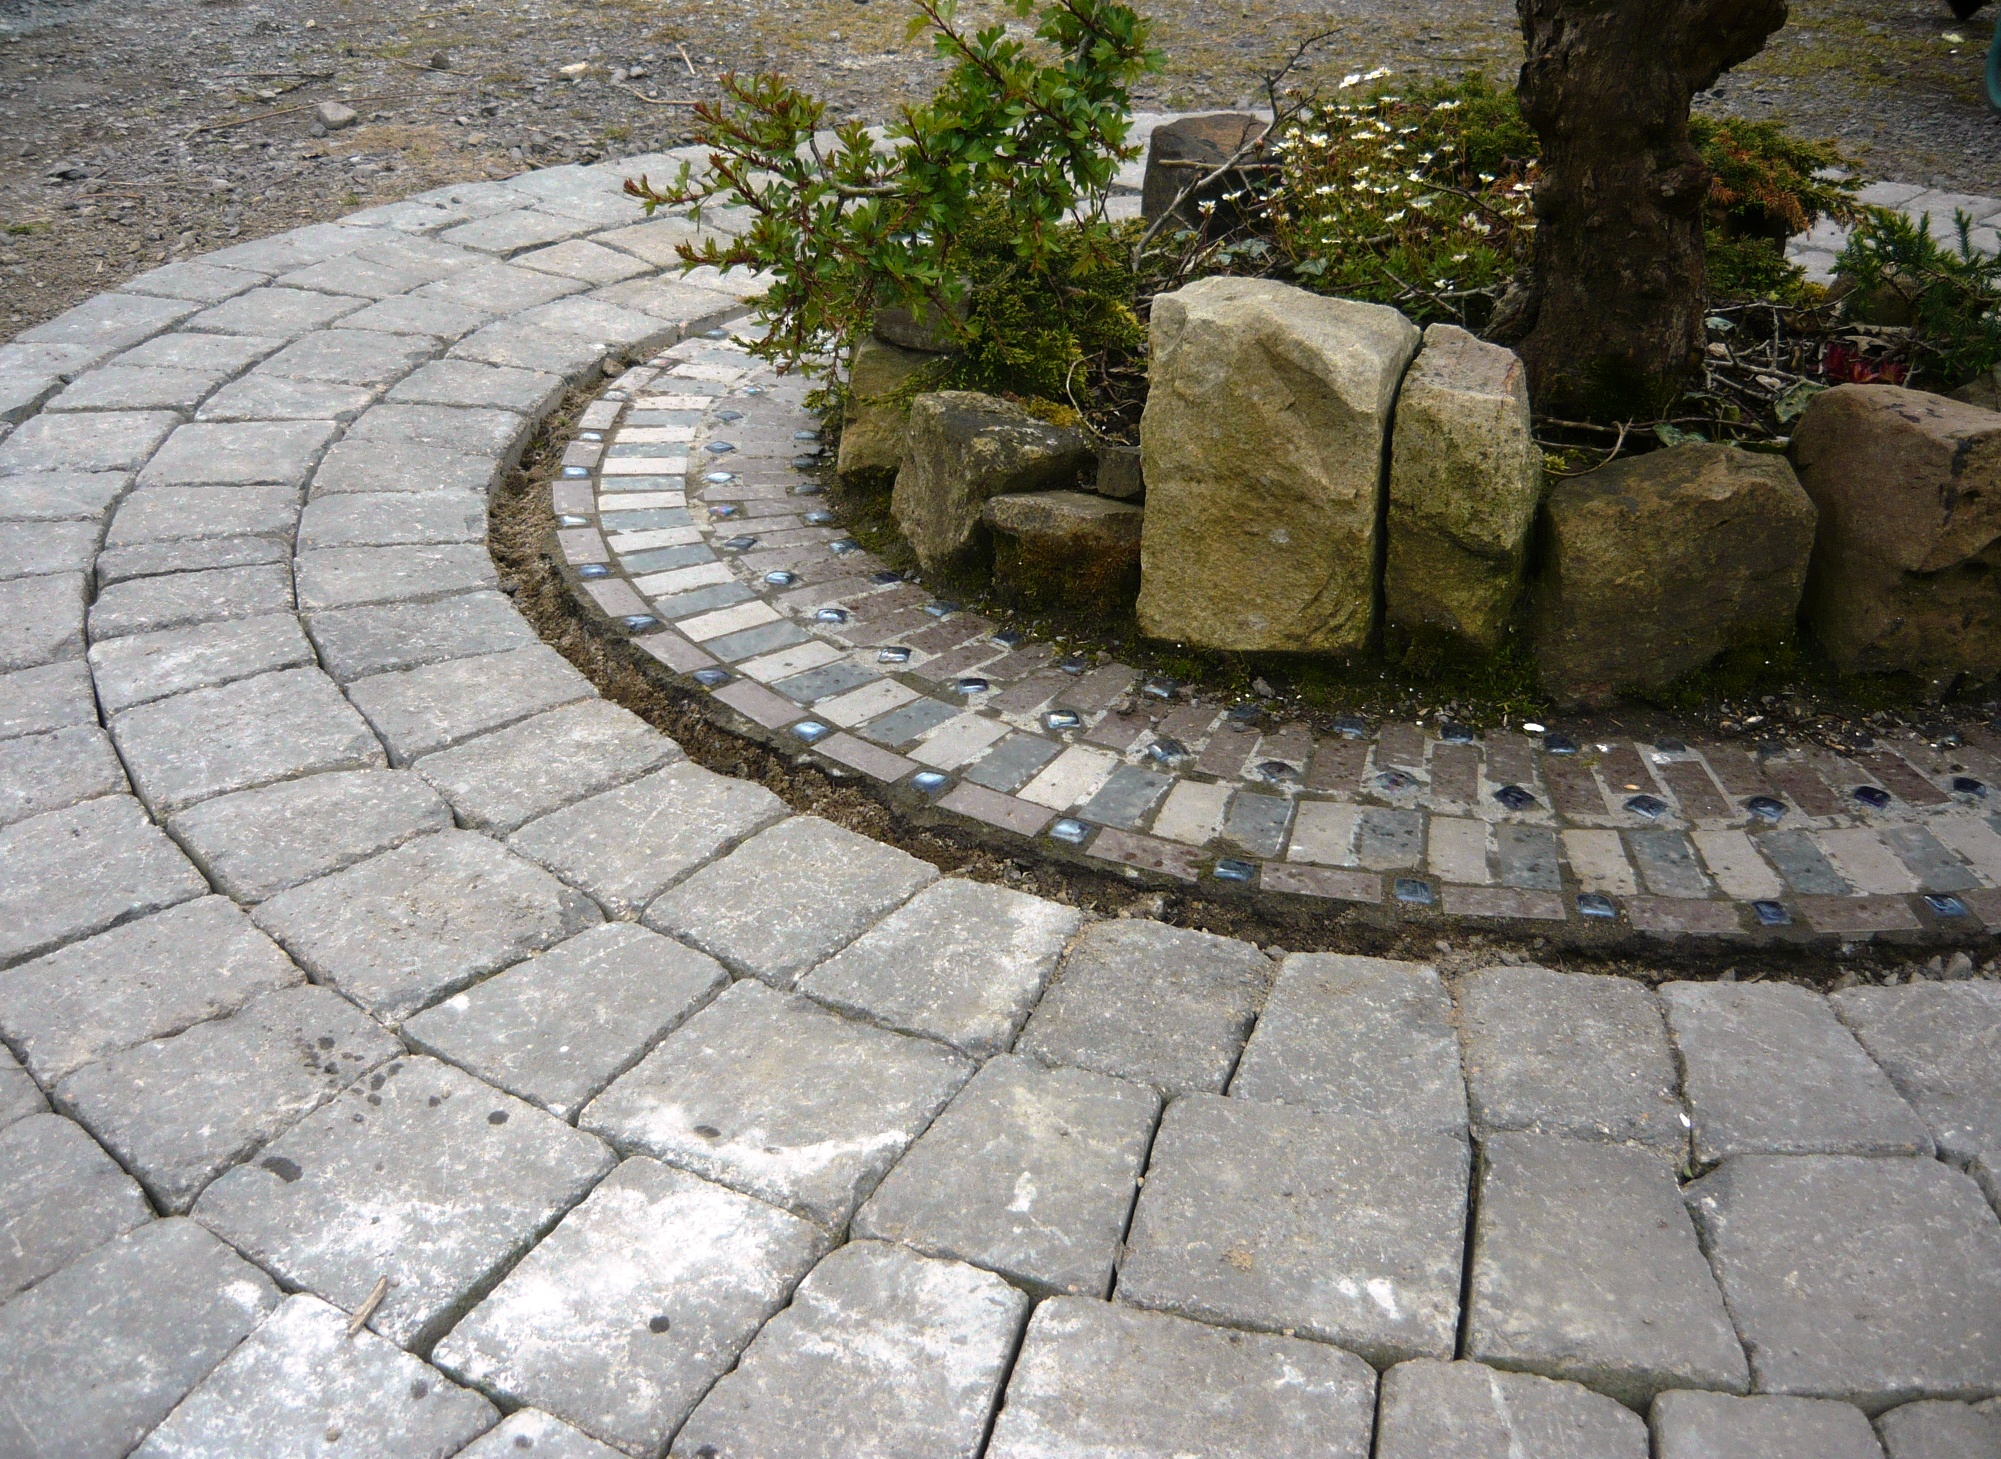
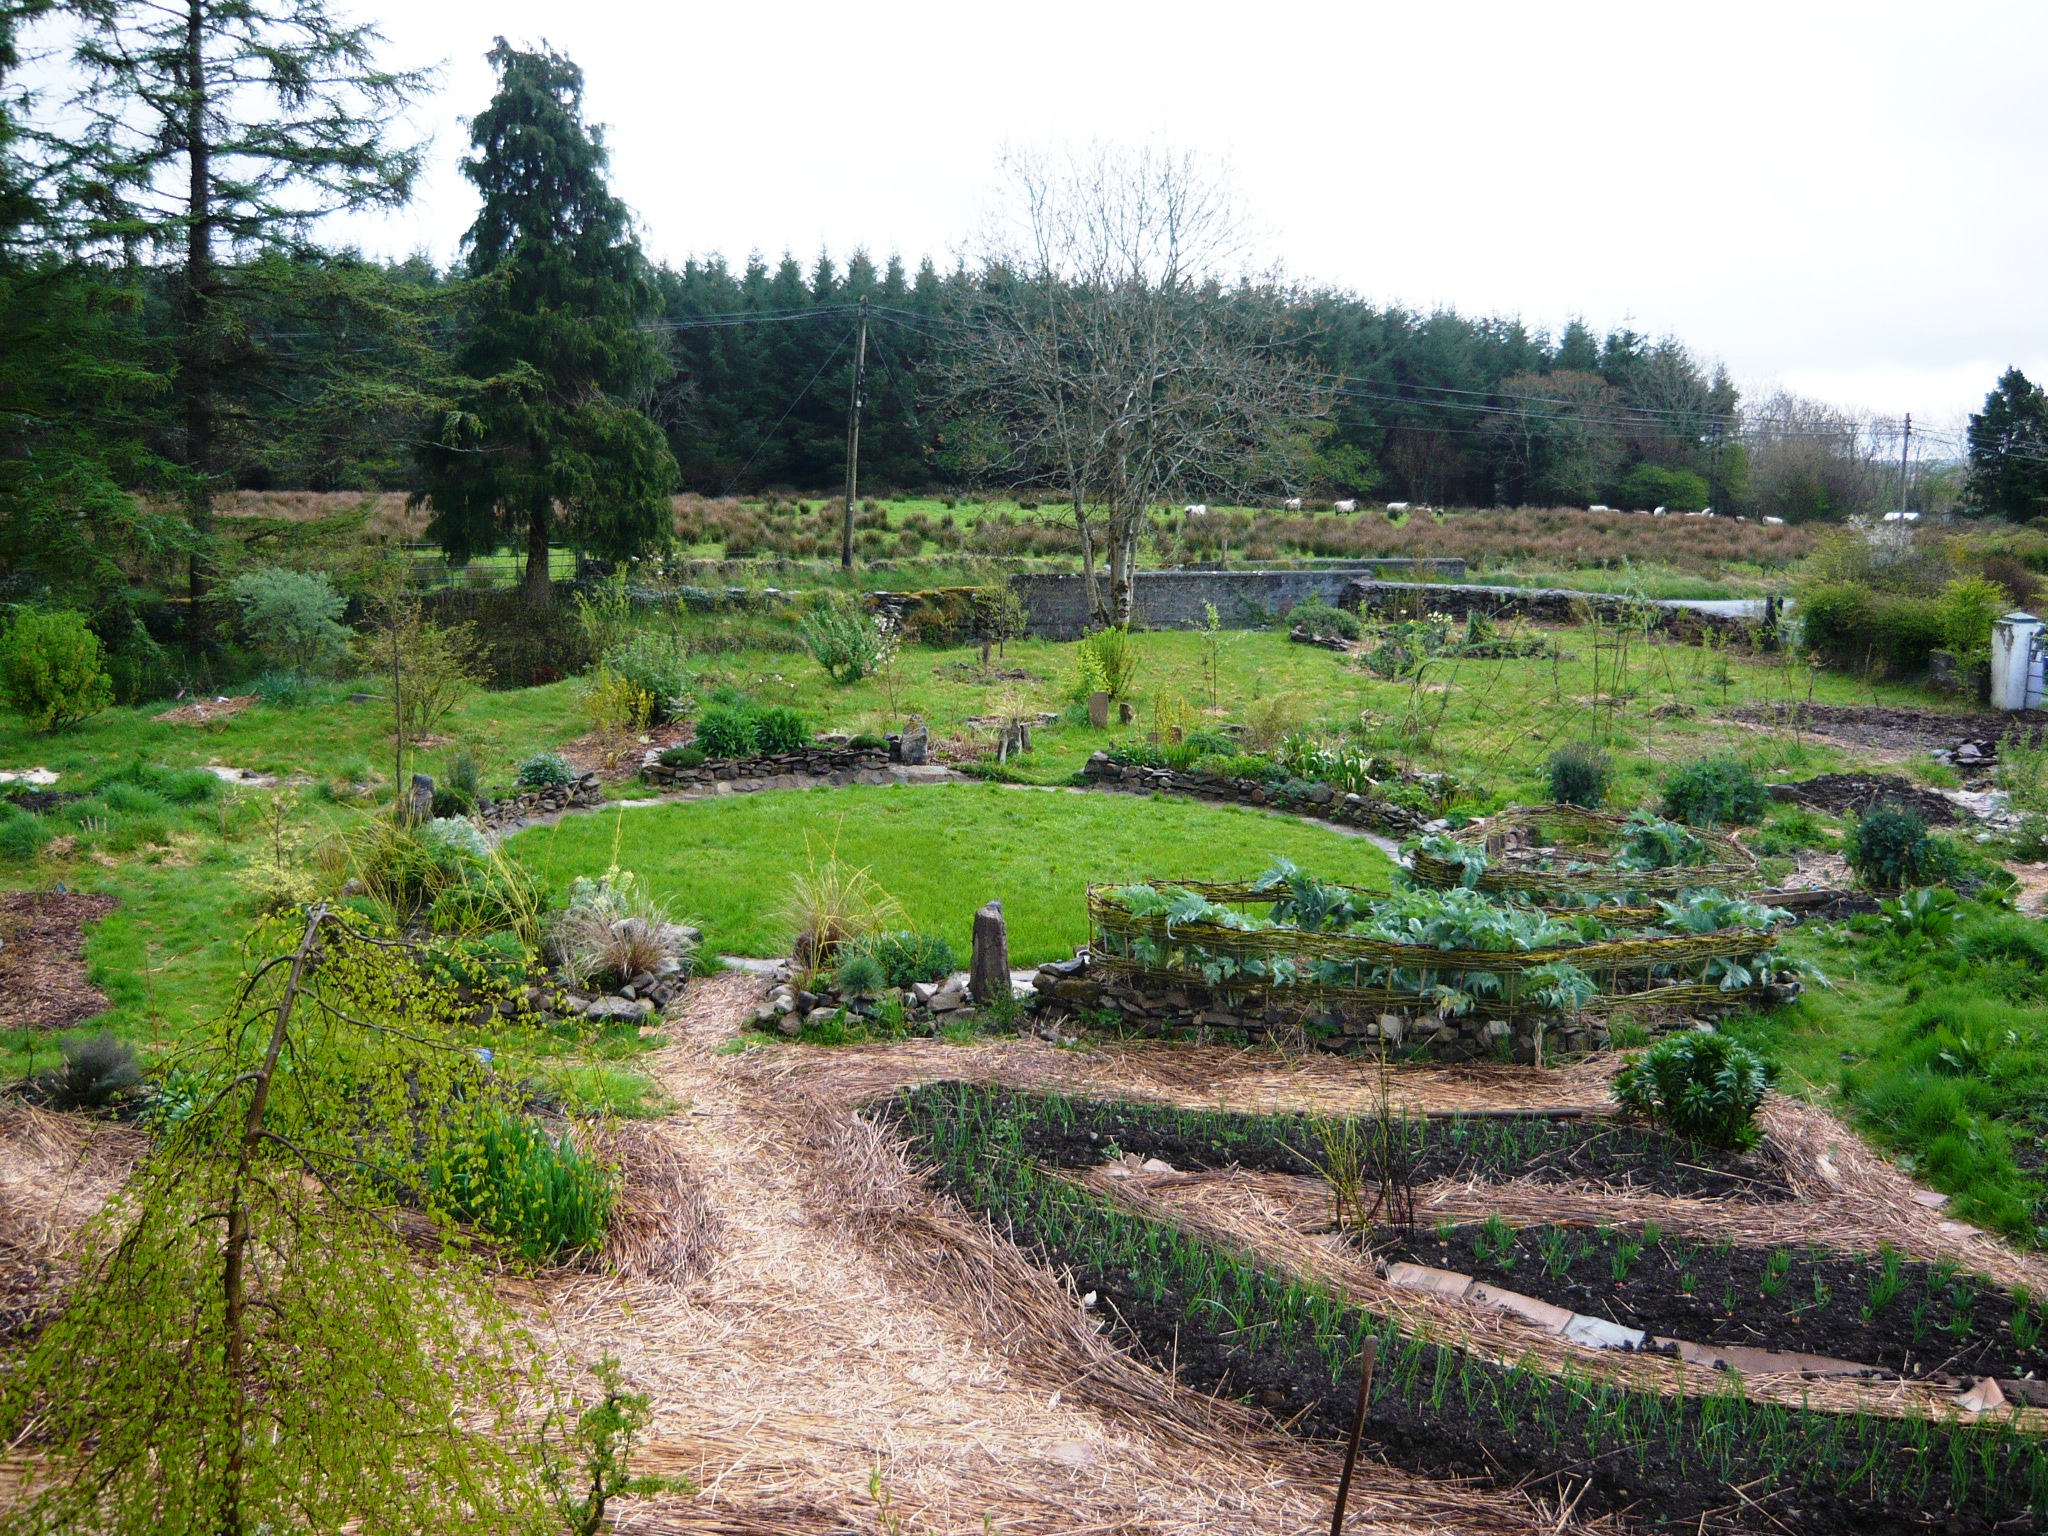
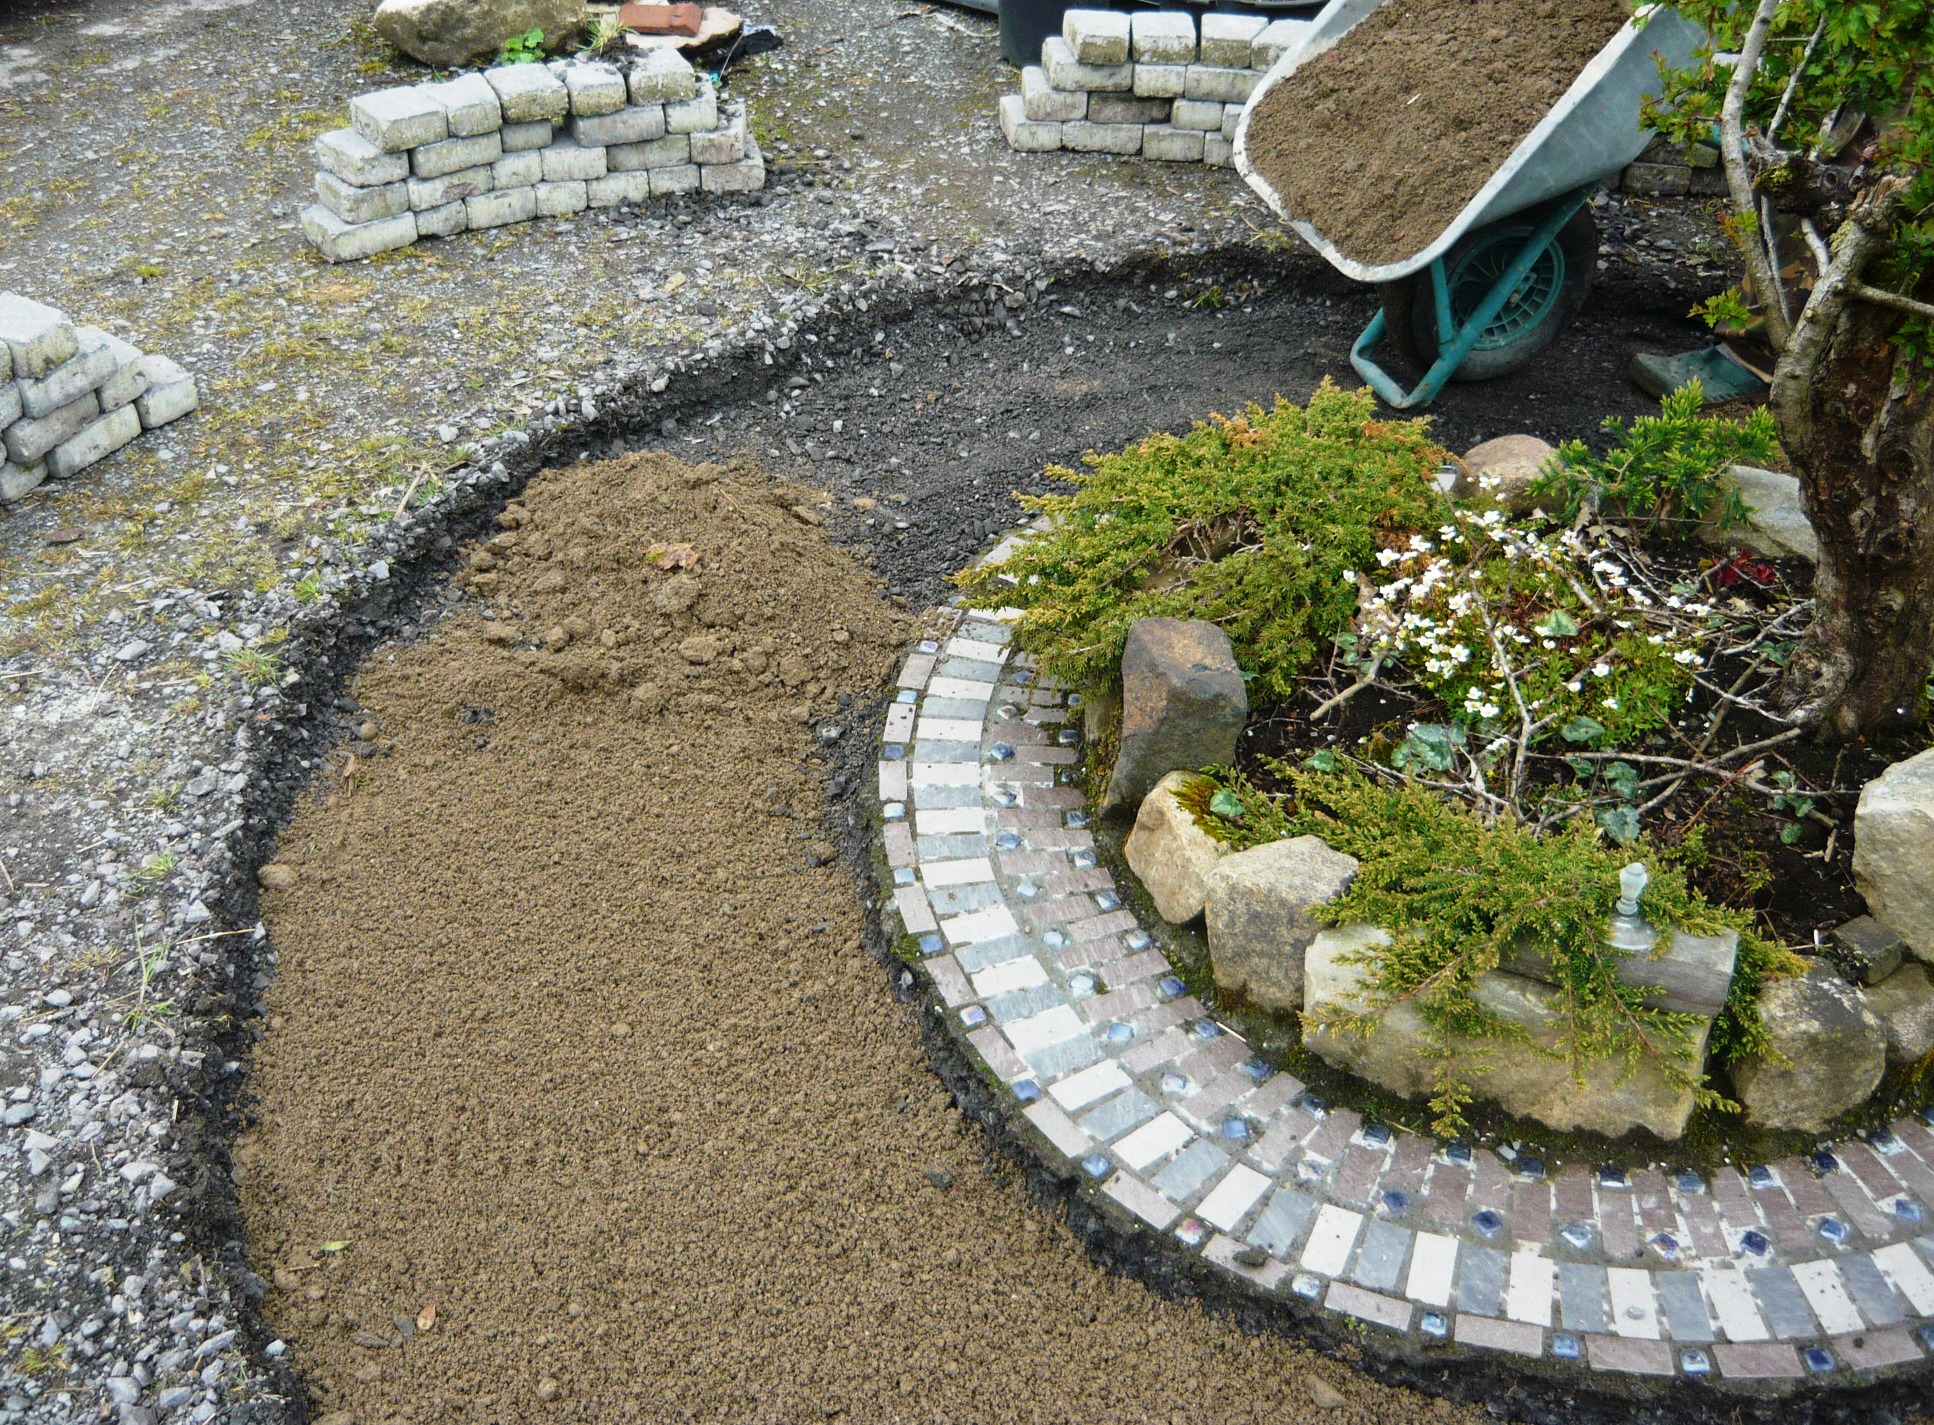
While working on the bathroom we also made good use of the few sunny spells to put down paving stones on our outdoor area in front of the house. When we moved in we planted a beautiful old hawthorn tree, which we rescued from behind our shed, in the middle of our front yard. It is an ancient custom in Sweden to plant a tree for prosperity and luck in front of your house and since half of us originate from Sweden we wanted to honour this tradition. Around the tree we wanted a circle of paving stones and we were lucky to get some cheap from a neighbour who had them left over from a project. We started off with a small recycled mosaic circle set in cement and grouted with hypertufa.

After that we dug down to slightly deeper than the paving stones height and added some sand for a smooth bed.
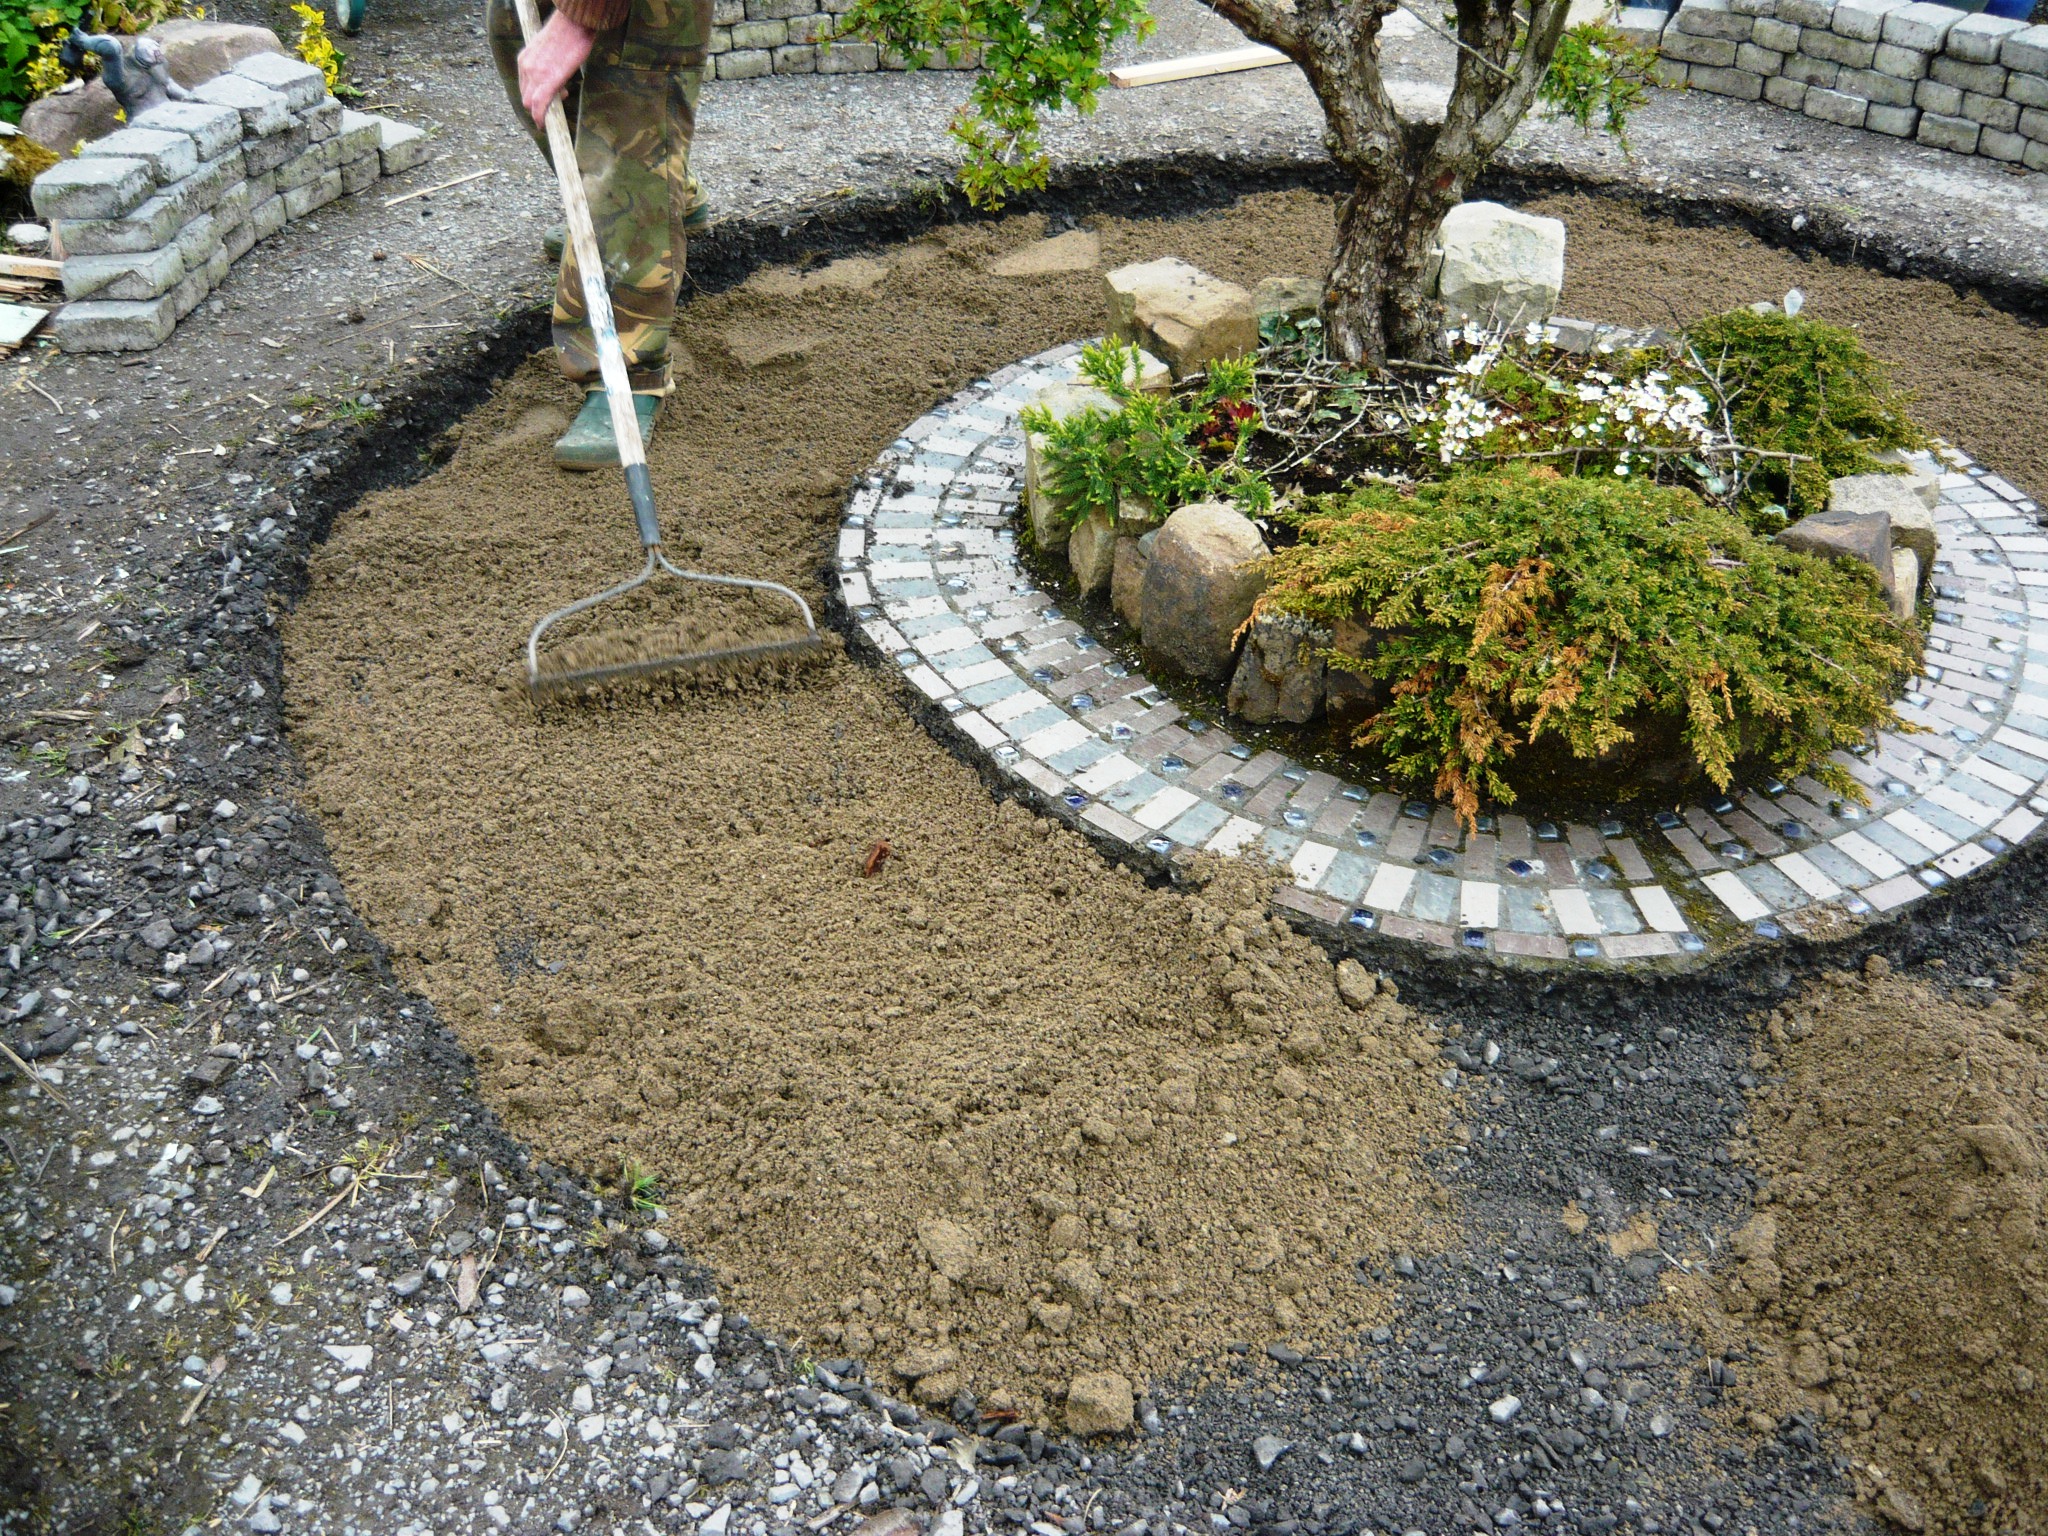

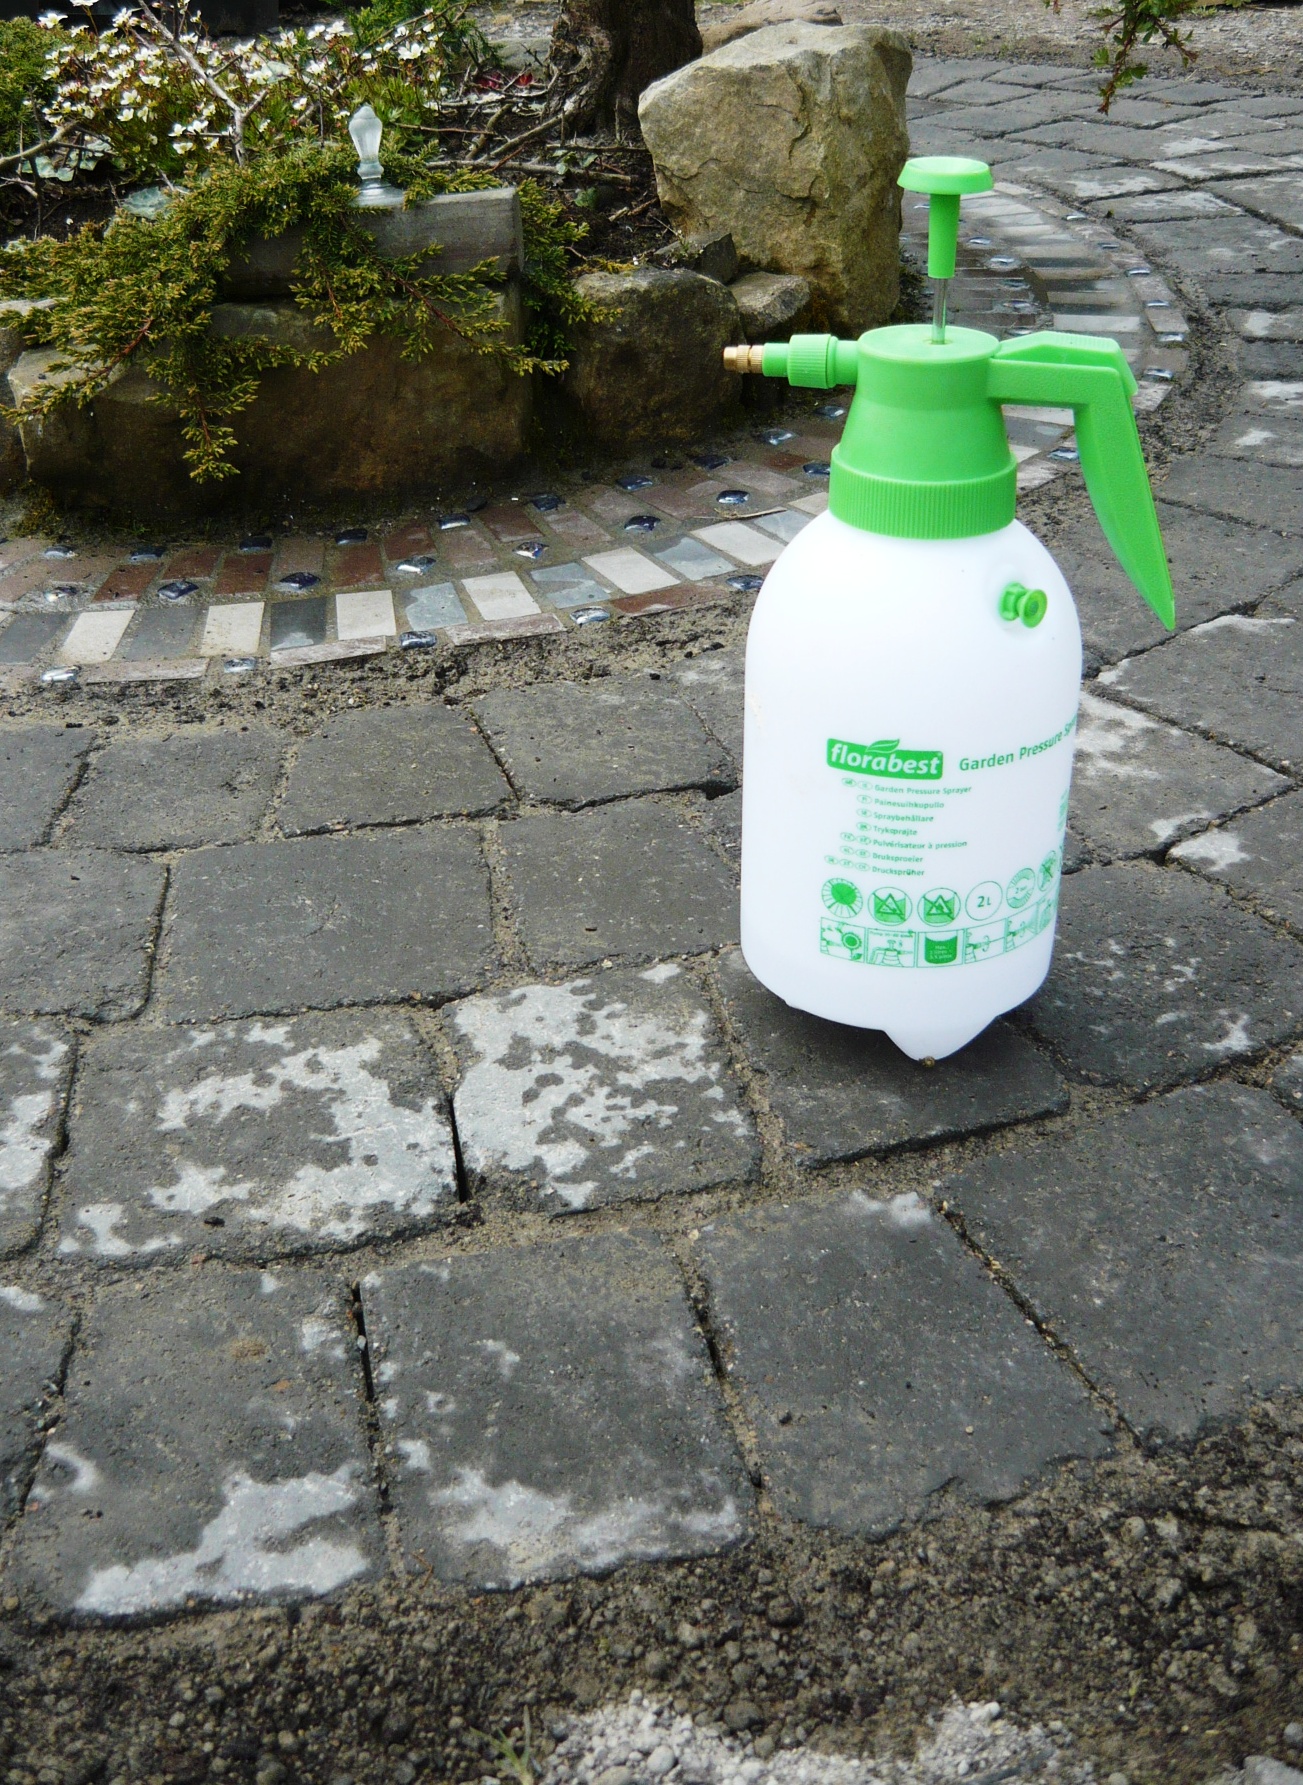
The paving stones went on and were tapped down with a sledgehammer but we were not too bothered to get them all even as it adds character when they are slightly uneven. We added a dry hypertufa mix of one part cement, one part compost and half a part of sand to all the cracks. It is good to tap the stones slightly so the mixtures settle in and more can be added. We then watered all of it with a fine spray to wet the mixture and wash it away from the surface of the paving stones. Later we will add a little more hypertufa mix as it has sunk down from being watered and add a mix of yoghurt, moss and sugar to get the moss growing rapidly in between all the paving stones for a natural look. The total cost for this project was about €25.